
The Outlast Trials: 12 tips to help you survive
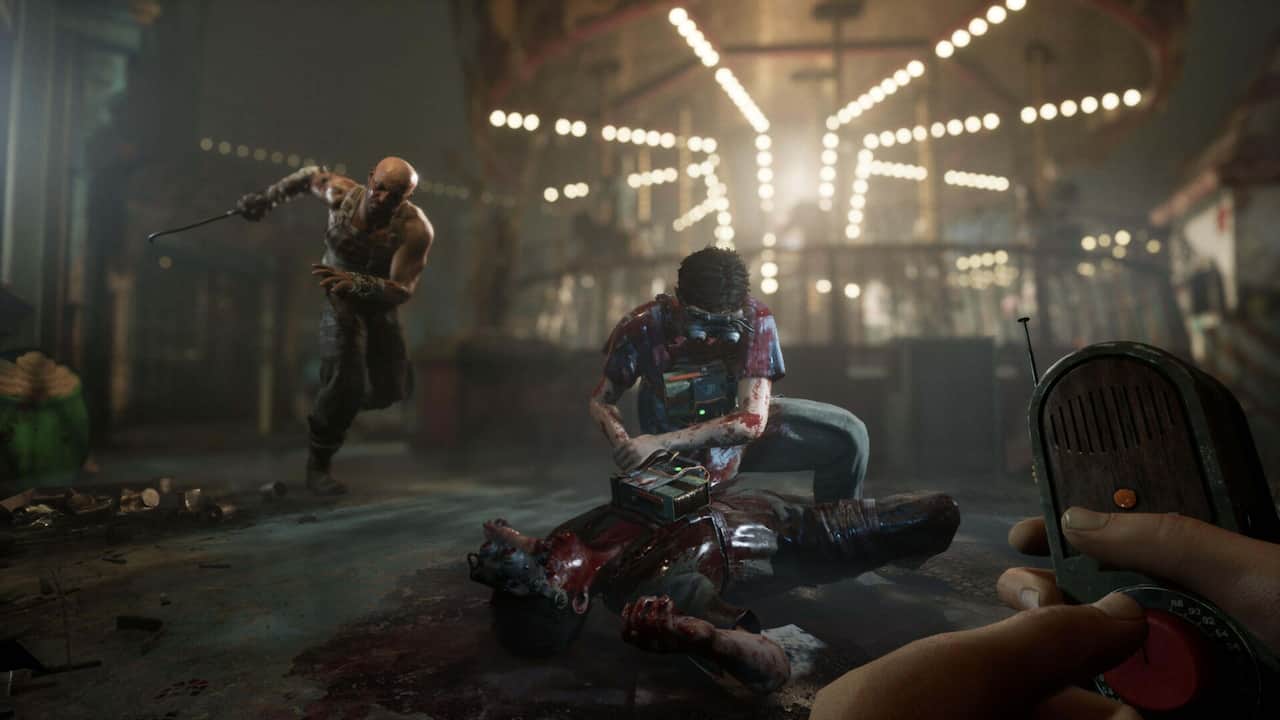
The Outlast Trials is the latest horror game from Red Barrels, developer of the acclaimed Outlast and Outlast 2. While this latest outing foregoes the singleplayer experience of its predecessors in favor of online co-op, it still manages to capture the thrills and chills.
Your goal as a reagent or test subject is to pass the experiments being conducted by the Murkoff Corporation. The shadowy group’s Project MKUltra research—illegal experimentation with drugs, hallucinogens, and mind control—puts the player through harrowing ordeals filled with disturbing scenes and deranged denizens. You can tackle these challenges either solo or as part of a group of up to four players. Intimidated? Don’t worry, our The Outlast Trials guide has tips to help you survive your runs.

Heal up and manage your limited inventory
By default, The Outlast Trials only allows you to pick up and carry three items in your inventory. If you already have three items on you, then you have to use one or swap it out with something else that you might need.
One item that’s immensely useful is Medicine, which comes in both small and large health bottles. Due to the damage you take from enemies or traps, it’s a good idea to have a bottle of Medicine with you at all times. You certainly don’t want your character to become incapacitated when you’re close to completing a level.

Always have a lockpick with you
Another item that’s great to have is the Lockpick. All of the levels in The Outlast Trials tend to include several locked containers. Inside, you'll typically find all sorts of consumables and boosters that can help you survive longer.
Use the Lockpick in front of a container to begin the lockpicking minigame, which causes a rotating dial to appear. The goal is to press the left mouse button whenever the dial is on the green segment. This has to be done successfully within the time limit, too.

Enable the Noise Indicator and Darkness Indicator settings
There are a couple of important options in the General settings tab that we suggest enabling:
- Noise Indicator: A reticle with soundwaves will appear whenever you walk on broken glass, bash doors, or make other kinds of loud noises.
- Darkness Indicator: You can see the appropriate icon in the lower-right corner of your screen. A sun icon denotes that you’re in a lit area, whereas a moon icon means that you’re hidden in the shadows.
While optional, enabling these settings will help you ascertain if you're doing anything that might cause enemies to notice you. For instance, you might think that you’re well-hidden while in a dimly-lit room, only to realize that you’re still clearly visible to hostiles.

Use the Night Vision Goggles to navigate in the dark
Darkness is your friend in The Outlast Trials. When enemies (known as Experimental Population or Ex-Pops) see you, they’ll immediately give chase. However, if you can find an area that’s shrouded in darkness, then it’s possible they'll lose sight of you.
The problem is that the darkness also hides many dangers, including electrocution traps that cause damage, as well as broken glass, noise alarms, and tin cans that make a lot of noise. Once the deranged and creepy denizens hear the noise, they’ll investigate that location.
This is where your Night Vision Goggles come in. Activated by pressing the 'F' key, this gadget lets you see enemies, traps, and obstacles clearly in the dark. However, you'll need to keep consuming Battery items to recharge it.

Use hiding spots (but not when enemies can see you)
There are ways for you to stun foes temporarily in The Outlast Trials, including using certain Rigs (more on these later) and throwing bottles or bricks at their heads. You can also throw these objects at your surroundings to distract opponents.
Unfortunately, you won’t be able to fight enemies normally and you certainly can’t stand your ground against them for prolonged periods. As such, your only recourse is to run and hide.
There are numerous hiding spots in levels, including lockers, desks, the trunks of vehicles, and other containers. If an Ex-Pop is searching for you but there’s an obstacle that blocks line of sight, then hiding is a viable option. After a few seconds, the vicious villains should go away and return to their patrol area. If the Ex-Pop has a clear line of sight and you attempt to hide, however, they can easily grab you from your so-called hiding spot and deal damage.

Beware of Sanity depletion and Psychosis
The untold horrors and terrifying monstrosities your character bears witness to in The Outlast Trials have an adverse effect on their Sanity meter. The three green bars that represent your character’s Sanity gradually deplete, which can then cause hallucinations. Most times this results in jump scares or other immersive effects, like nonexistent enemies that suddenly rush your position or simulated grogginess.
But once Sanity is fully depleted, your character will suffer from Psychosis. You’ll then have to contend with the Skinner Man, a revenant that chases your character through multiple rooms. If you manage to survive its onslaught, your Sanity meter will instantly replenish. You may also use the Antidote consumable item to restore your character’s Sanity.

Revive allies or use Respawn Pills
When a character’s health has been fully depleted, they’ll die. Continuing the run differs depending on whether you're playing solo or co-op.
If you’re playing solo, you’re limited to three attempts per trial—but if you find and use Respawn Pills inside emergency cabinets, you gain an additional respawn (i.e. an extra life). Those who are playing co-op, meanwhile, need to find a Syringe to revive fallen teammates. These are also found inside glass cases.

Memorize main objectives even with procedural generation
The Outlast Trials makes use of procedural generation, albeit in a limited manner. The maps/levels themselves remain the same, but their layouts change in terms of locked doors, available items, and placement and types of enemies. As such, you can memorize the general objectives for each level, even though your approach or means of navigating it might be different.
For instance, “Kill the Snitch," the first trial, takes place in the Police Station. It always involves reaching the cells, collecting the keys to open gates, and electrocuting the prisoner. However, the passageways to reach the cells might be different, as are the symbols and locations of each key that you have to obtain.
Another example, the “Grind the Bad Apples” trial is set in the Fun Park. The main objective remains the same, but you may need to find different pipe valves or win various games at the amusement park.

Tackle gradual difficulty increases and weekly challenges
Progression in The Outlast Trials is primarily done through completing trials. Every main trial that you complete unlocks the next, as well as the MK-Challenges or alternate objectives for that map. Likewise, you gain a lot of rewards, including money, cosmetics, and experience points (XP).
Later, you can select from the Advanced Therapy and Extreme Therapy missions, which are significantly tougher versions of assignments that you’ve undertaken before. There are also Weekly Therapy objectives that have special modifiers and additional rewards.

Make use of powerful Rigs
Upon reaching level 2, you obtain your first Rig from Cornelius Noakes. Rigs are abilities that can be used in missions as long as they’re not on cooldown. You may also upgrade them to increase their efficiency. The available Rigs are:
- Stun: Emits an electric shock that temporarily stuns and disorients enemies.
- Blind: Emits a temporarily blinding explosion of smoke.
- Heal: Replenishes the health of your character and nearby teammates.
- X-Ray: A tactical enhancement that lets you see through walls.
Among these options, we recommend the Blind Rig for solo players. This is primarily due to its utility whenever you’re being chased by hostiles.
If playing co-op, Blind is also a great ability to cast if you need to revive a teammate while an enemy is nearby. The Heal Rig is also an amazing choice for co-op, since you can support your squad by keeping everyone in tip-top condition.

Choose the right Amps and Prescriptions
As you level up, you unlock additional upgrades, such as Amps and Prescriptions. Amps are equippable perks purchased from Dorris in the Facility, while Prescriptions are permanent passive boosts that come from Nurse Barlow.
We recommend the following Amps for your playthrough:
- Noise Reduction: Reduce the sound you make when running or when opening doors. This is a viable option that helps you stay on the go without alerting enemies all the time.
- Antitoxin: Regain full Sanity over time and halve the duration of Psychosis. If you don’t want to carry around an extra Antidote or Sanity effects are wearing you down, then this is a viable option.
- Last Chance: A fatal strike by an enemy reduces you to +1 HP instead. Triggers once every five minutes. This is great to have if you want to solo tougher missions, since it’s a (literal) lifesaver.
- Strong Arm: Bricks and bottles pack a stronger punch when thrown at an enemy. There are a lot of times when you need to complete an objective and a hostile gets in the way. This Amp allows you to stun them for longer periods.
We suggest prioritizing the following Prescription passives as well:
- Self Defense Technique: Lets you use a bottle or brick from your inventory to escape a Pouncer’s grasp. Given how often you’ll get snagged by foes, you’ll want a means of escaping quickly by smashing them in the head with an object.
- Athlete: Increases your maximum stamina. Running all over the level and smashing obstacles quickly depletes your stamina. As such, having more of this resource lets you stay on the move more often.
- Expanded Inventory: Adds an extra inventory slot. This perk lets you carry one additional item, which is immensely helpful.
- Door Basher: Break through locked and barricaded doors with just two hits. Being able to smash through doors faster is a great way of evading opponents.
It’s always better to play with friends
The Outlast Trials is definitely better with friends—primarily due to the support you can receive from your buddies, such as healing, trading items, and improved coordination. Since mission segments have multiple objectives, you can split up duties, with each player grabbing a particular item. Players can even distract Ex-Pops while others handle the required tasks.
And while playing solo means you’re at the mercy of remaining respawns (i.e. extra lives), playing with friends means you’ve got backup if your character gets incapacitated.
Hopefully our survival guide for The Outlast Trials helps you successfully tackle the challenges that await. You and your friends are bound to have an exciting time surviving its more disturbing scenes and making harrowing escapes.
Those eager to experience the deadly experiments of the Murkoff Corporation for themselves should pick up The Outlast Trials, available now in the Epic Games Store.