
Borderlands 4 guide: All campaign bosses and how to defeat them

Borderlands 4 is set on the planet of Kairos. Once a lush realm filled with captivating landscapes, it’s now a prison world firmly under the control of the tyrannical Timekeeper. Naturally, the Timekeeper is surrounded by his loyal (and disloyal) cohorts, all eager for their share of power.
Our Borderlands 4 boss guide tackles all the toughest encounters in the campaign, and discusses how to defeat them. Below, we discuss everything from the tutorial area all the way to the finale.
Oh, and it goes without saying that this article contains major spoilers.
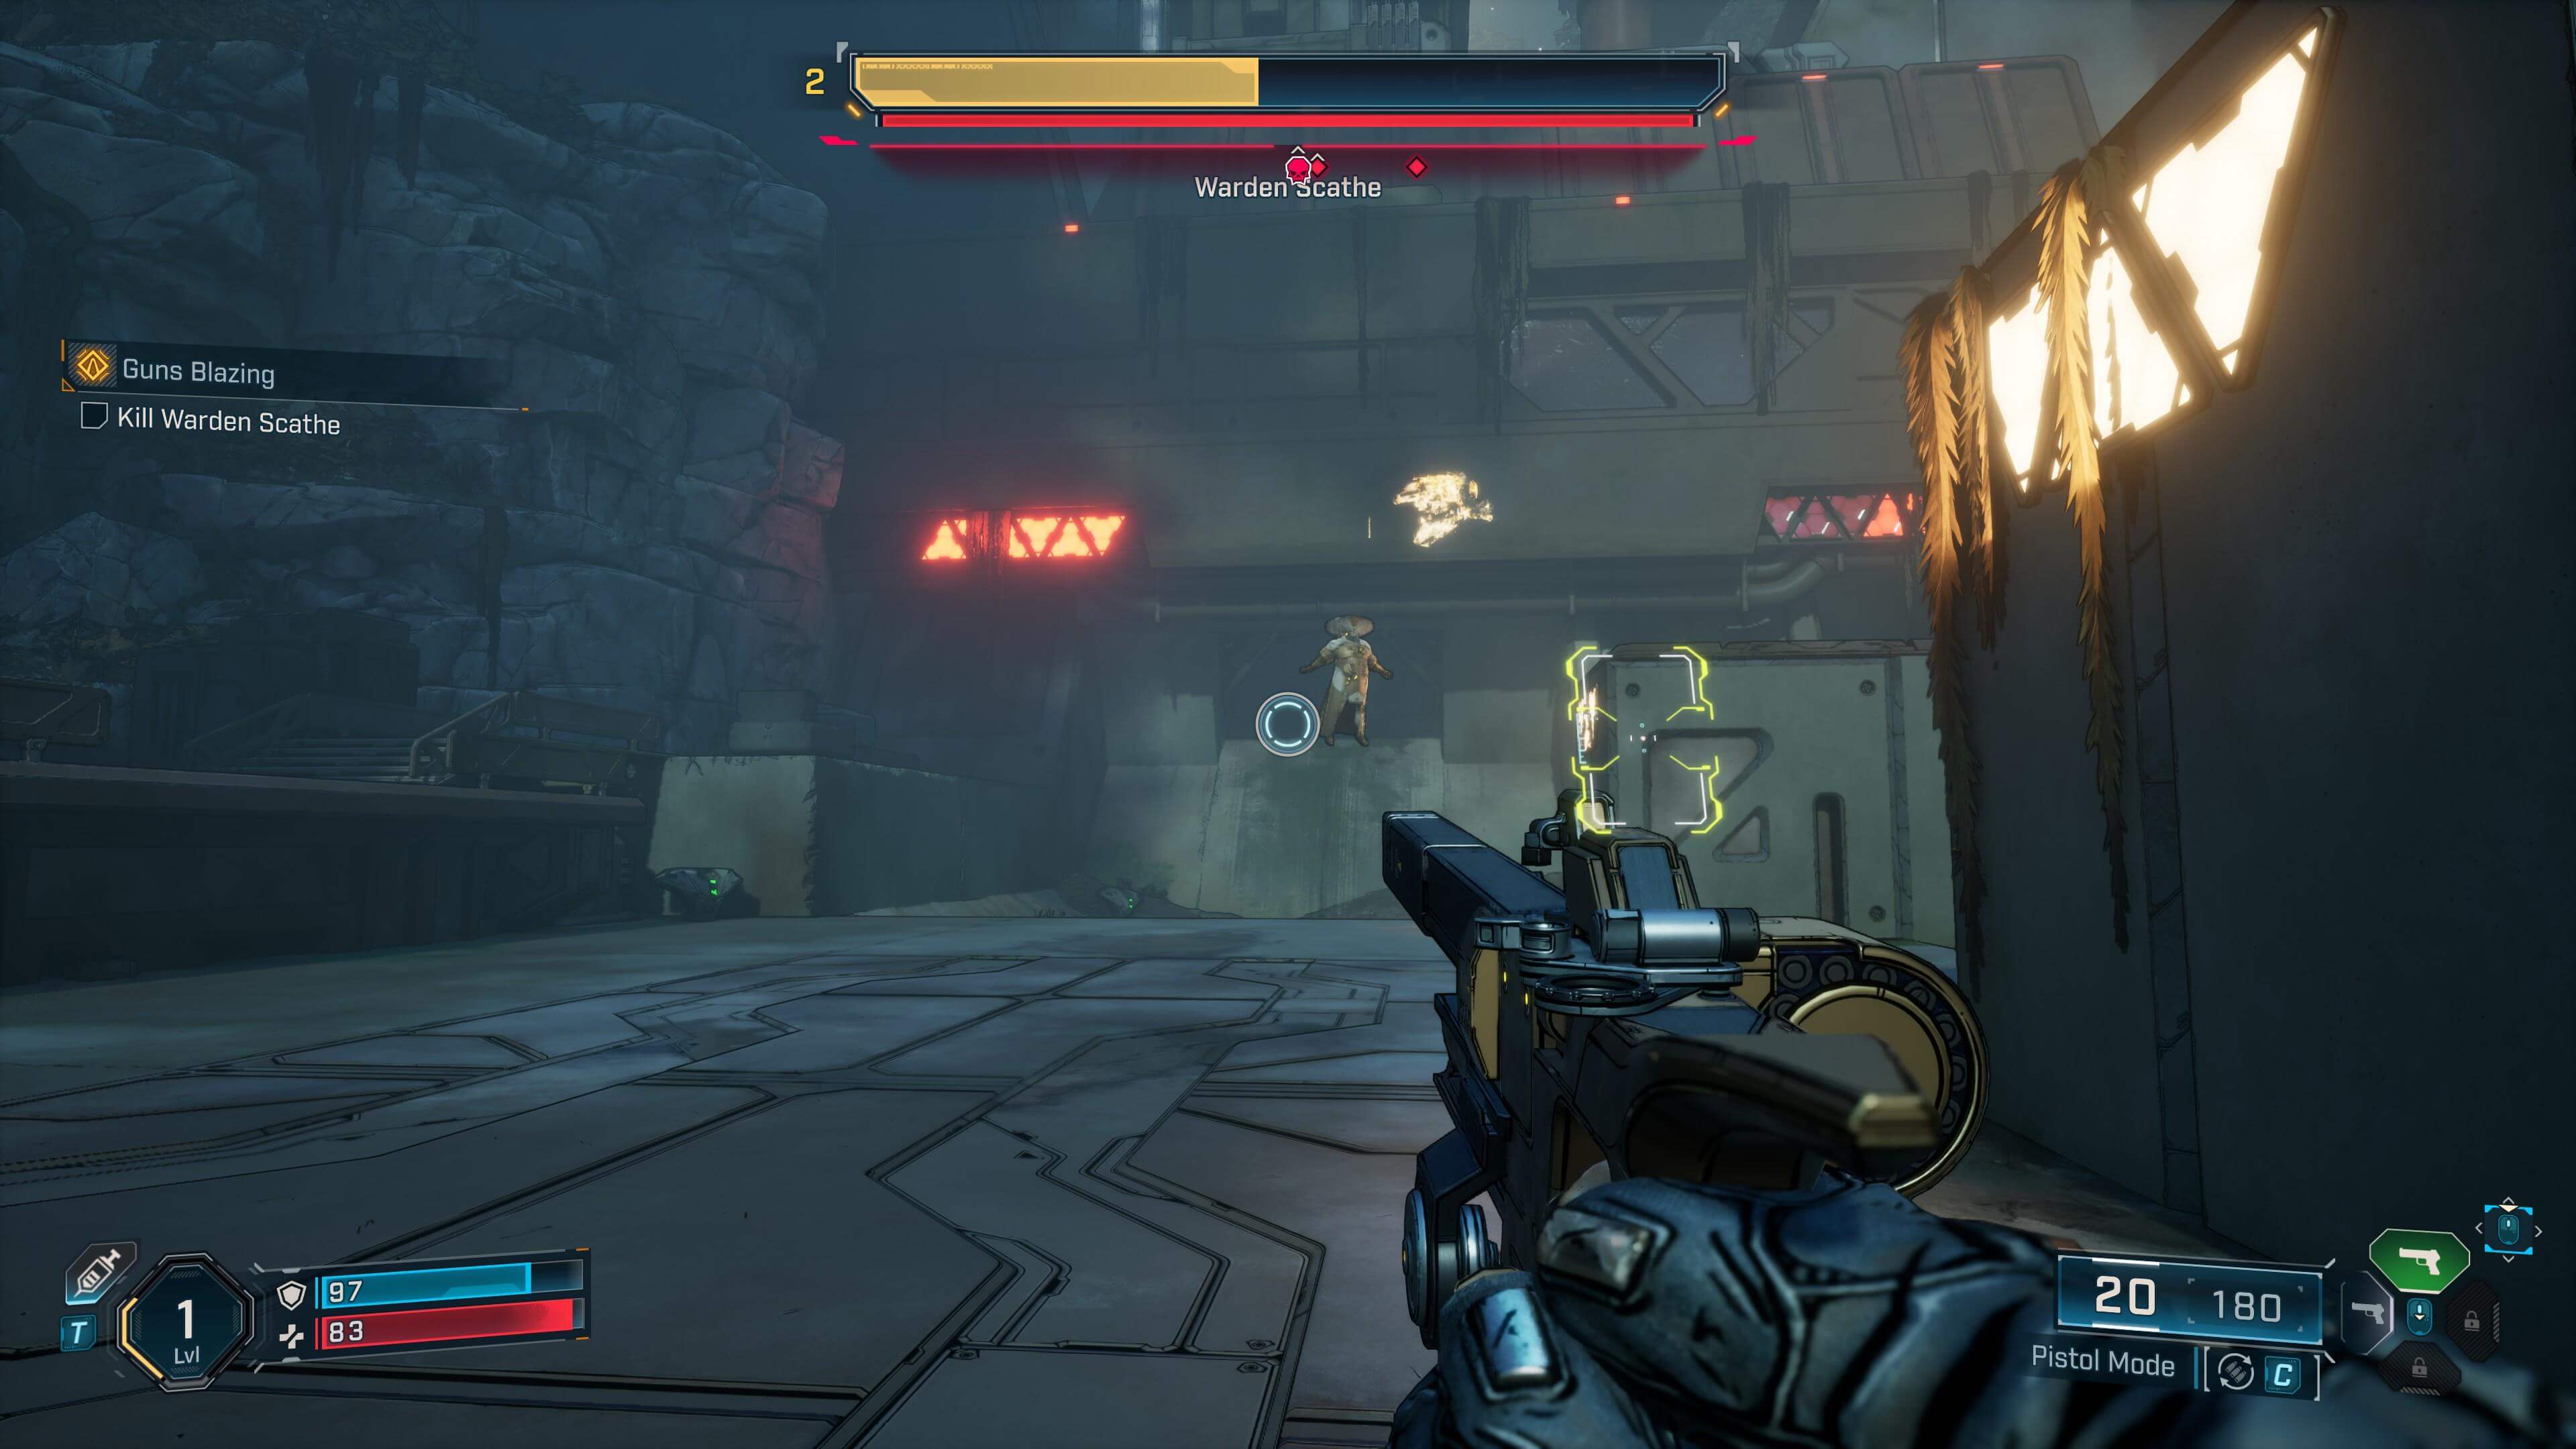
Warden Scathe
Mission: Guns Blazing
Warden Scathe is the first Borderlands 4 boss that you face. Given that this is part of the tutorial portion of the game, don’t expect too much of a challenge. Simply avoid his projectiles and take out the Synth robots that spawn during the fight. There’s also an elevated walkway at the left-hand side of the platform that you can use to hide from Scathe’s beams.
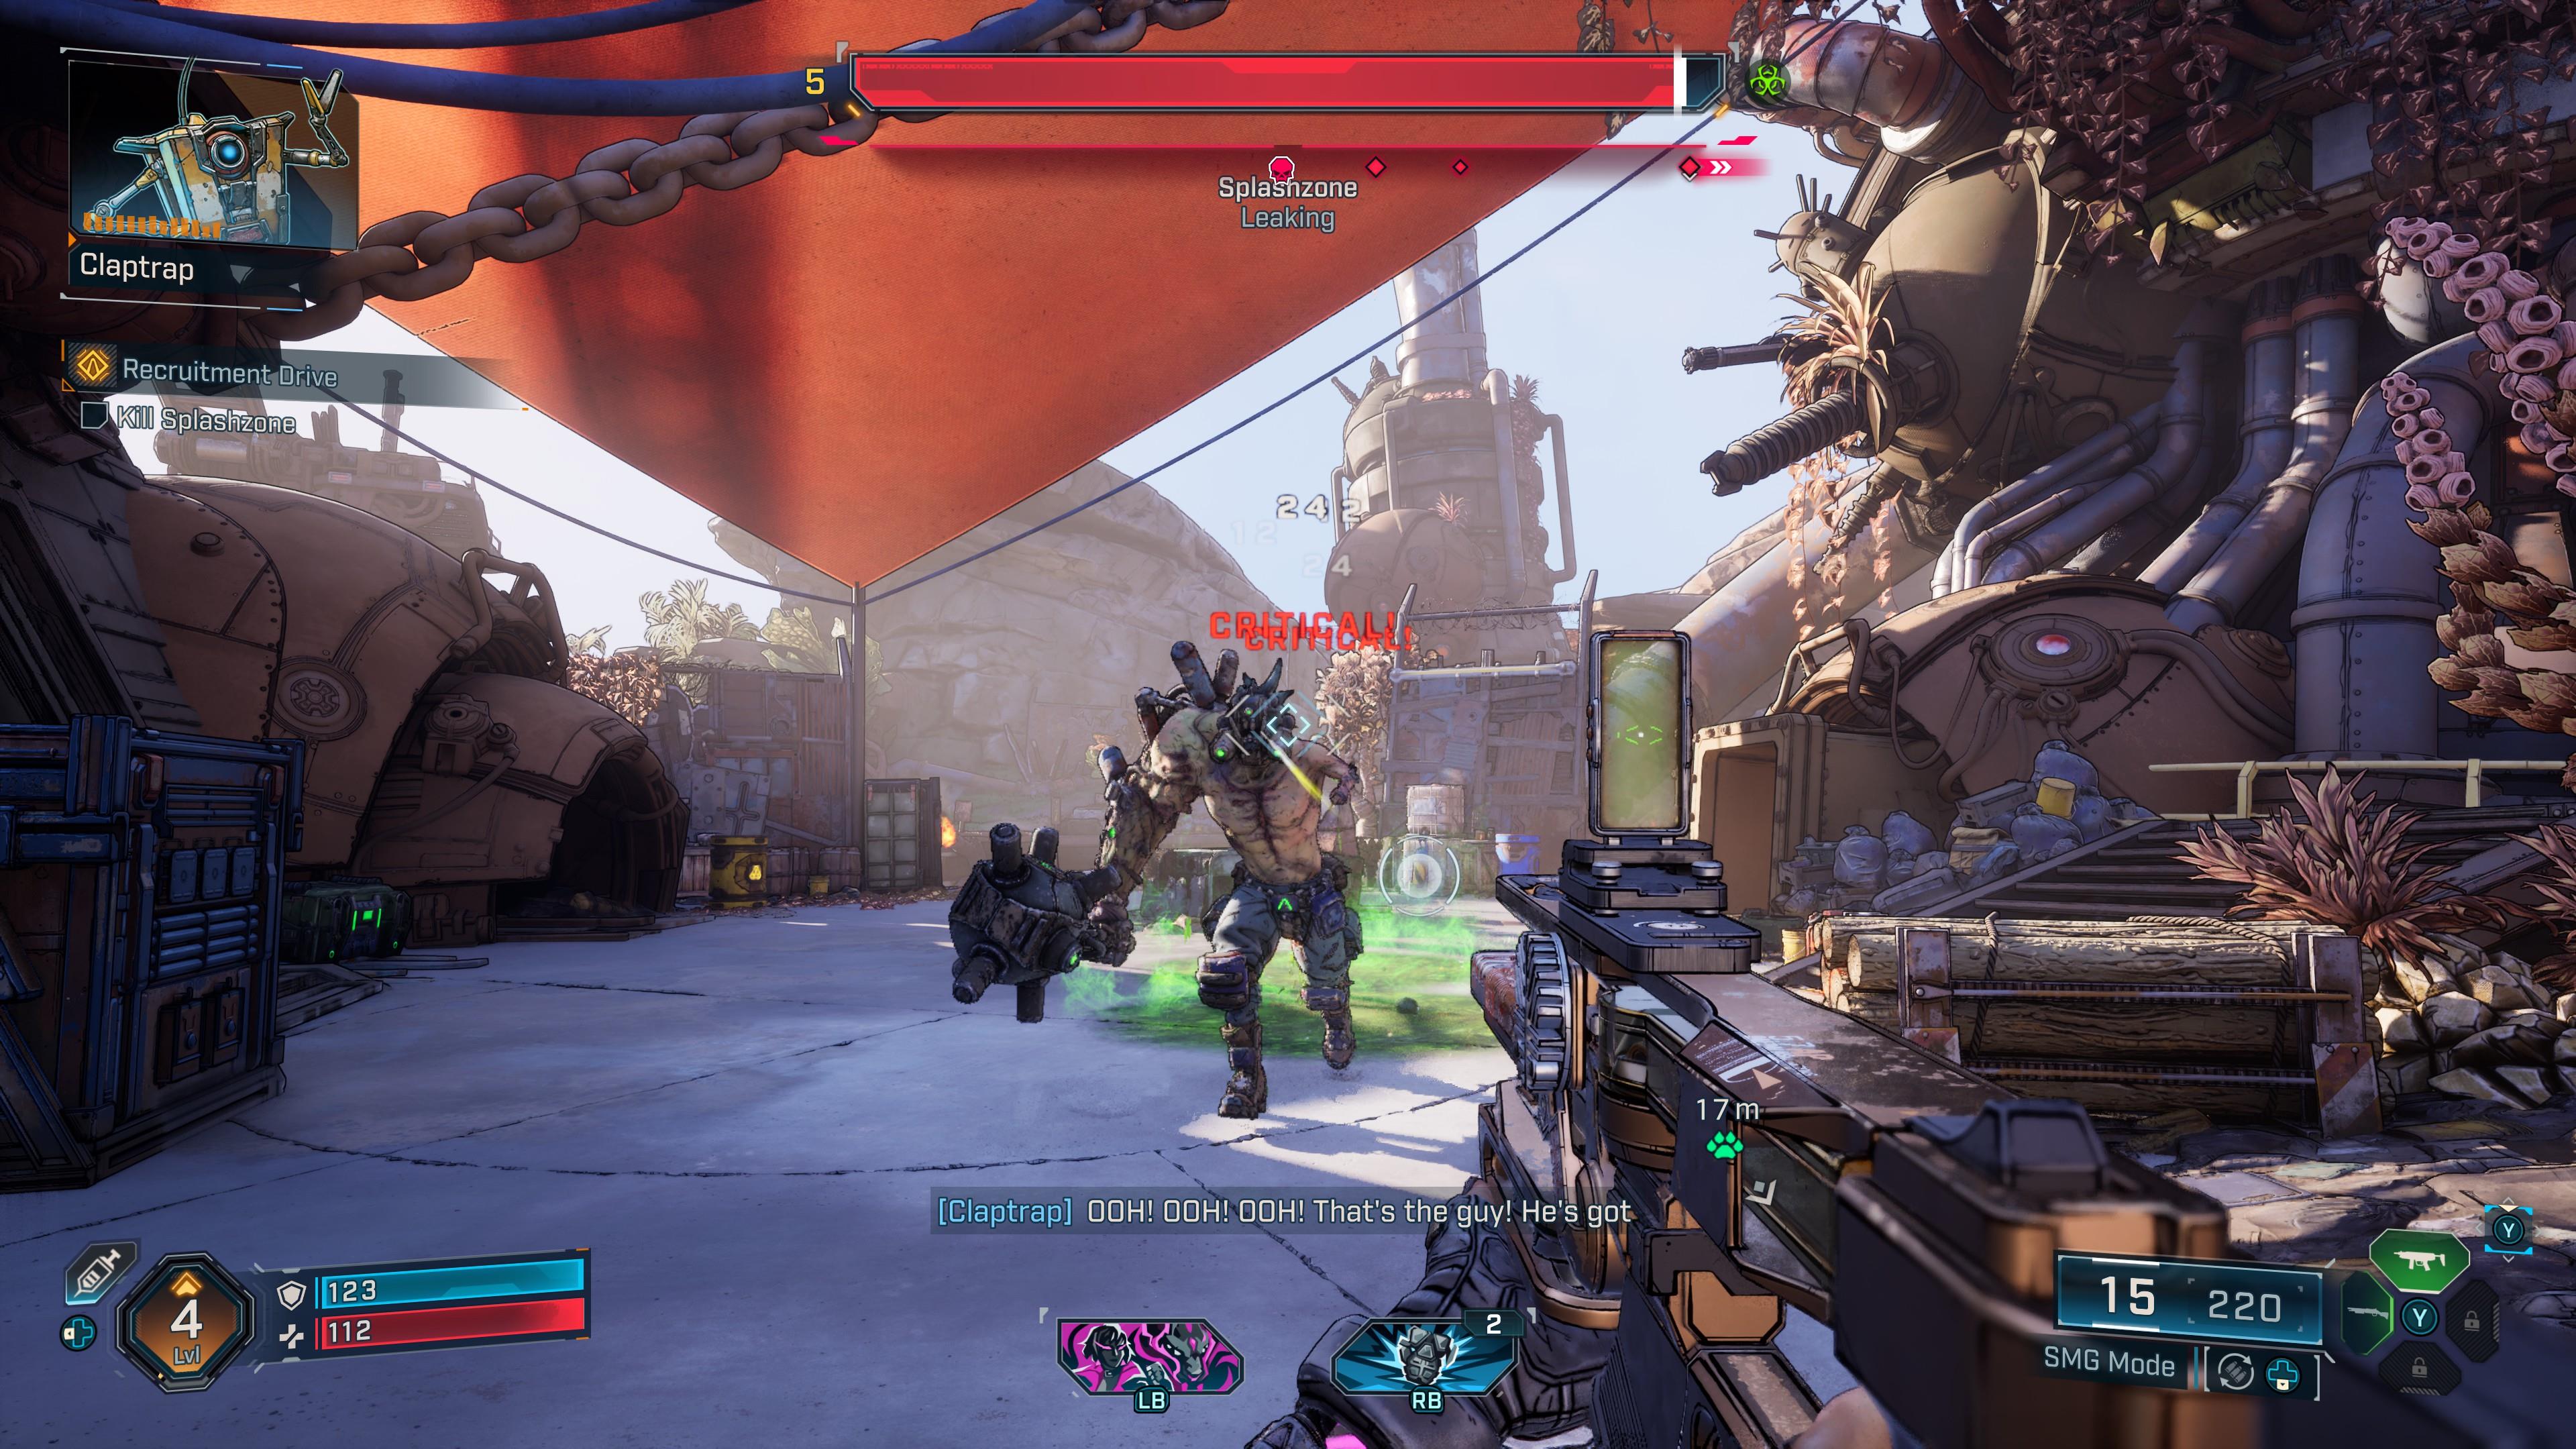
Splashzone
Mission: Recruitment Drive
This Ripper leads a small cohort of bandits in the Fadefields. He’s also a melee specialist, so watch out whenever he smashes the ground with his gigantic mechanized arm. The encounter itself takes place in a small encampment where other Rippers appear, but there are ledges that you can use to steer clear of hostiles.
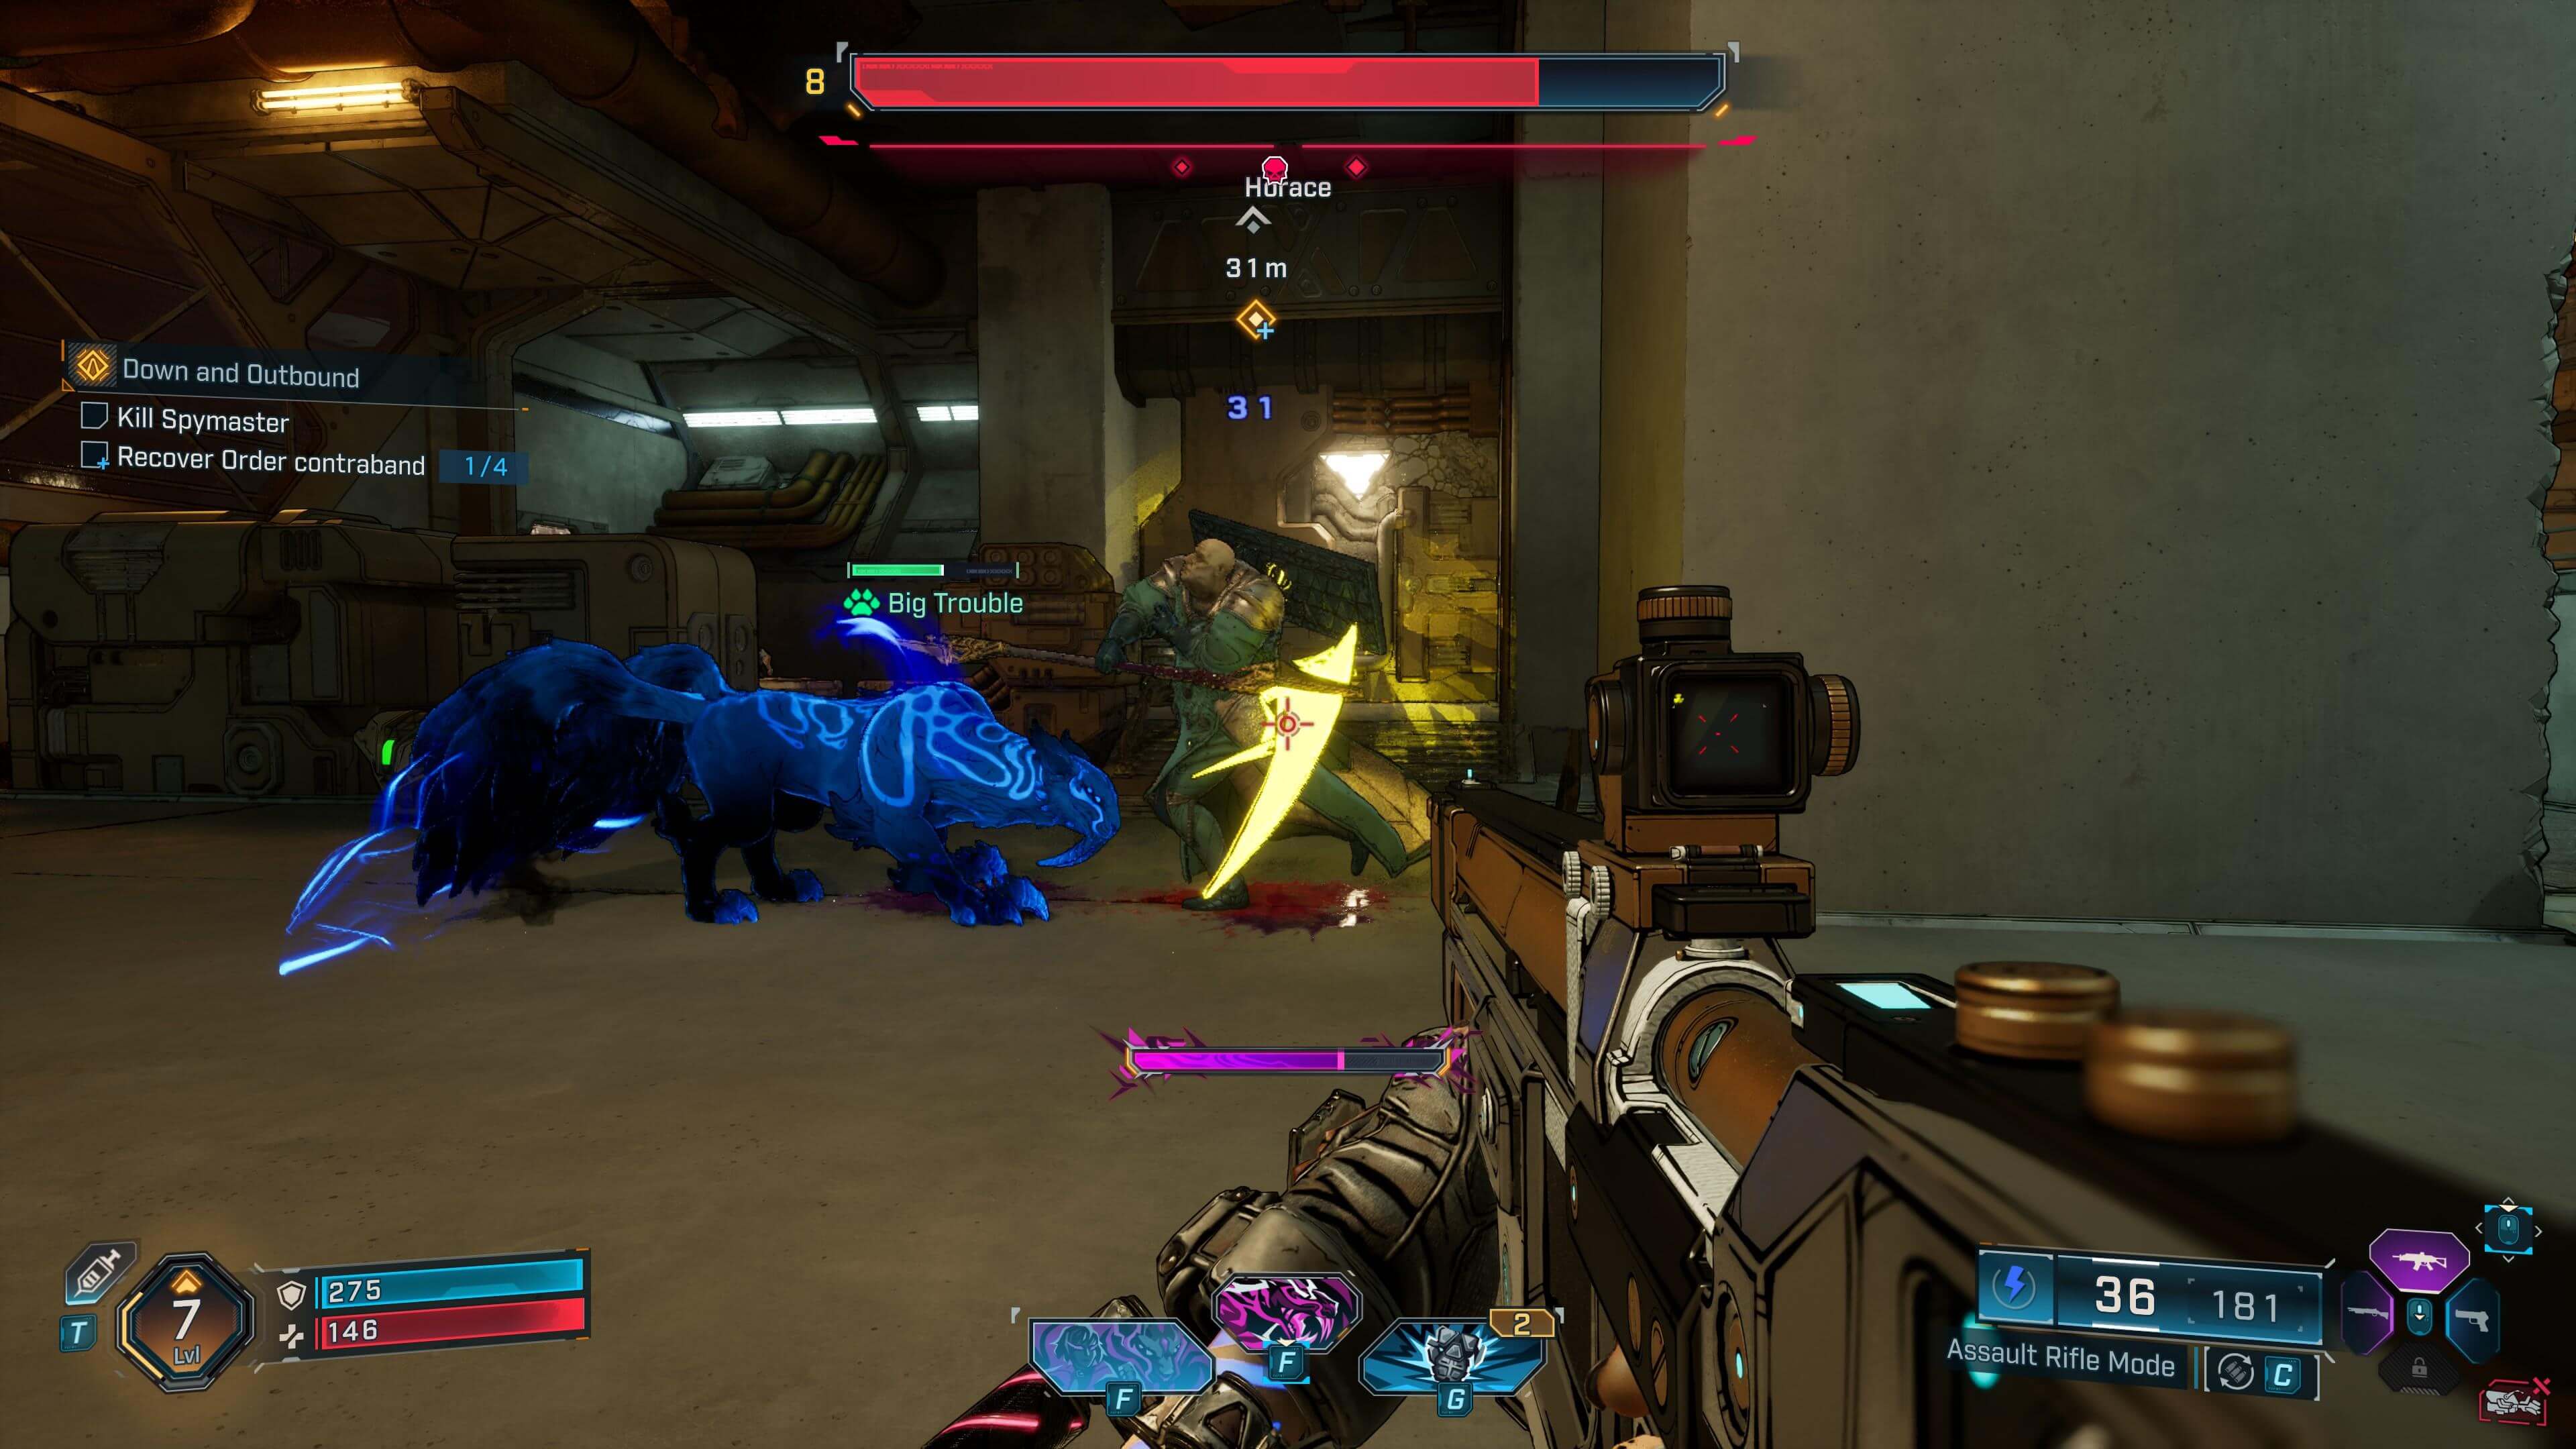
Horace
Mission: Down and Outbound
Horace is similar to Scathe in that he’s also a Warden-type enemy, so expect lots of projectiles and Synth bots appearing throughout the battle. One key difference is that Horace has an energy shield, which is very weak to Shock damage. Upon depleting it, he switches to a melee stance and chases you around the room.

The Oppressor
Mission: A Lot to Process
The Oppressor is actually a large jet that streaks across the sky. It’s extremely unlikely that you’d hit it with grenades, and shotguns probably won't be very effective either. That said, the arena has several machines that you can jump on to remain within range. Just be ready to dodge when the Oppressor fires its homing missiles and laser beams.
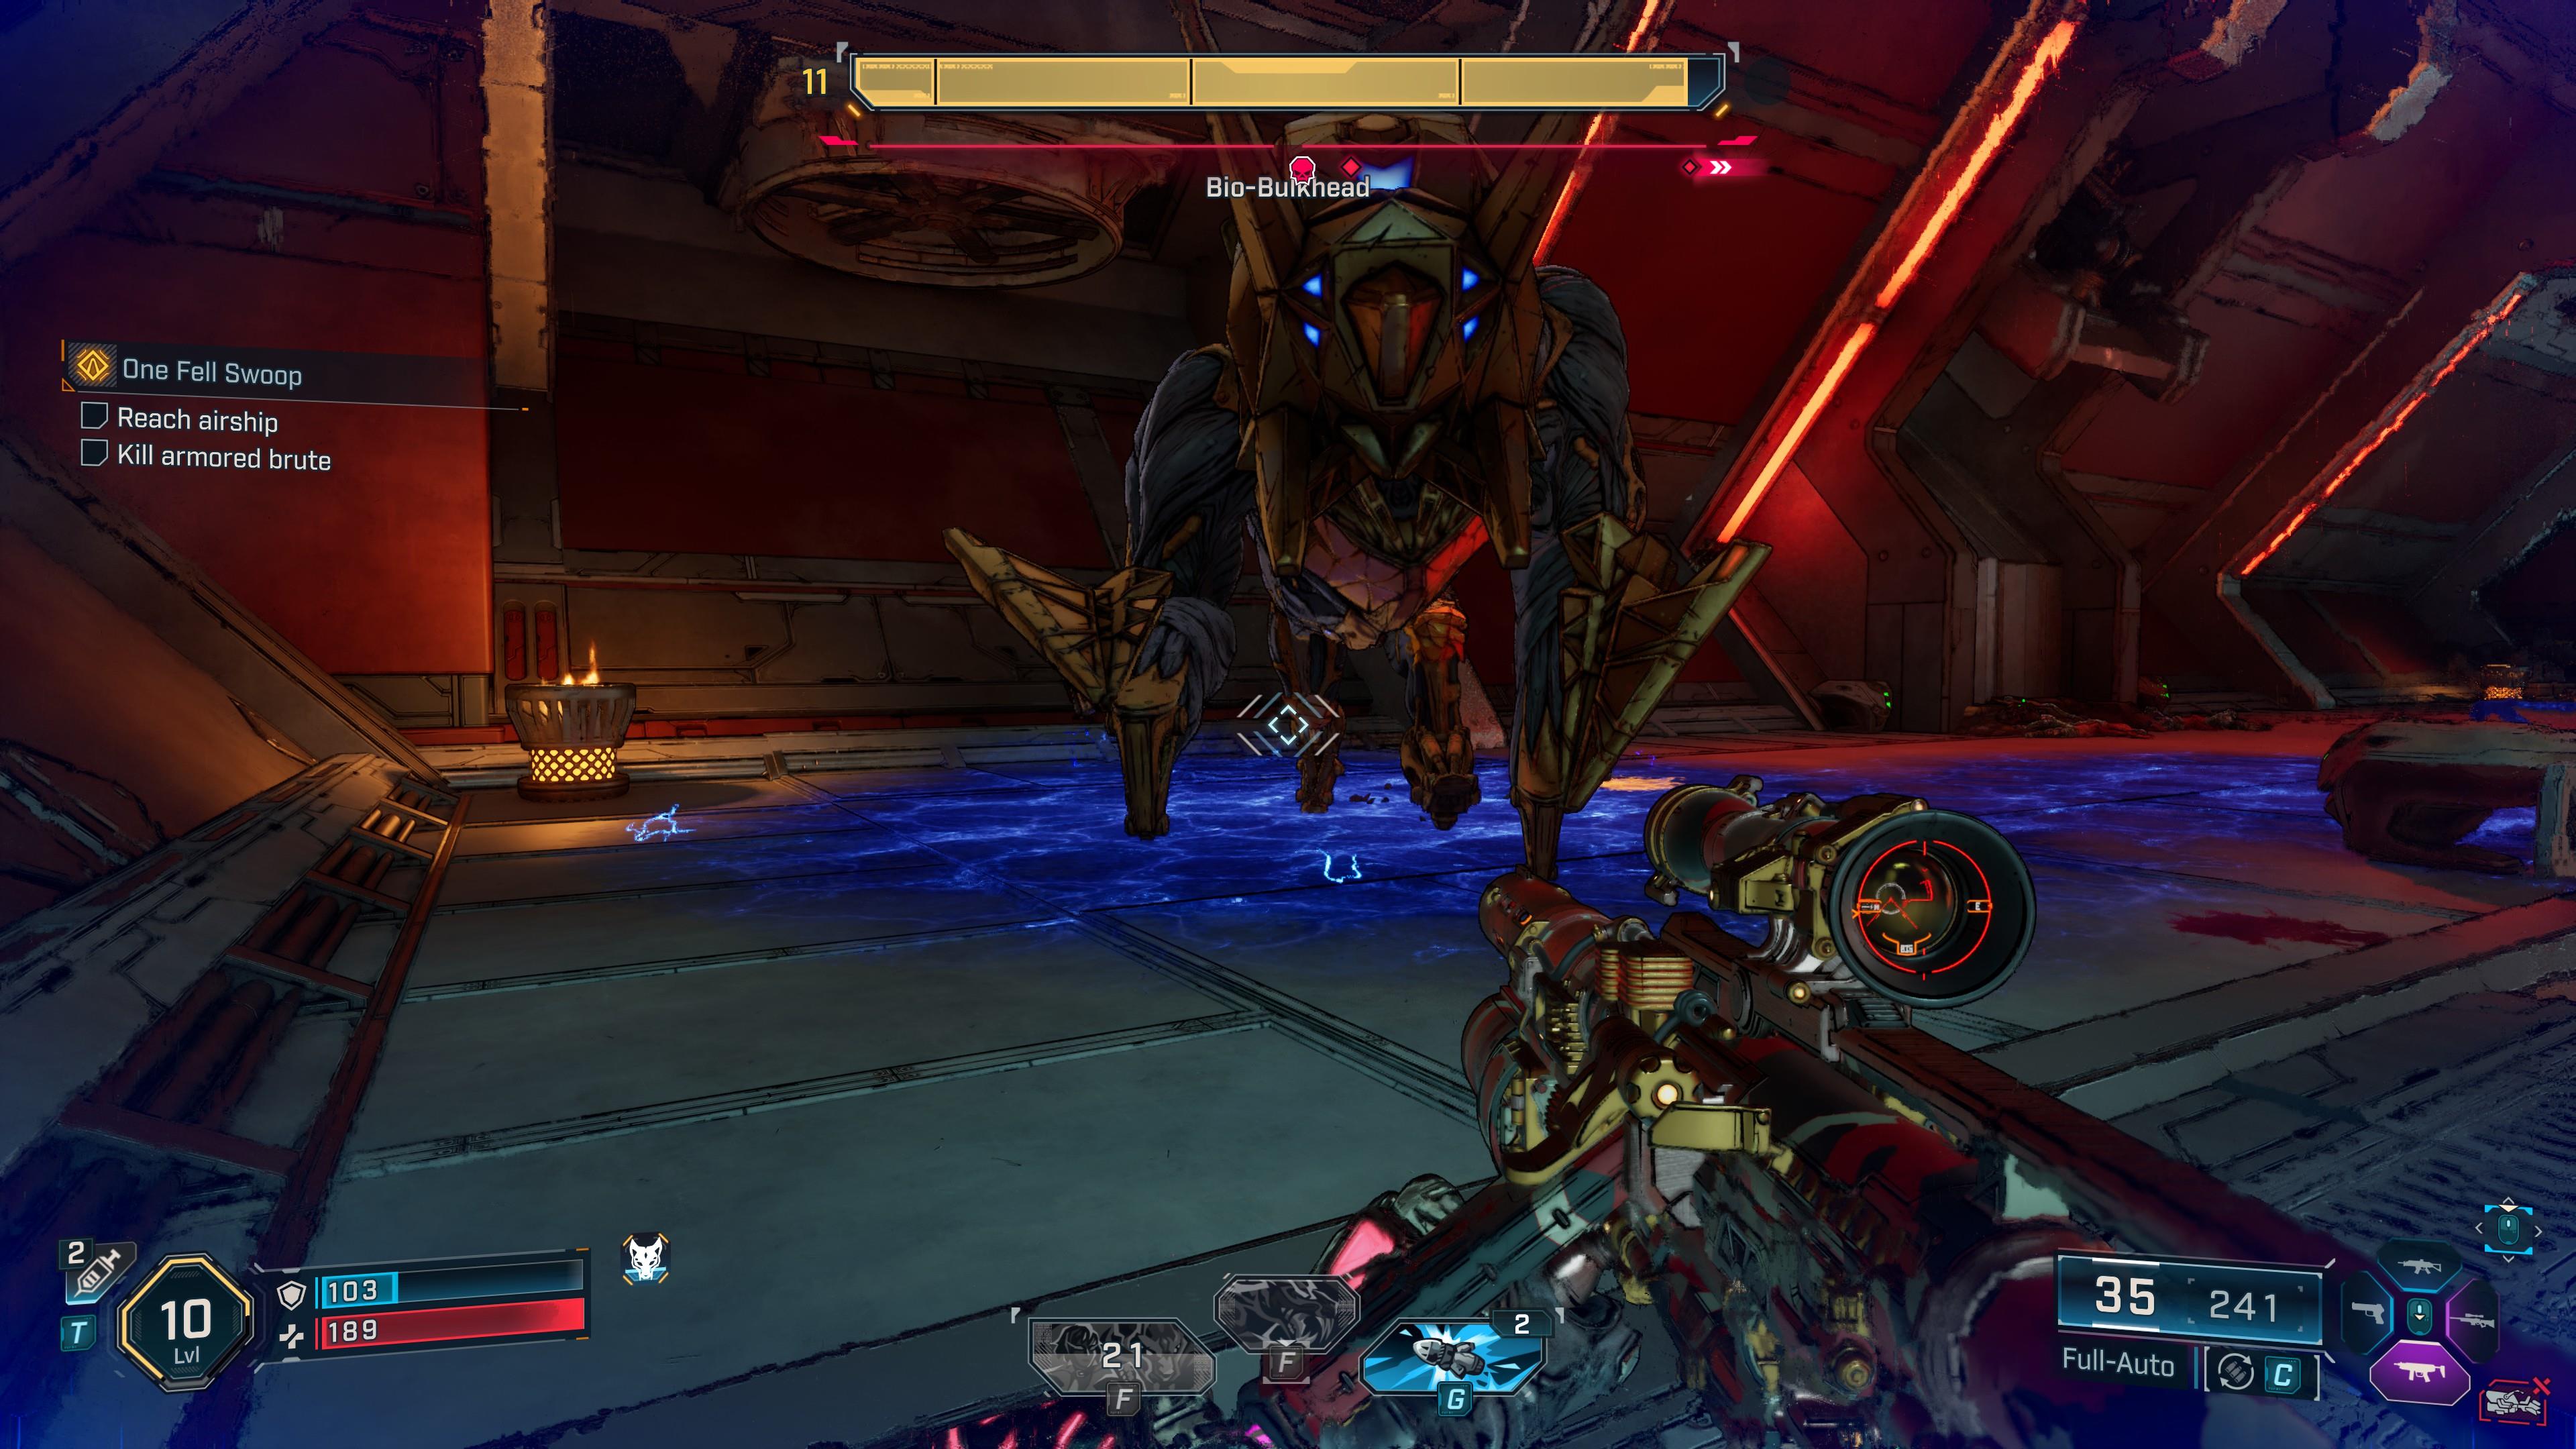
Bio-Bulkhead
Mission: One Fell Swoop
This Bulkhead boss in Borderlands 4 has been mutated as a result of experiments. Similar to other Bulkheads, you have to keep your distance from this monster due to its devastating pounces and melee strikes.
Another mechanic that you need to be mindful of are the Locust Canisters. You must use your grapple to grab and toss these at the Bio-Bulkhead. Successfully hitting it causes the boss to lose its immunity, allowing you to deal a lot of damage until the effect expires.

Idolator Sol
Mission: Rush the Gate
Idolator Sol is a Borderlands 4 boss that concludes the Fadefields arc of the campaign. You have to watch out for his immunity buff, the pillars that he creates, and the grunts that he summons. Here’s a quick summary:
- Idolator Sol will periodically call down several pillars, including a green one that has a Locust Canister. Like the Bio-Bulkhead, throwing the Locust Canister at Idolator Sol removes his invulnerability for a short duration.
- However, Sol also summons grunts that shoot your character. After a short while, he will latch onto these minions and gobble them up to refresh his health. As such, you must quickly kill the guards to prevent the boss from restoring his HP.
- Later in the fight, parts of the arena will be shrouded in corrupted energy. You have to stand in the safe zones while still eliminating Sol's guards and bombarding him with Locust Canisters.
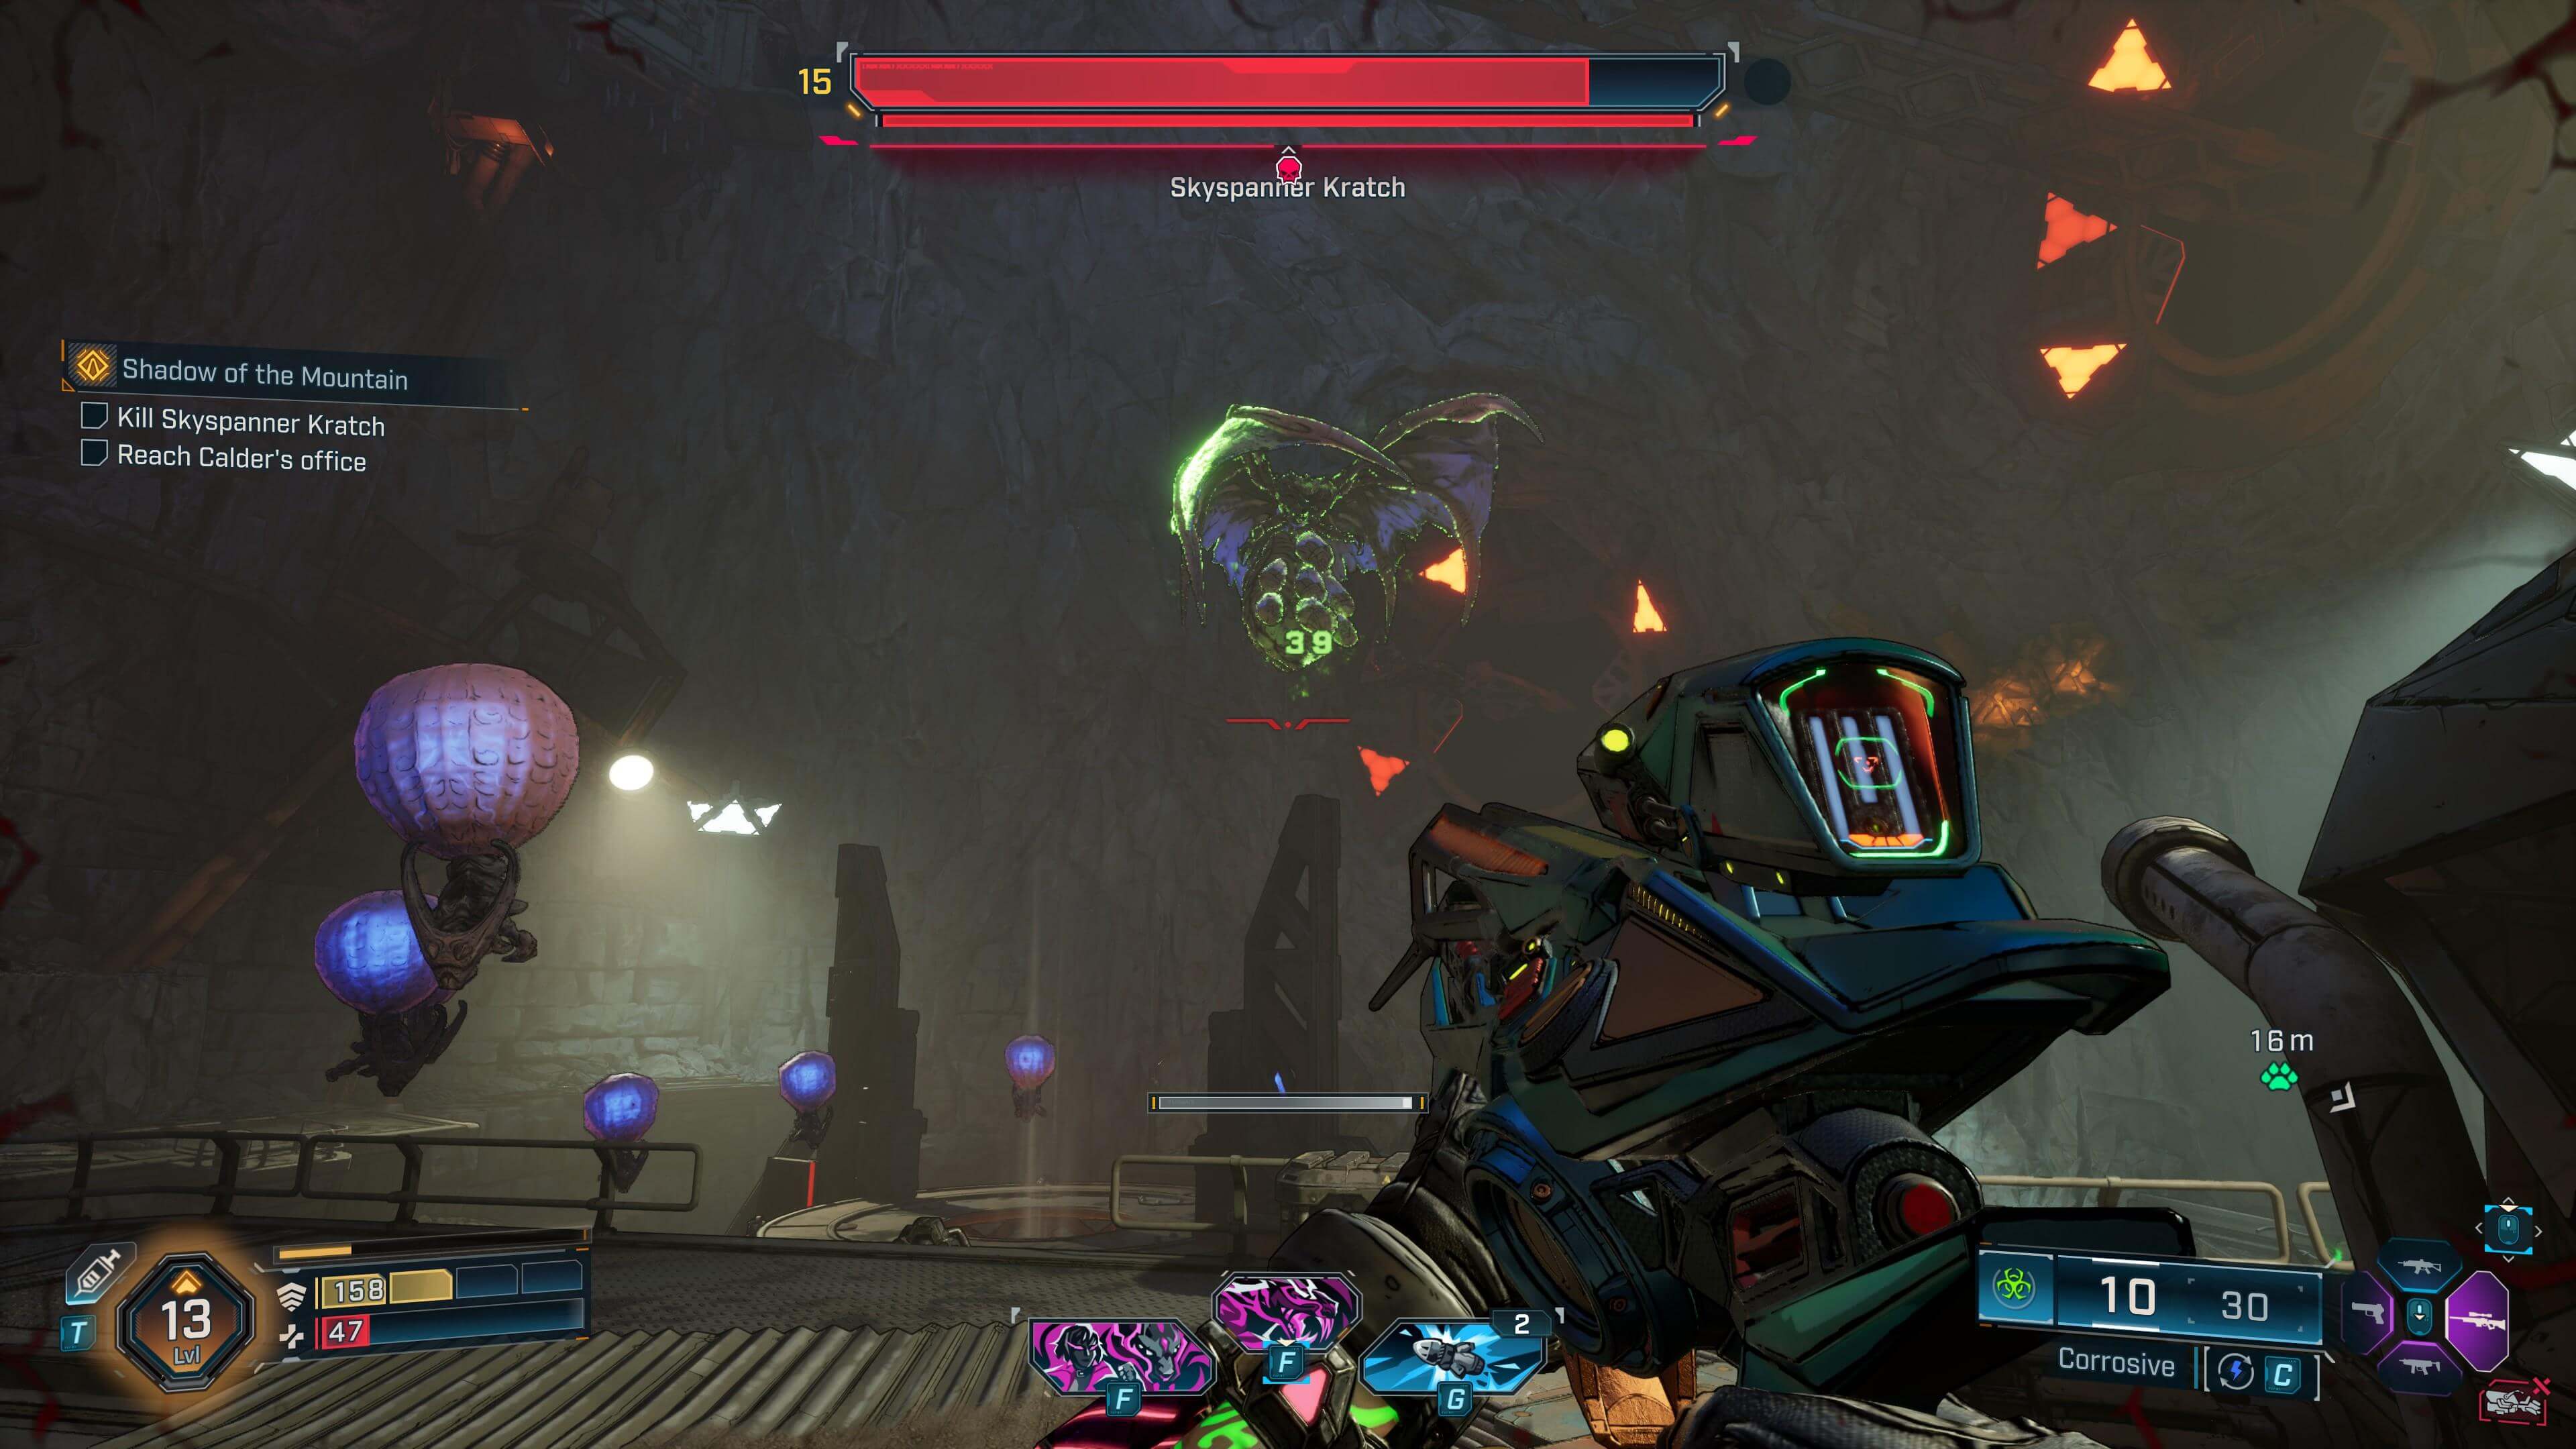
Skyspanner Kratch
Mission: Shadow of the Mountain
The giant cave bat known as the Skyspanner Kratch is the first boss of the Terminus Range arc—but don't underestimate this fight. Ideally you should be at least Level 15 before attempting it, because the Skyspanner Kratch and its flying minions deal a ton of damage, both in the form of sonar screams that hit multiple times and annoying creatures that swarm all around you.
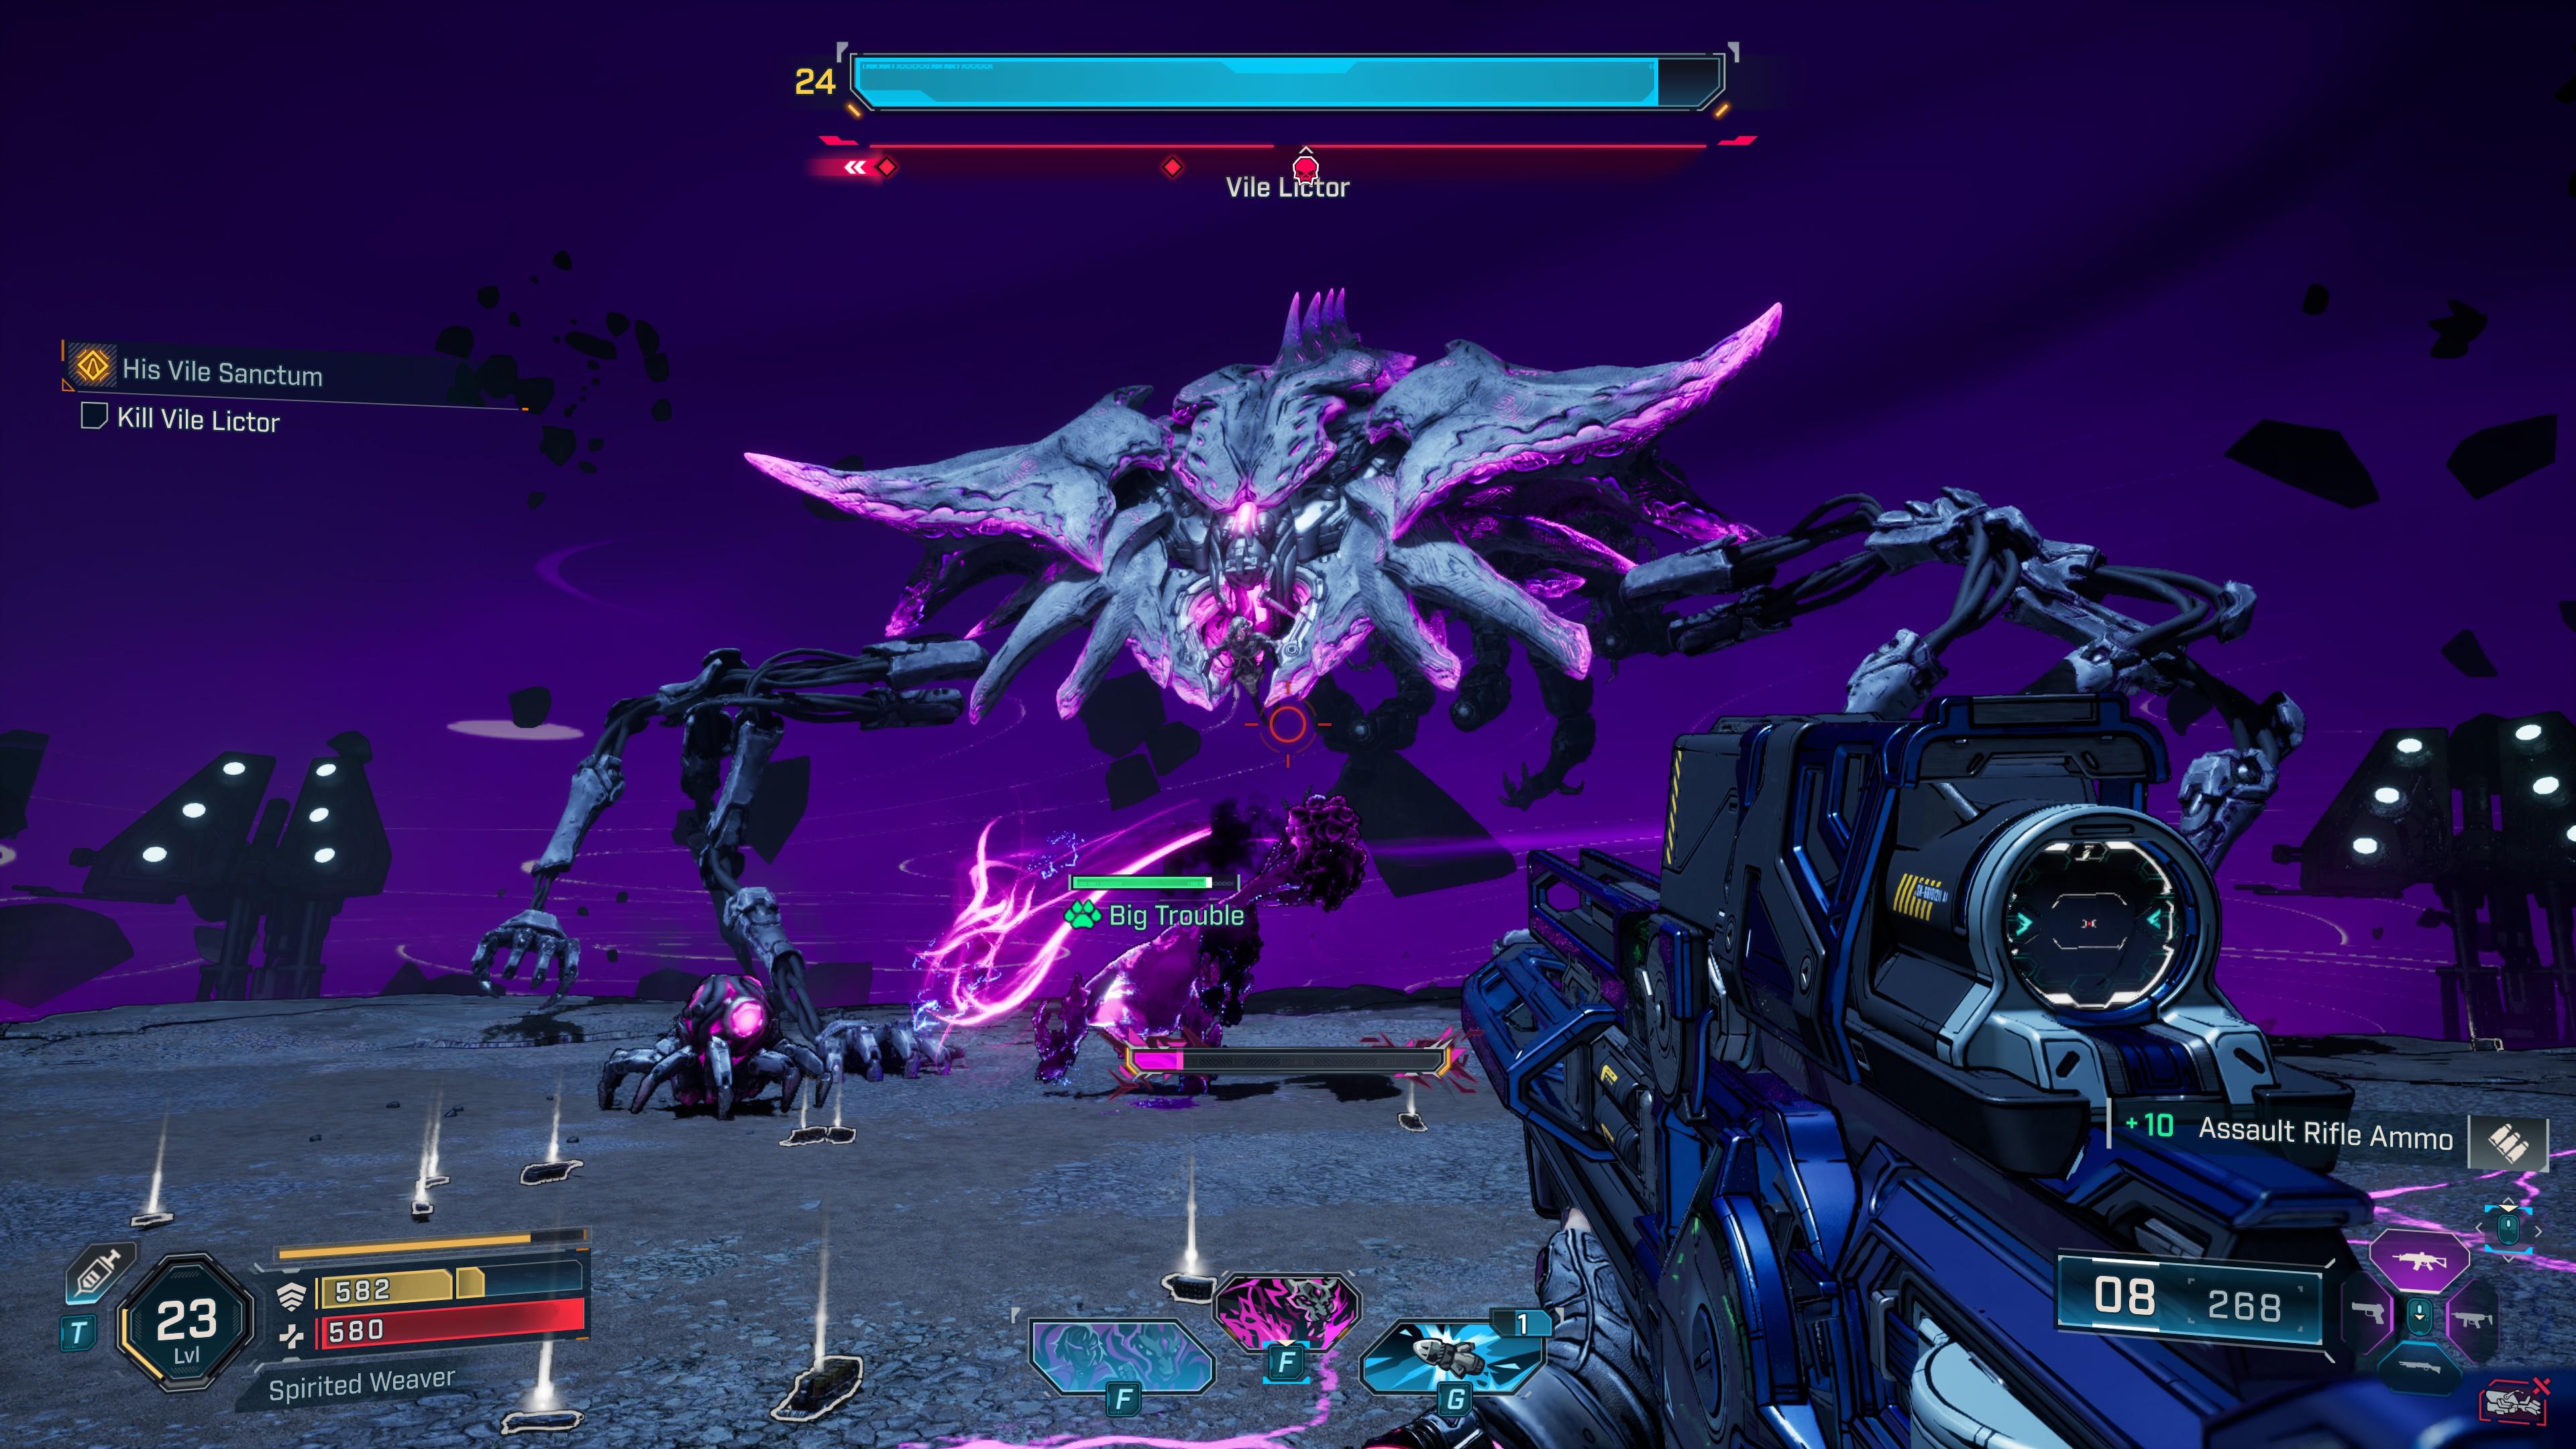
Vile Lictor
Mission: His Vile Sanctum
Vile Lictor is yet another of the Timekeeper’s Lieutenants, and your bout against him will test your reaction time, thanks to several deadly abilities:
- Vile Lictor’s Hundred Hands spawns multiple projectiles that beeline for your character’s location. It’s imperative that you get out of the way quickly.
- He also has a couple of versions of his Spectral Wall. One travels along the ground, which means you need to jump to avoid it. Another is divided into segments, so you have to look for gaps as you reposition.
- Lictor’s Teleport ability can be a bit annoying to deal with, so try to have him in your sights at all times.
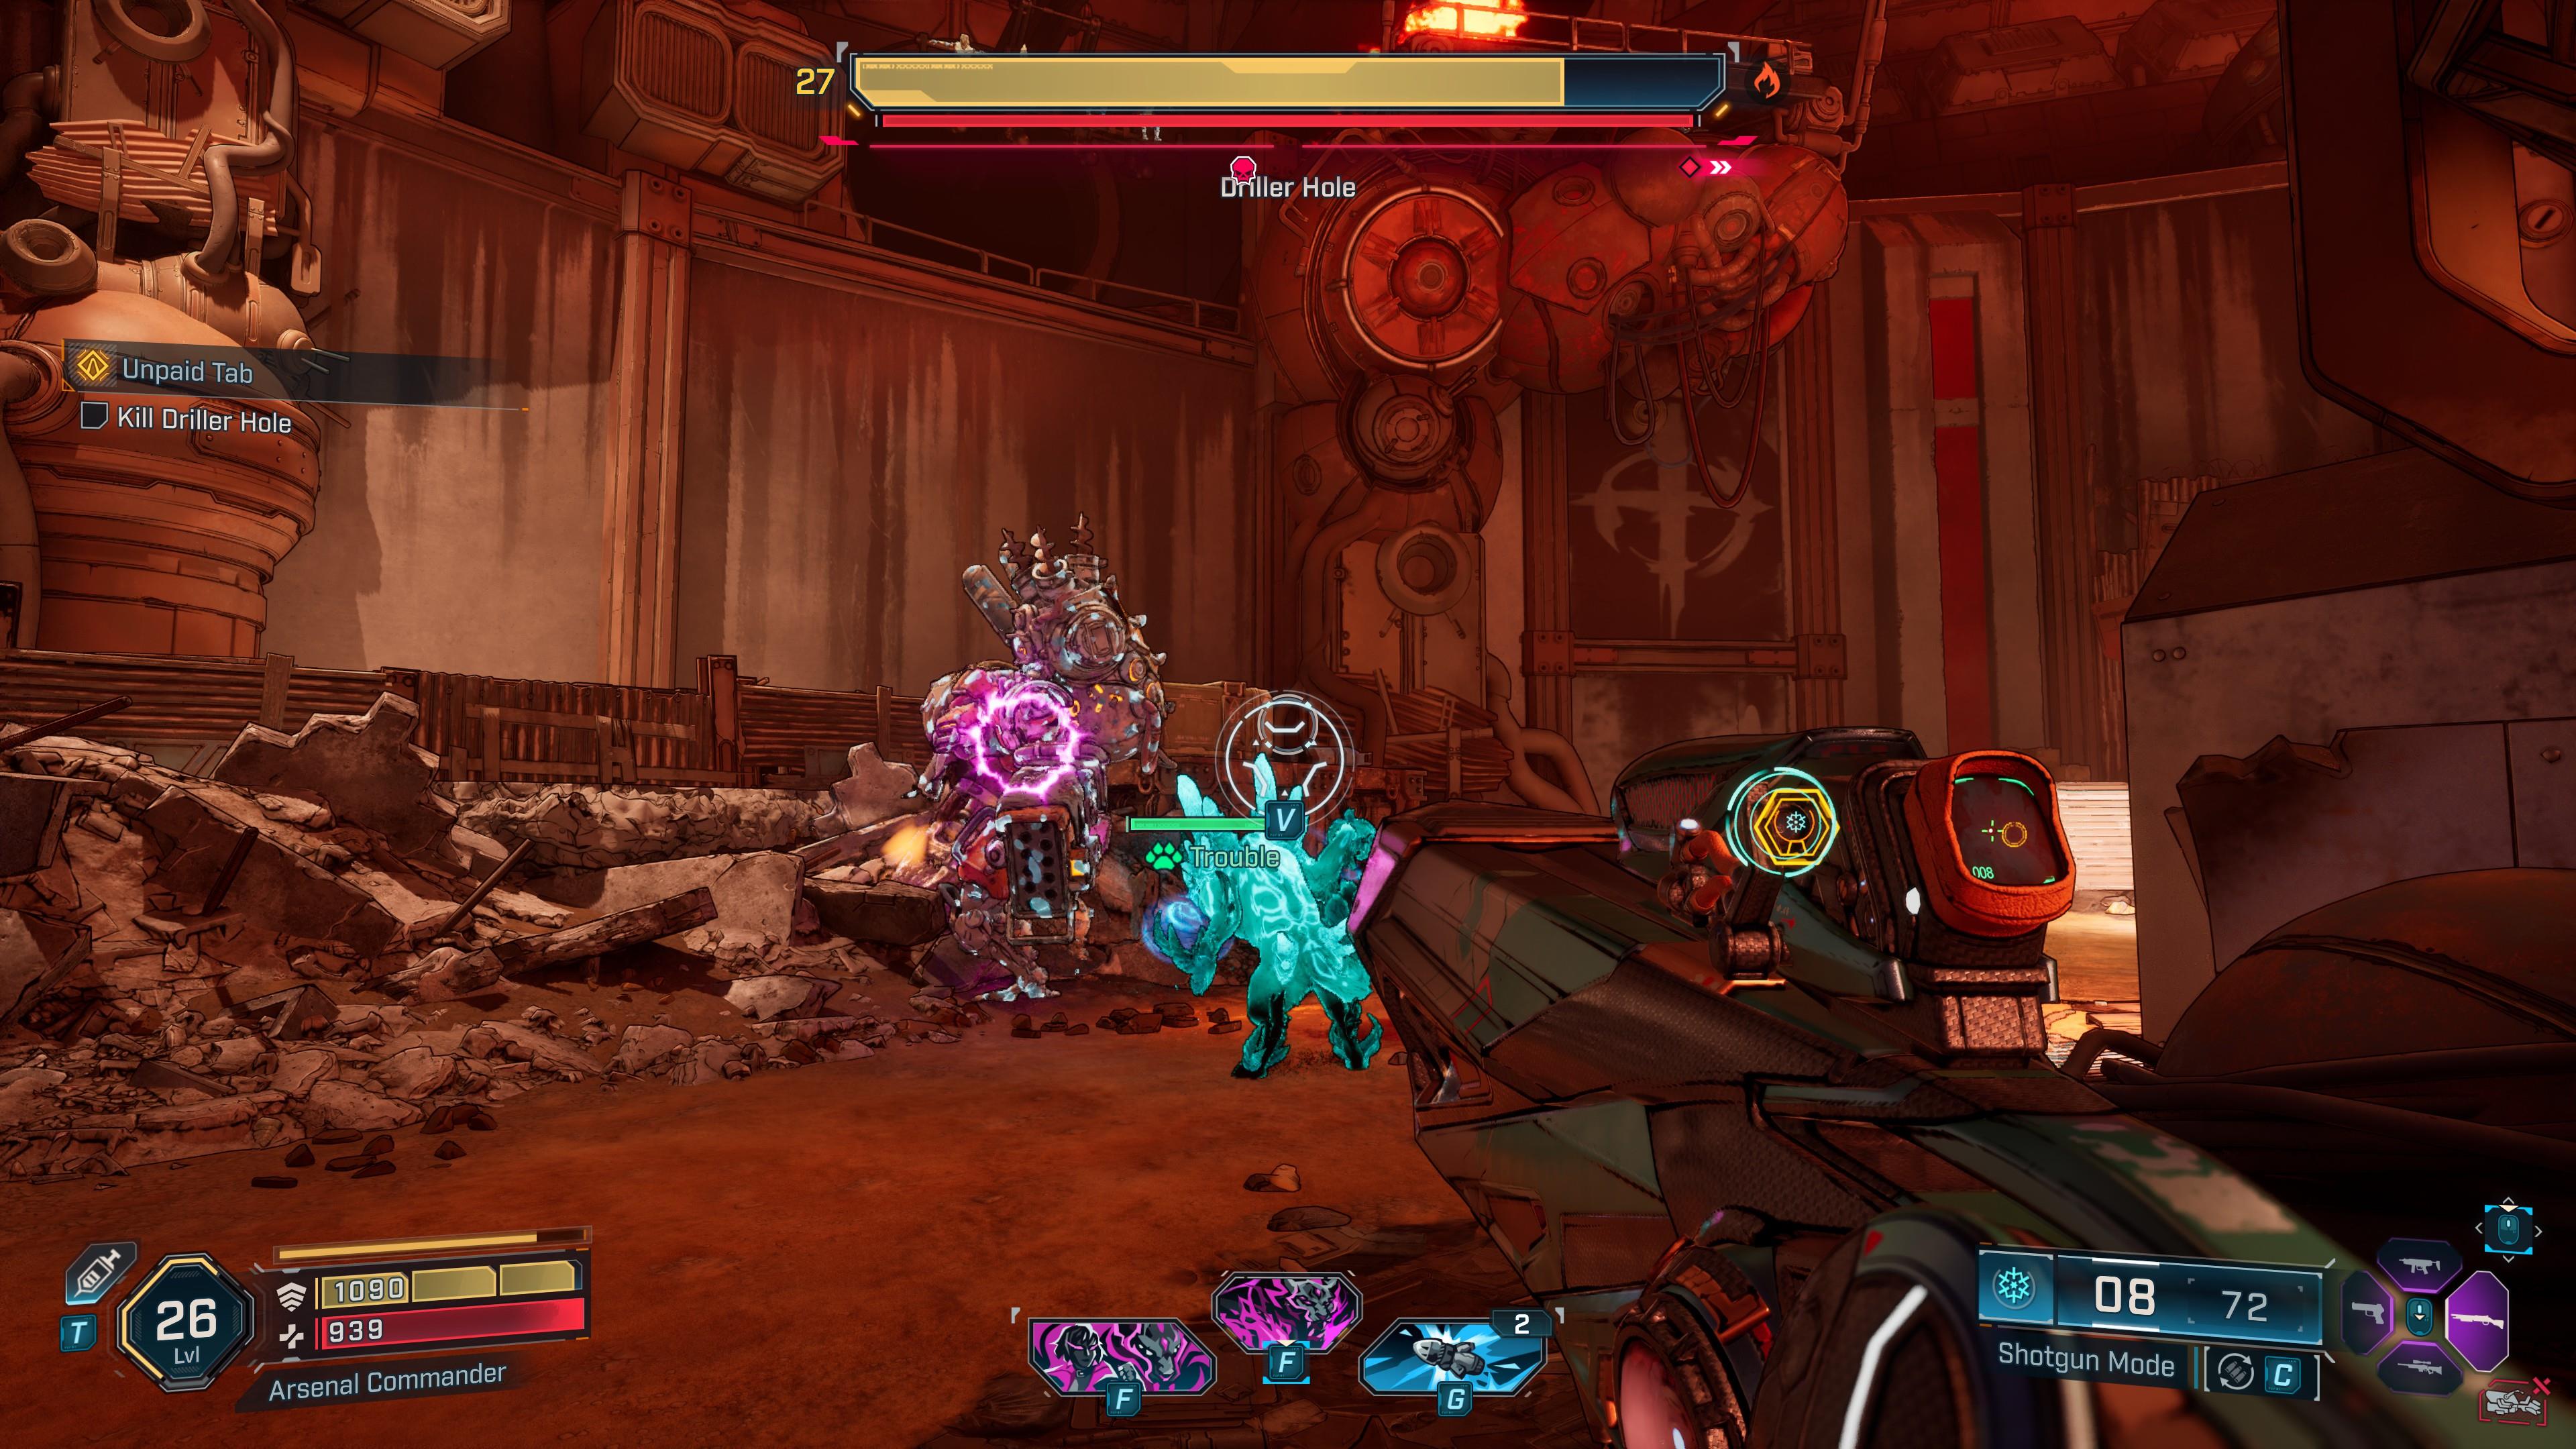
Driller Hole
Mission: Unpaid Tab
After doing a couple of missions in Carcadia Burn, you’ll eventually face Driller Hole in an underground prison. Think of him as a ranged artillery version of Splashzone. He hits hard, but most of his attacks bombard an area and cause Incendiary damage. A few Rippers appear, too, so check your flanks constantly.
Note that you have the opportunity to save an NPC named Quent after the fight. This is done by pulling all the levers at the top of the machinery and destroying the pipes on the ceiling.
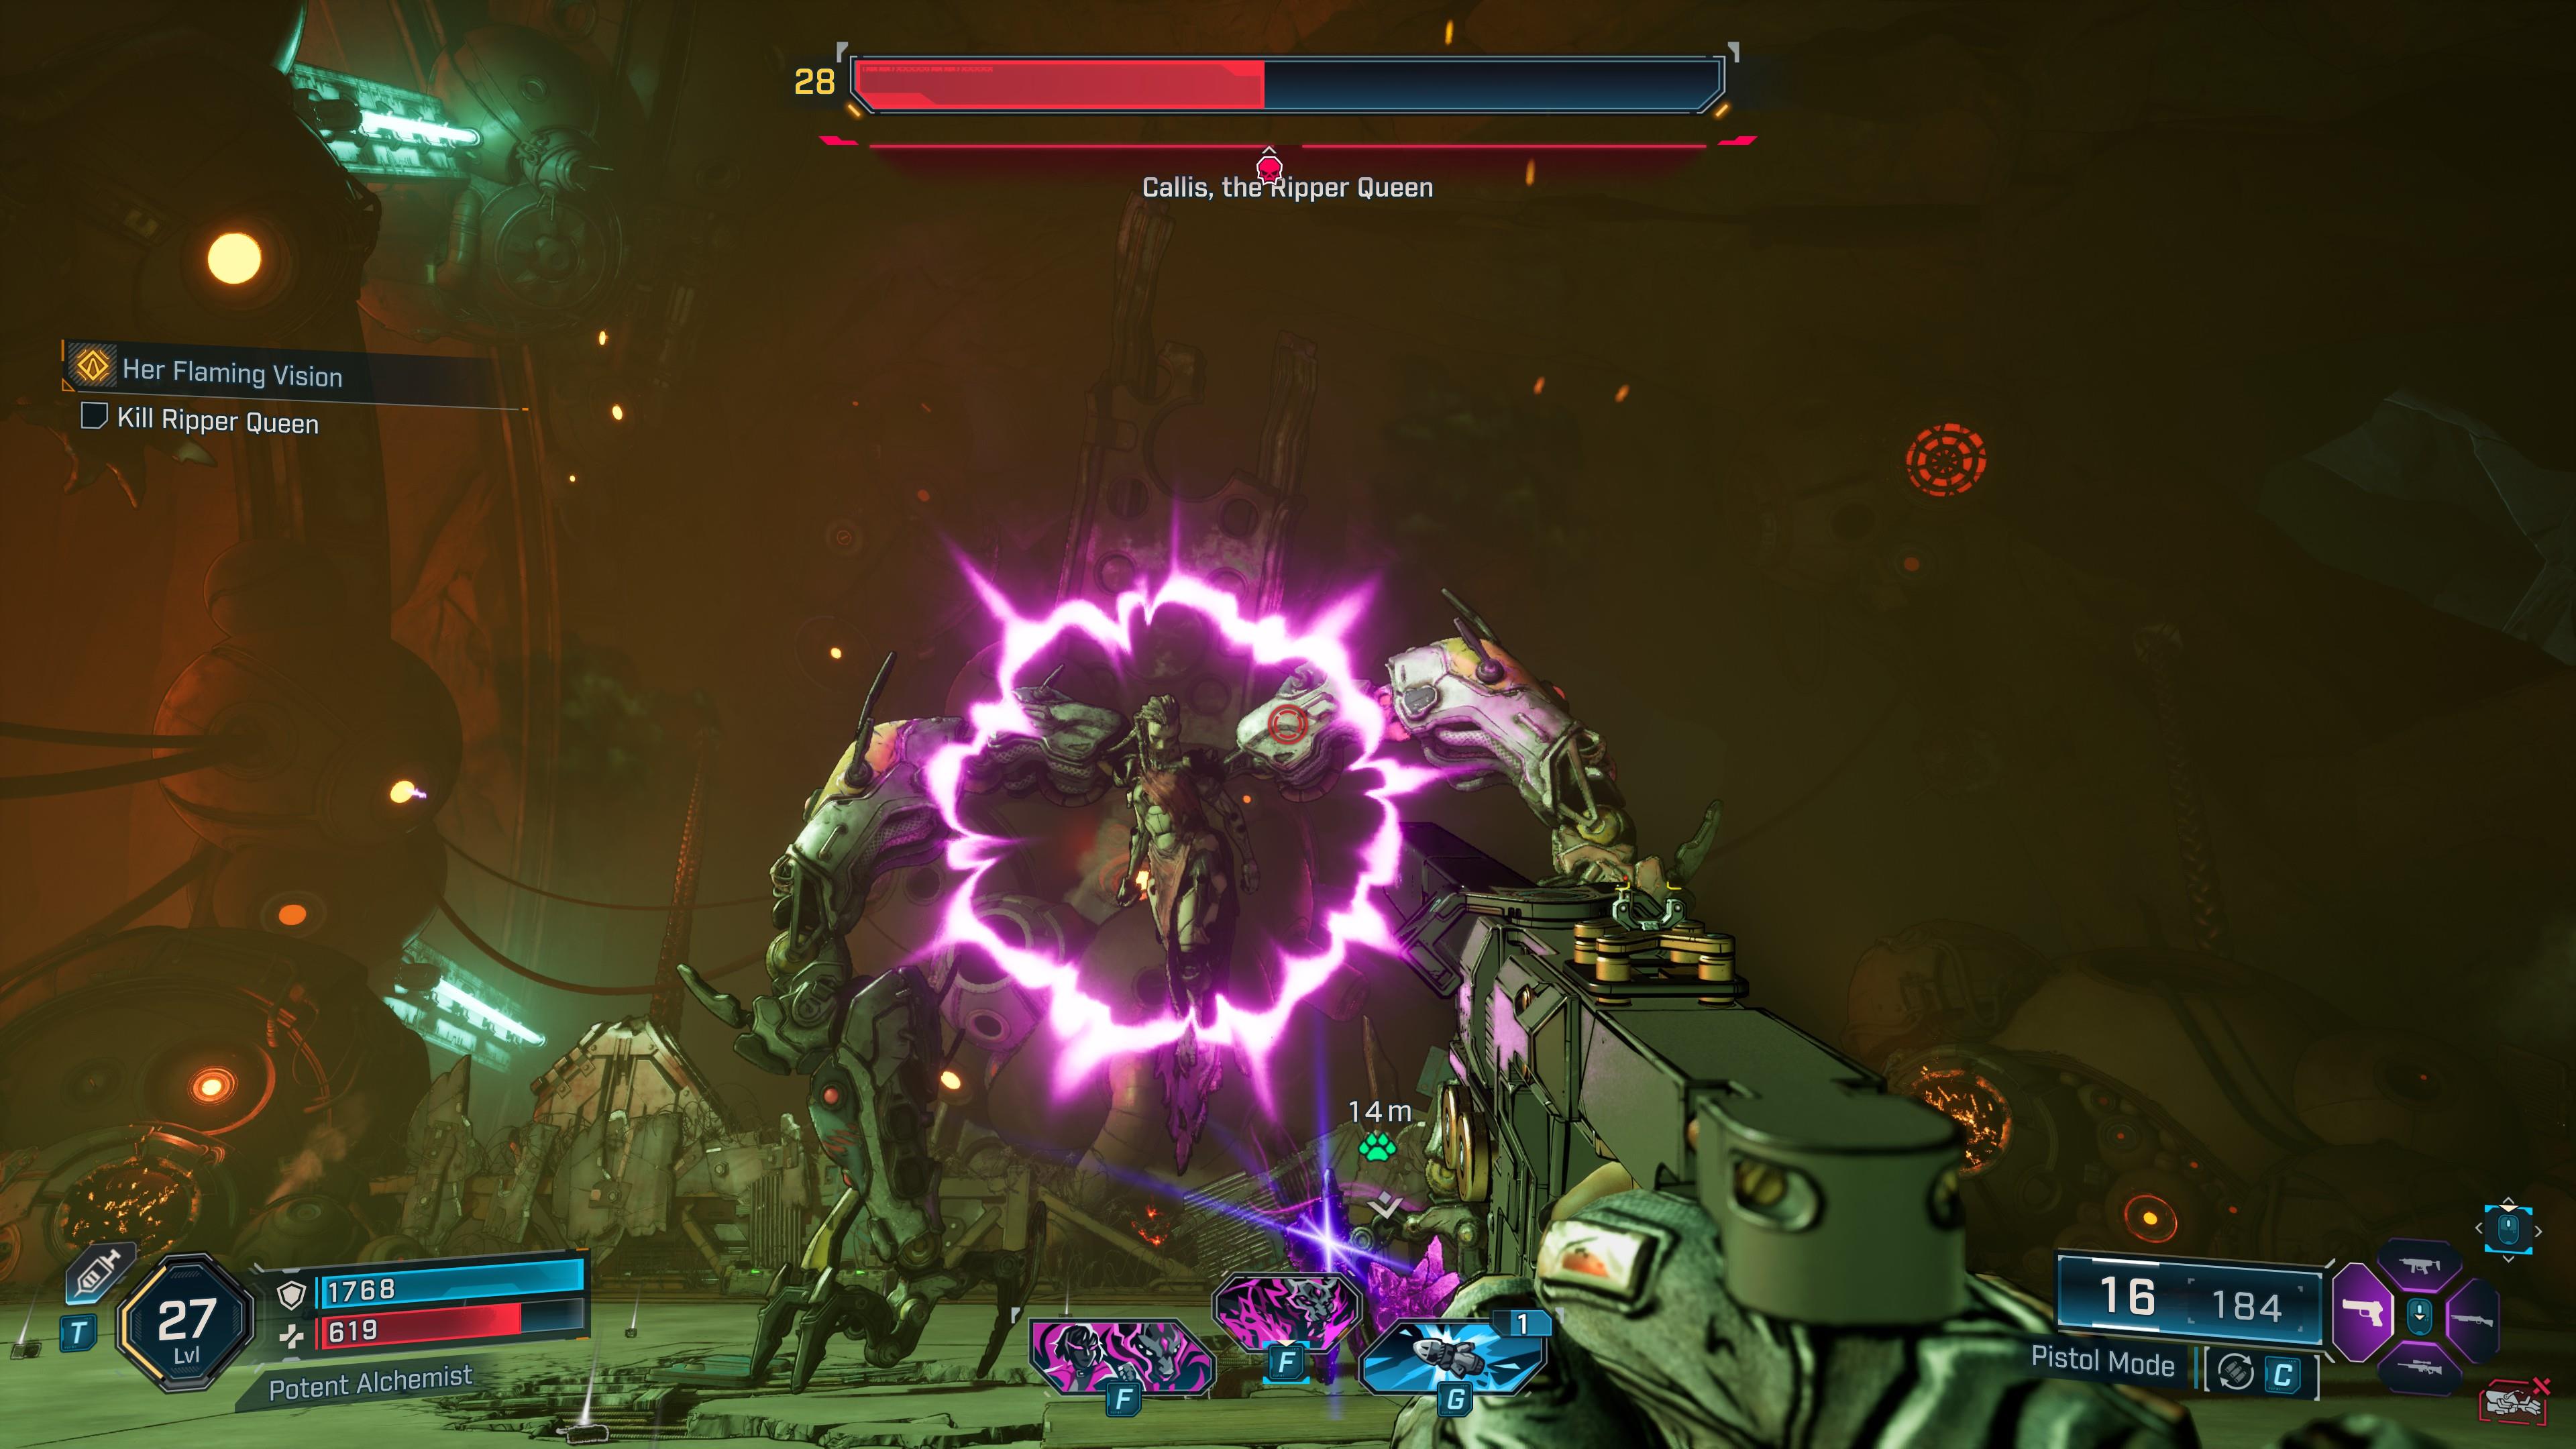
Callis the Ripper Queen
Mission: Her Flaming Vision
This Borderlands 4 boss is the last of the Timekeeper’s Lieutenants, and she has erratic attack patterns that are hard to track as she twists, turns, and leaps around the chamber. That said, you’ll learn these patterns as the fight progresses:
- Her Fire Orbs travel along the ground before returning to her. These deal a lot of damage.
- She creates Drone Mines that explode after a short duration.
- She periodically summons Rippers that carry bombs.
- Once you’ve depleted her first health segment, she’ll climb on the wall and create Laser Nets that deal damage and immobilize your character.
Moon-Maddened Callis
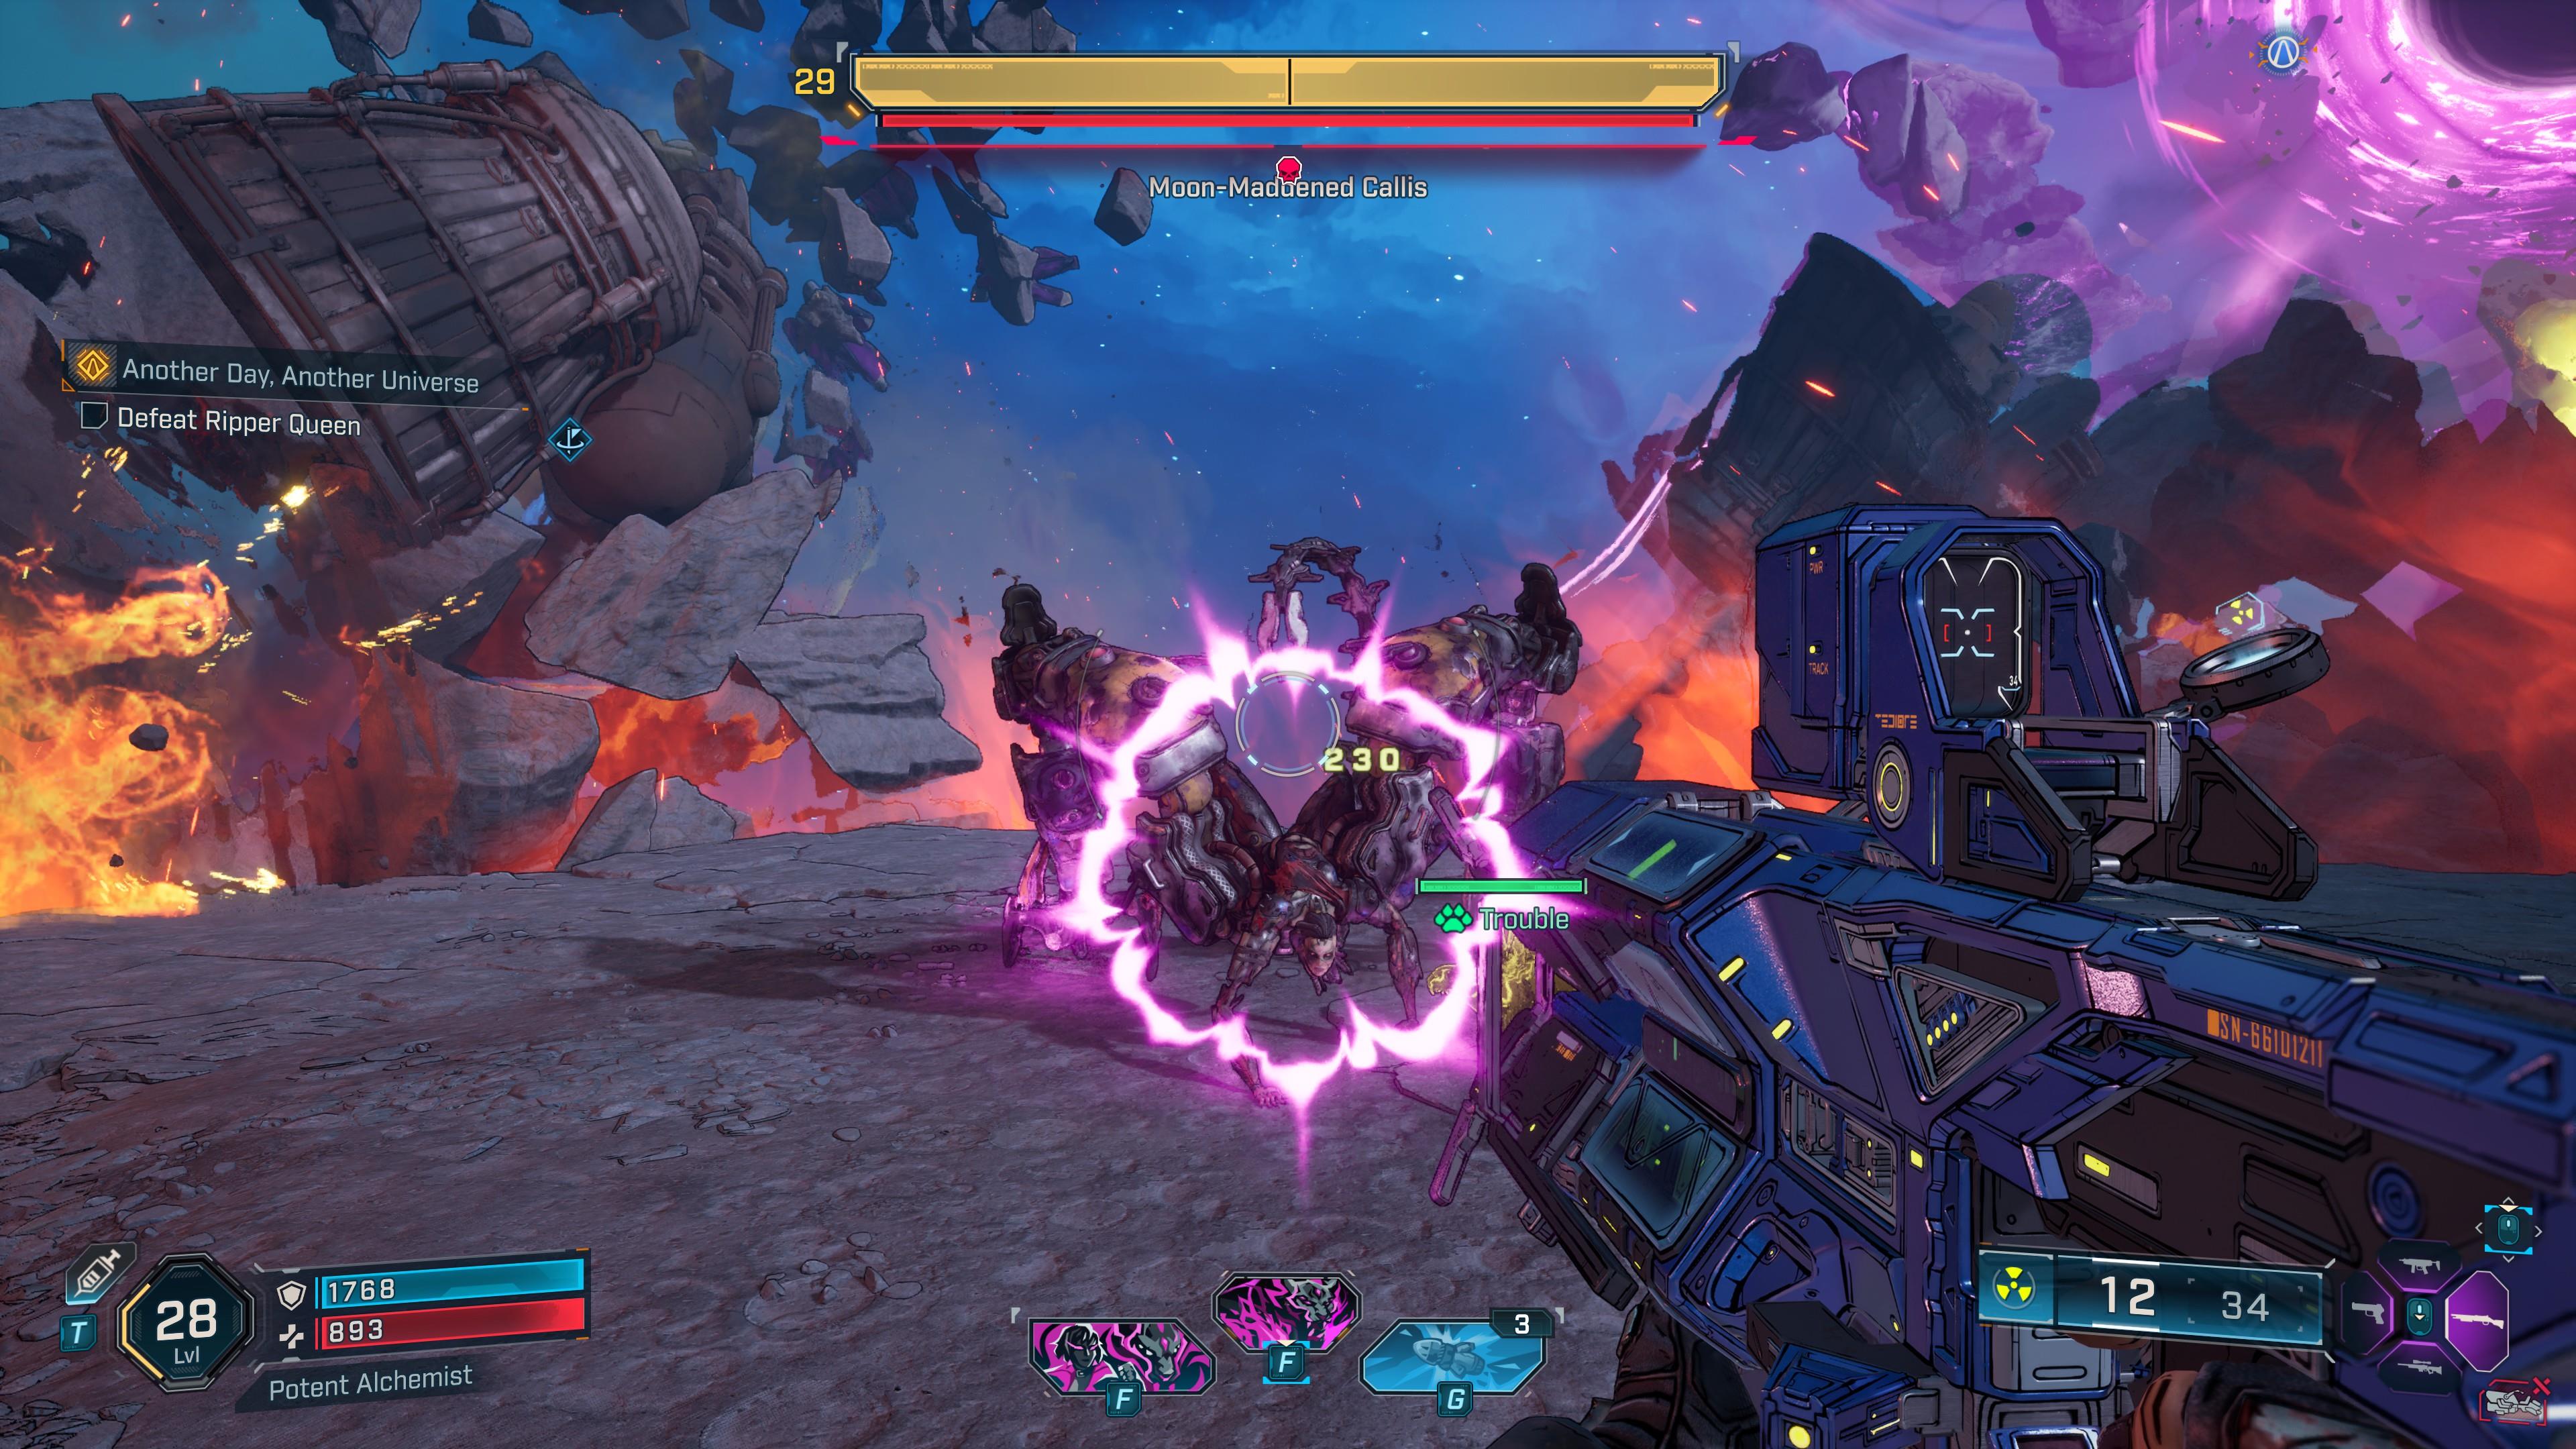
Mission: Another Day, Another Universe
Your next encounter with Callis takes place on the shattered moon of Elpis. She retains most of her abilities from the previous bout, but there are new dangers as well. The most obvious one is the floating chunk of rock that you’re standing on. If you’re pushed off of it, you'll have to grapple immediately to return to the arena. As for her phase transition, she casts a wide net overhead. Stay low and avoid her attacks and bombs to survive.
The Timekeeper
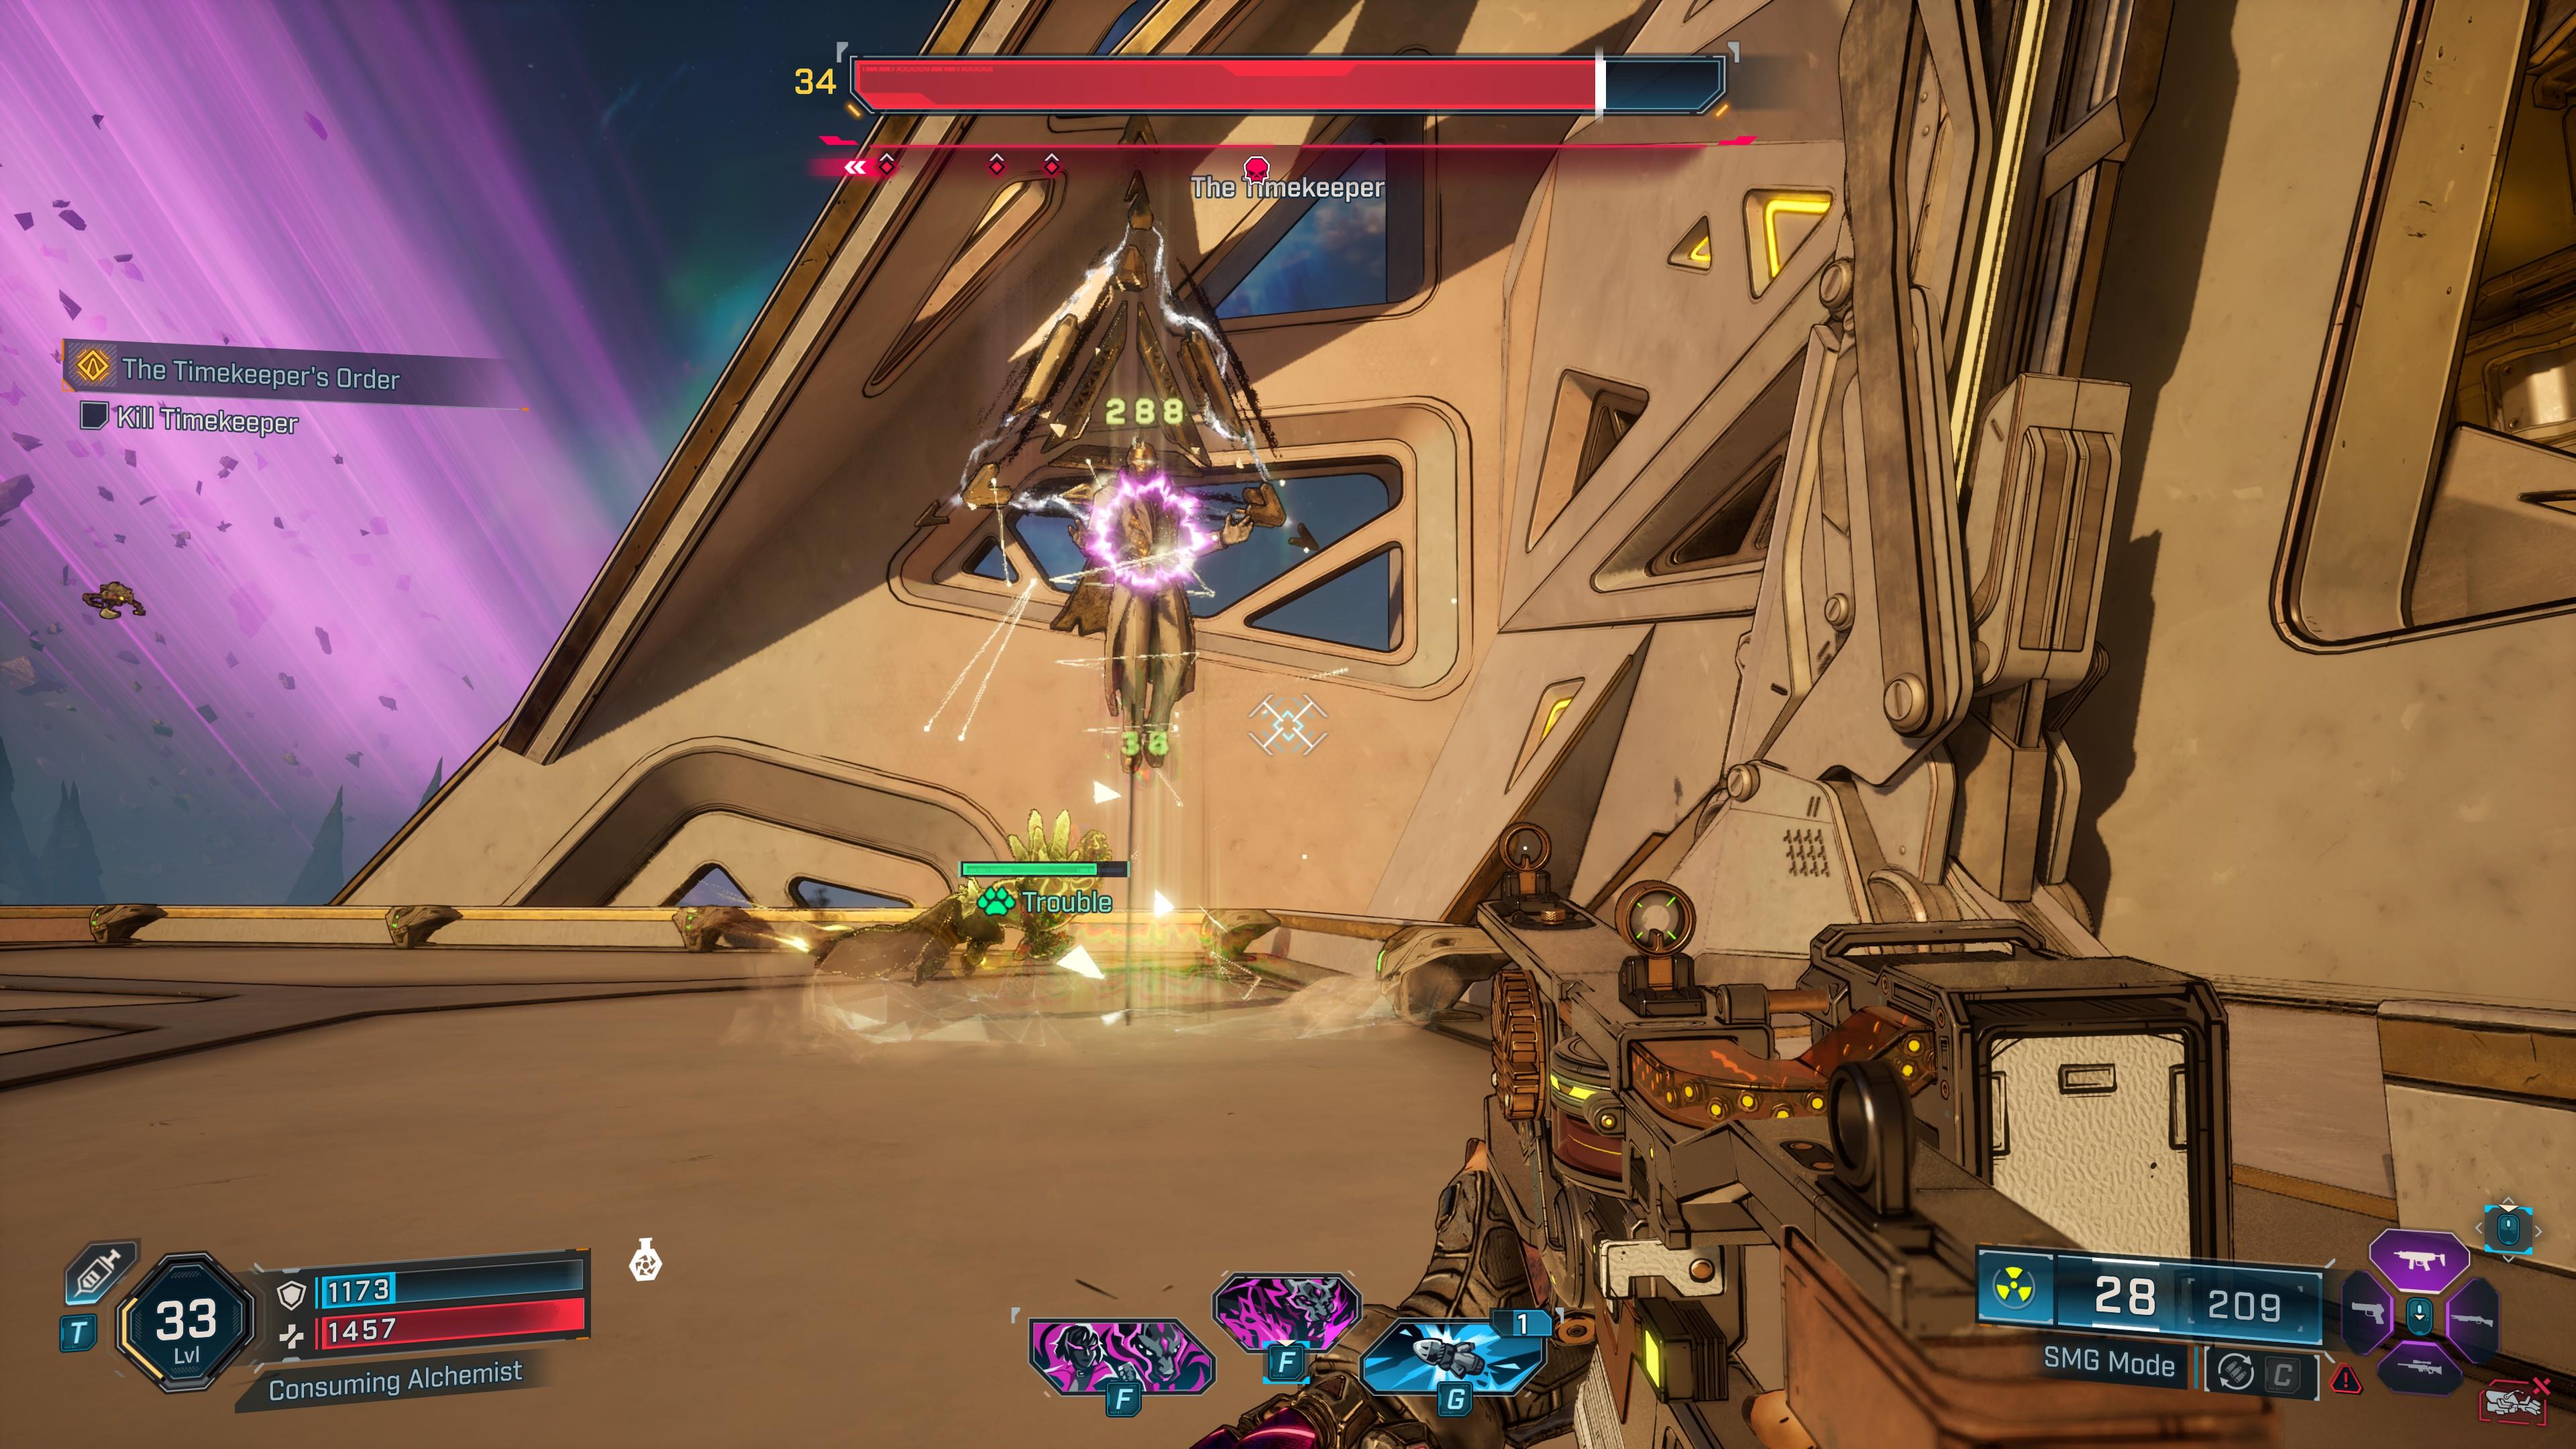
Mission: The Timekeeper’s Order
Get ready to cap off the finale with a series of Borderlands 4 boss battles. The Timekeeper actually has three health segments—shield (blue), armor (yellow), and flesh (red). He’s also got several destructive and mind-bending abilities:
- Lasers and projectiles: The Timekeeper periodically shoots out lasers and projectiles that travel outward.
- Golden Wall: He’ll shield himself while floating mechanisms shoot you. The Timekeeper can still be damaged if you throw a grenade that splits or causes lingering effects.
- Blinding Blast: The ground glows gold, followed by a blinding flash. You must do a quick 180-degree turn to face away from the Timekeeper to negate this effect.
- Aerial Assault: The Timekeeper’s phase transitions involve tossing you up in mid-air and firing large projectiles as you fall down. You have to glide to safe spots to avoid these.

Timekeeper (Phase 2)
Mission: The Timekeeper’s Order
After completely depleting all of the Timekeeper’s health bars, a cutscene will trigger and you’ll have to fight the Timekeeper again—only more powerful. You don’t want to perish during this portion, as that means redoing the earlier phase.
In this new phase, the Timekeeper has some new abilities you'll need to watch out for:
- Fragment Scatter: The Timekeeper shoots several fragments, akin to missiles.
- Fragment Matrix: The fragments explode after a while, creating an energy matrix that criss-crosses the arena.
- Bounce and Blast: If you’re in melee range, the Timekeeper will swipe at you, causing you to be suspended in mid-air and vulnerable to an energy blast. If you get pushed out of the arena, swiftly grapple back onto solid ground.
- Aerial Annihilation: The Timekeeper’s phase transitions create a damaging aura on the ground. You must grapple onto the floating ledges while avoiding his beams and projectiles.
Final Boss
Mission: Secrets of the Vault
It’s not over yet as there’s one more foe left to face. Your battle against the last boss (unnamed at Gearbox's request) is primarily dependent on avoidance and careful positioning. Their most devastating ability is the Tornado Storm, where they create several twisters that rapidly deplete your health. The goal is to carefully make your way closer to them so you can grapple his body and interrupt the casting animation.
That does it for our Borderlands 4 bosses guide. We hope these tips aid you in your quest to bring down these threatening foes. Of course, once you’ve completed the campaign, you might want to know what to expect from Borderlands 4's Ultimate Vault Hunter mode.
Borderlands 4 is available now on the Epic Games Store.