
Dying Light: The Beast guide: 12 tips you need to know to survive Castor Woods

Dying Light: The Beast, the newest entry in Techland’s popular open-world zombie franchise, sees the return of Kyle Crane, protagonist of the original Dying Light. At some point in the ensuing years, the hero of Harran was captured, tortured, and experimented on by a nefarious scientist known as the Baron.
Crane manages to finally escape at the onset of Dying Light: The Beast, but finds himself lost in Castor Woods—a massive slice of European countryside for you to explore as you hunt down the Baron and his cohorts. Our Dying Light: The Beast beginner's guide will help you survive Castor Woods by covering tips related to combat, traversal/parkouring, Kyle Crane's all-new vicious abilities, and more.
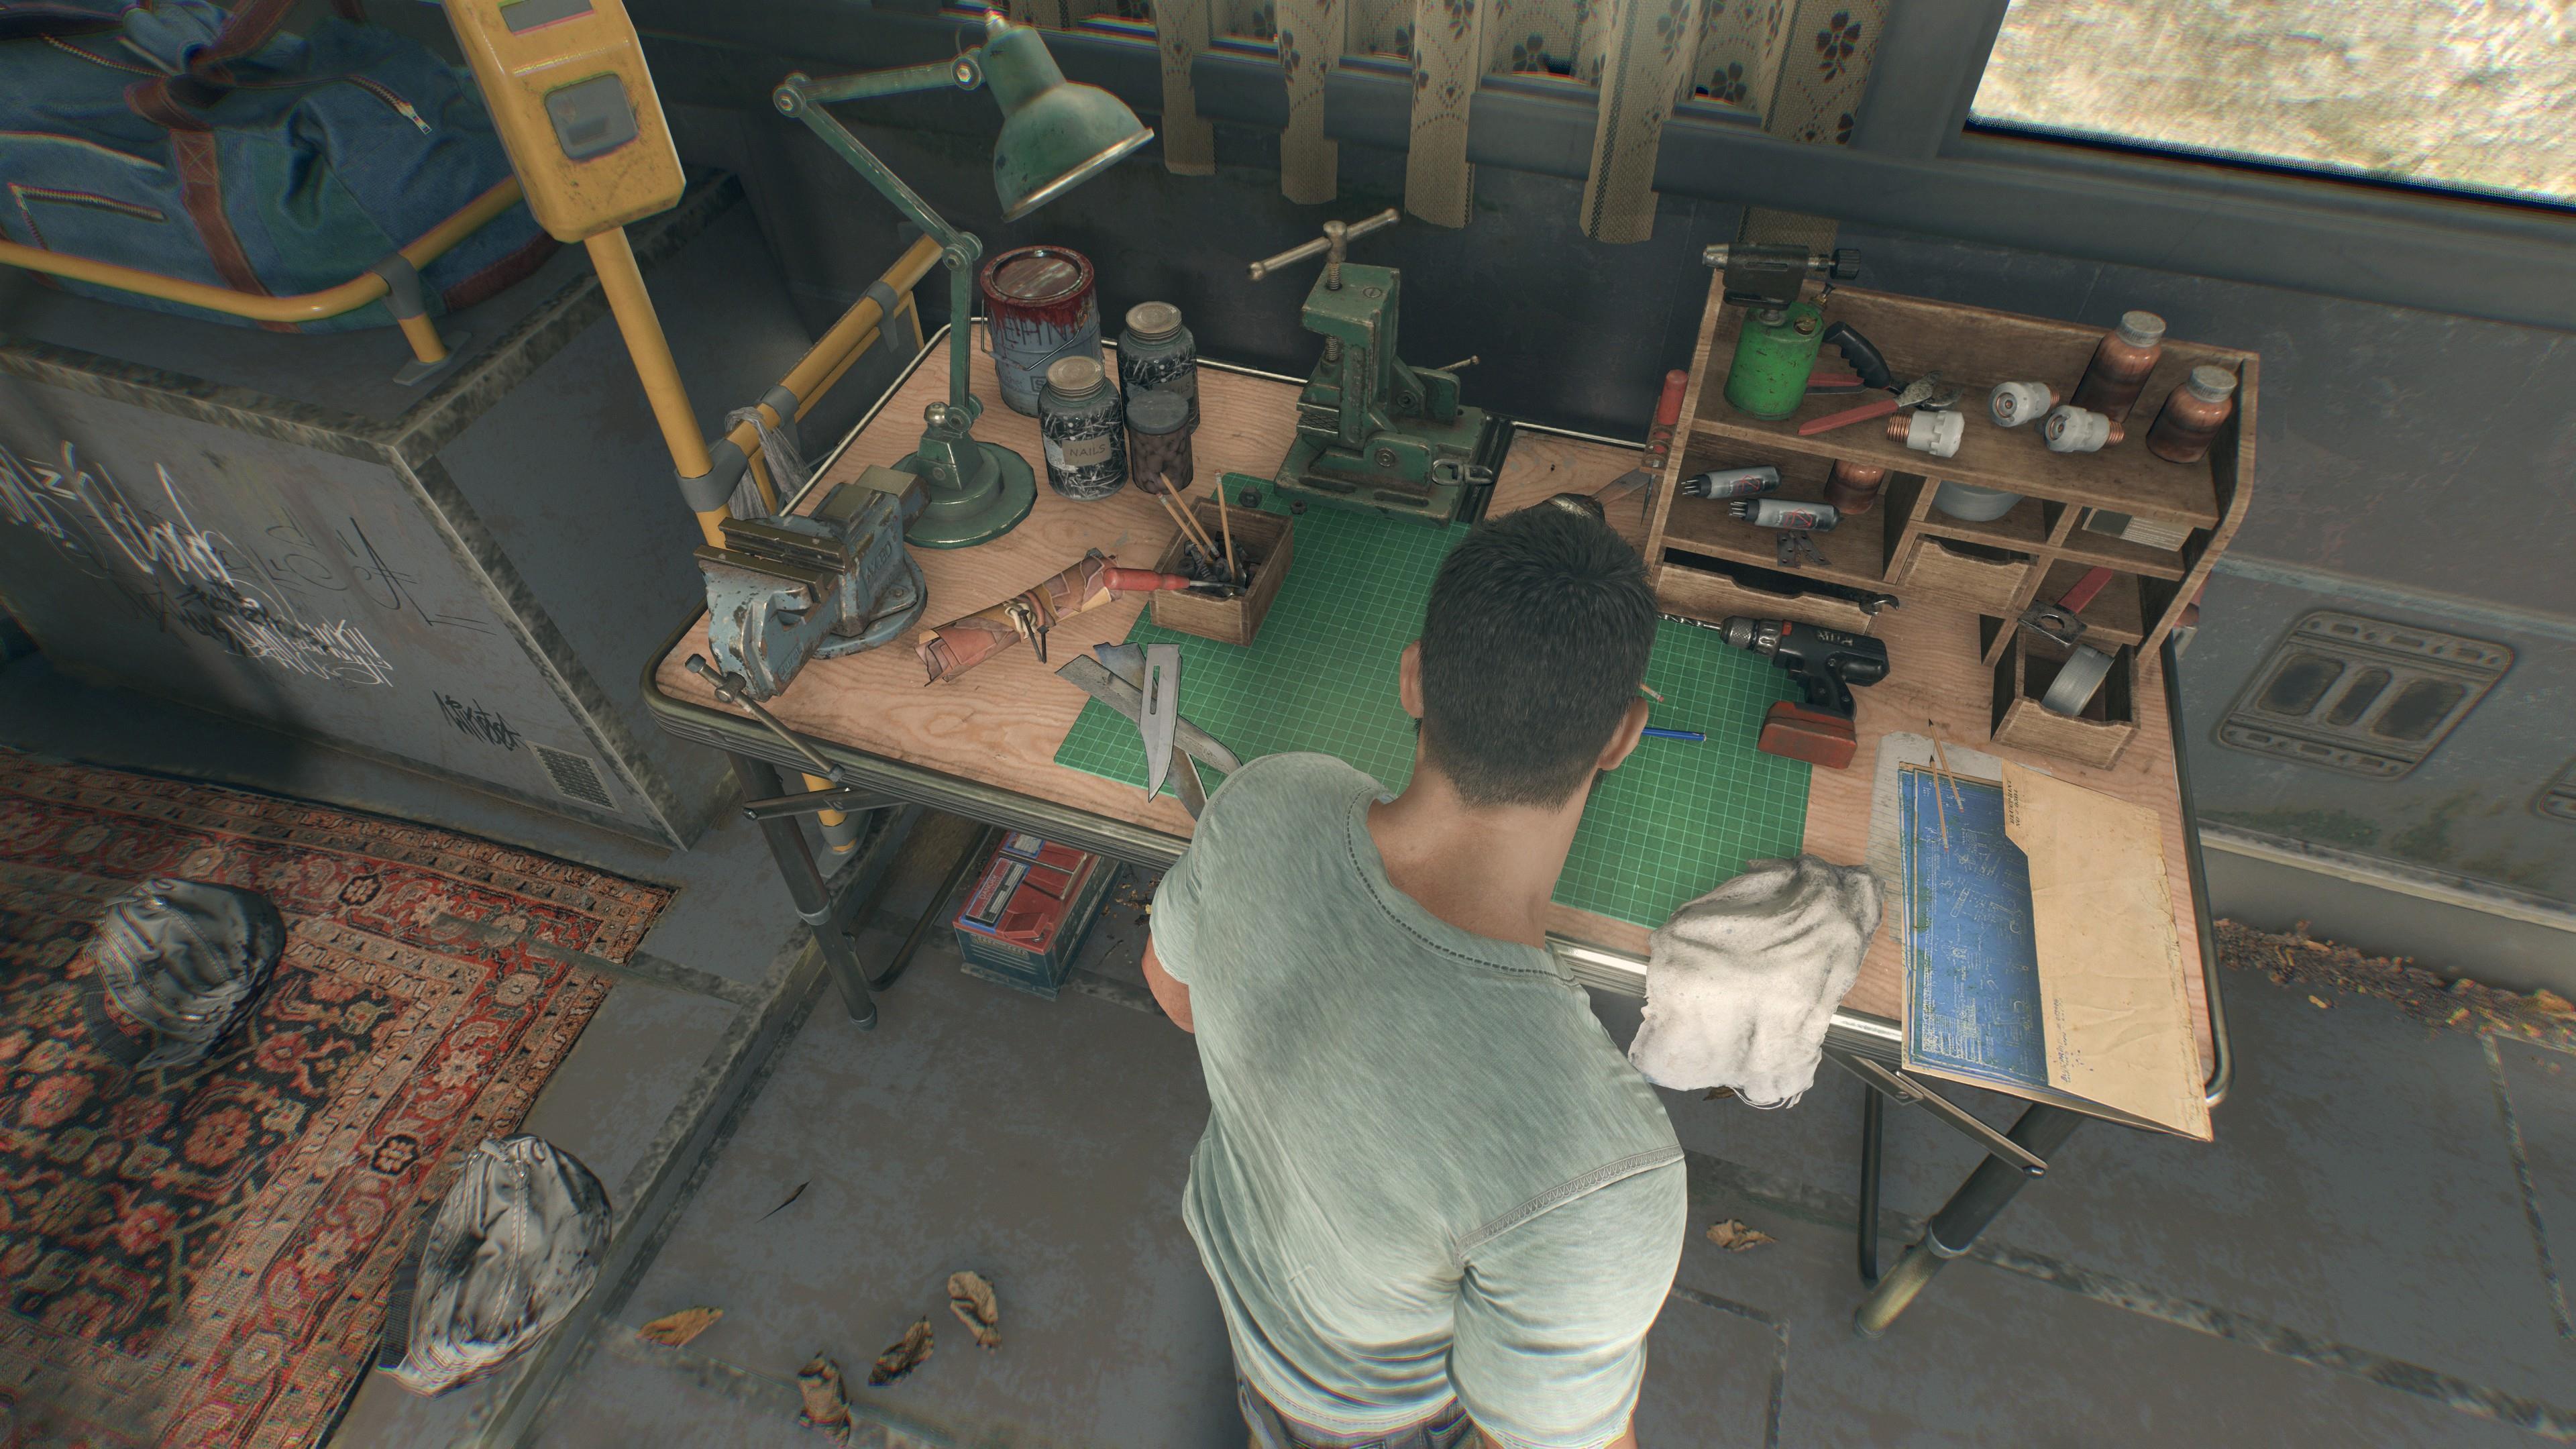
Scavenge materials and find blueprints so you can craft items and weapons
If you want to survive the journey ahead, then you need to acquire a lot of gear and equipment. Gather materials from every nook and cranny, and keep an eye out for blueprints, which are usually tucked away in landmarks and points-of-interest.
With these, you’ll be able to craft new items, including bandages/medkits, throwing knives, grenades, decoys, melee weapons, guns, and weapon mods. You can also upgrade the levels of weapons and crafting blueprints to improve their damage and utility effects.
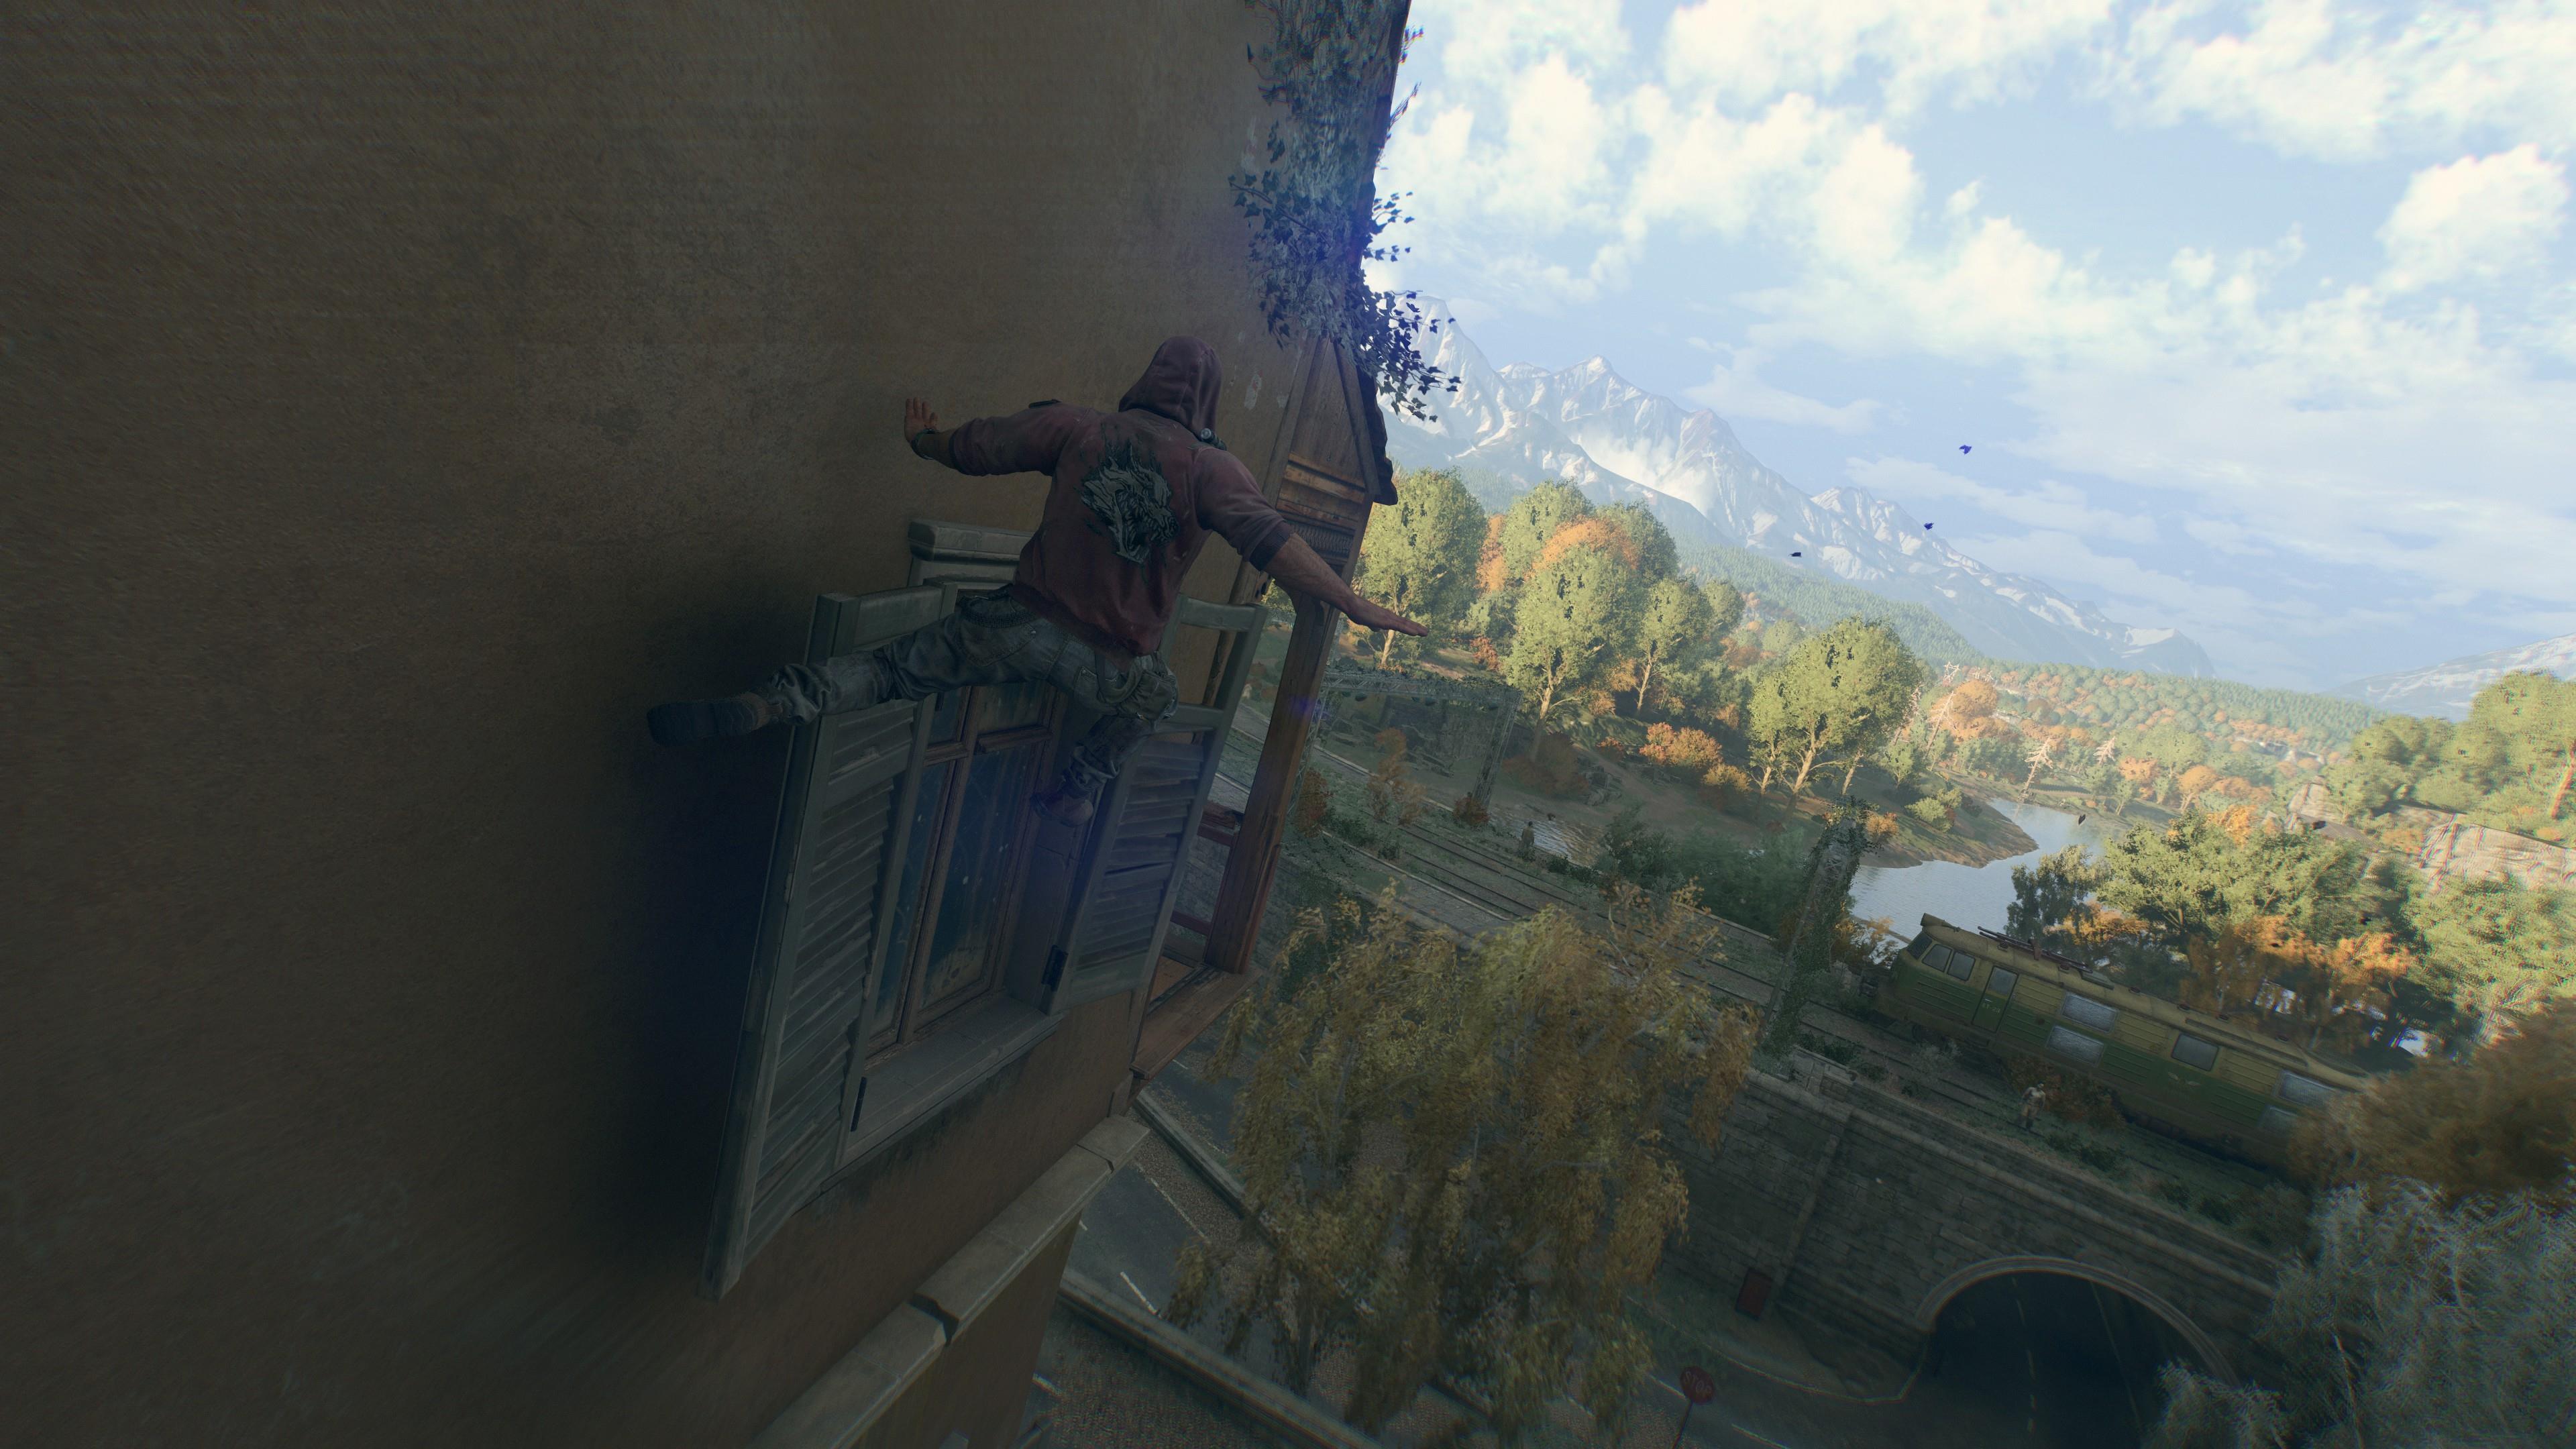
Evasion will help you survive—if you’re great at parkour
The most important Dying Light: The Beast tip to remember is that you need to master parkouring, the series’ trademark style of exploration and traversal. That means sprinting through the streets at breakneck pace, jumping across buildings, clambering on ledges, running horizontally along walls, and more.
If you need to get to a hard-to-reach location, always take a moment to look at your surroundings. Oftentimes, you'll find a part of a wall you can vault onto or a structure that you can use to jump higher—or some telltale white paint, which denotes that a section of a building is climbable.
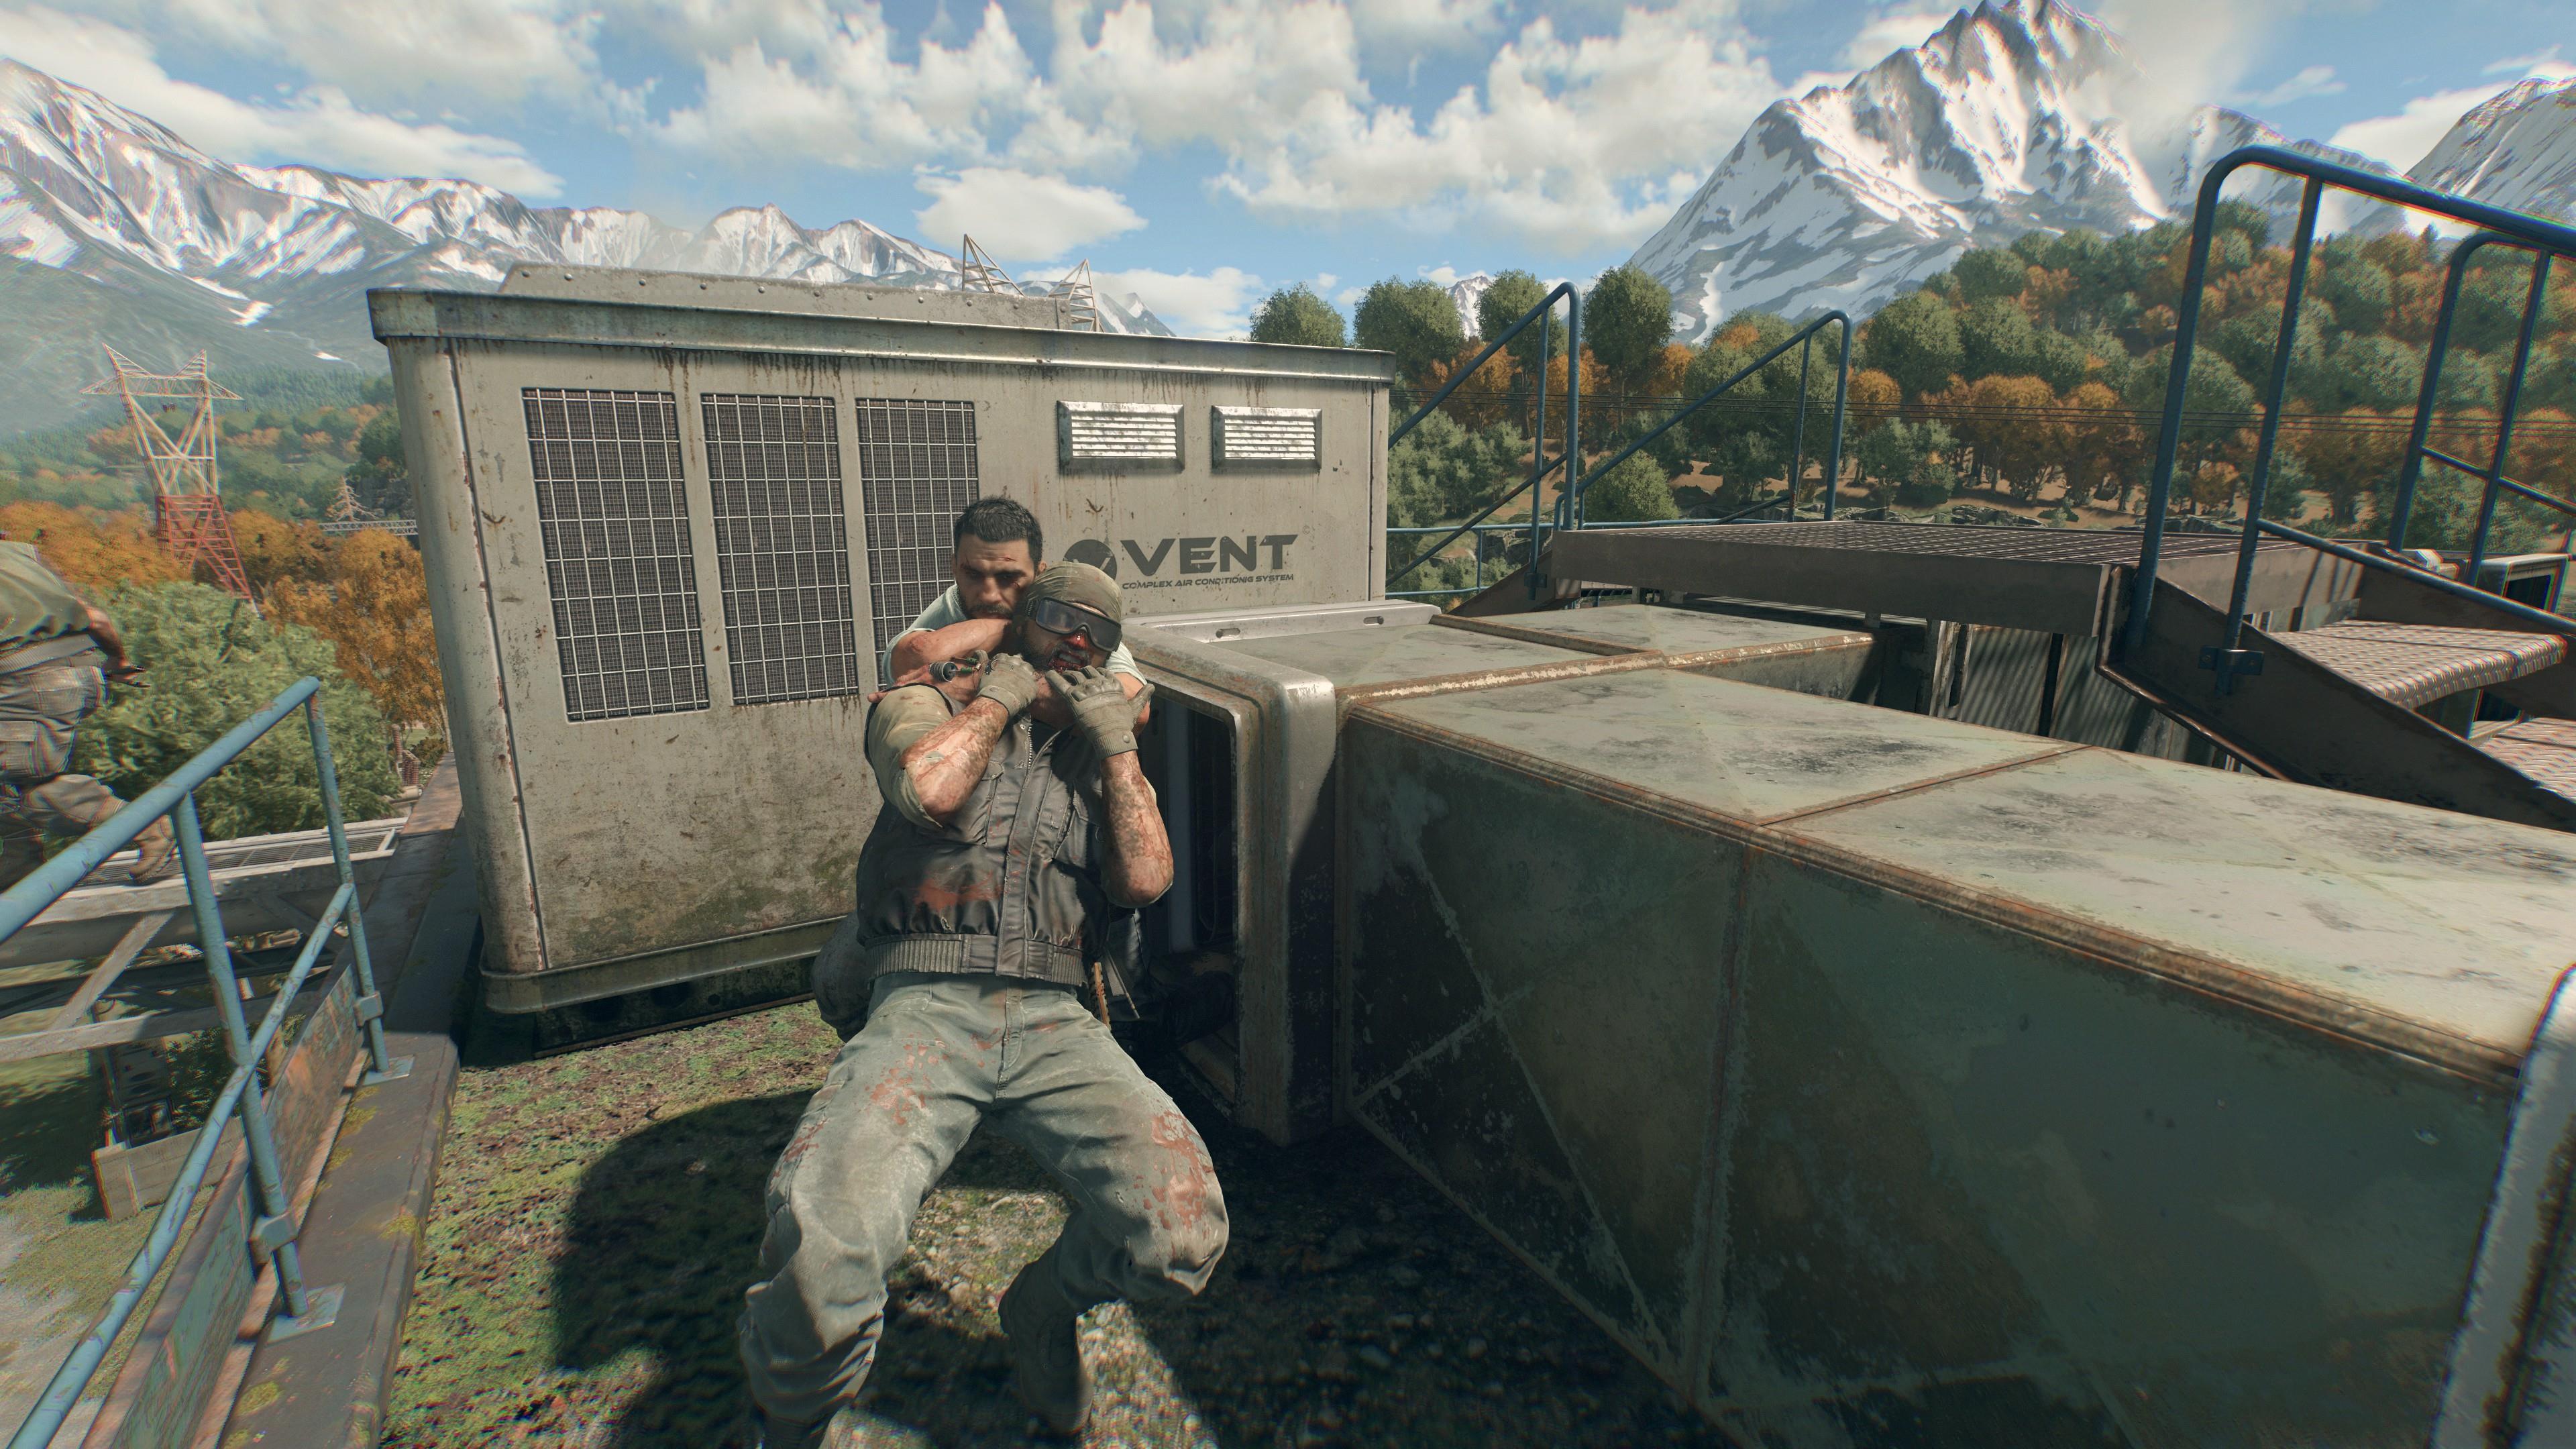
Scan your surroundings and take out your foes stealthily
Throughout your adventures in Dying Light: The Beast, you’ll be up against countless undead hordes and squads of soldiers sent by the Baron. We recommend eliminating hostiles stealthily when you can—and there are a handful of tips to keep in mind to help you do so:
- Your Survivor Sense reveals nearby items, footprints, and enemy silhouettes.
- Turning off your flashlight may help prevent detection.
- The “Stealth Expert” skill helps you sneak around successfully.
- If an enemy has their back turned, crouch and approach them from behind to do a takedown maneuver. This action kills your target even if they’re at a slightly higher level.
- If your foe is standing on a ledge, you can kick them off and make them fall to their doom.
- Whenever soldiers are searching for you, you can hide inside ducts and ventilation shafts until they finish patrolling the area.
- Bows are the best weapons to use if you want to kill enemies stealthily. Gunshots and explosions may attract the attention of nearby Virals and should be a last resort.
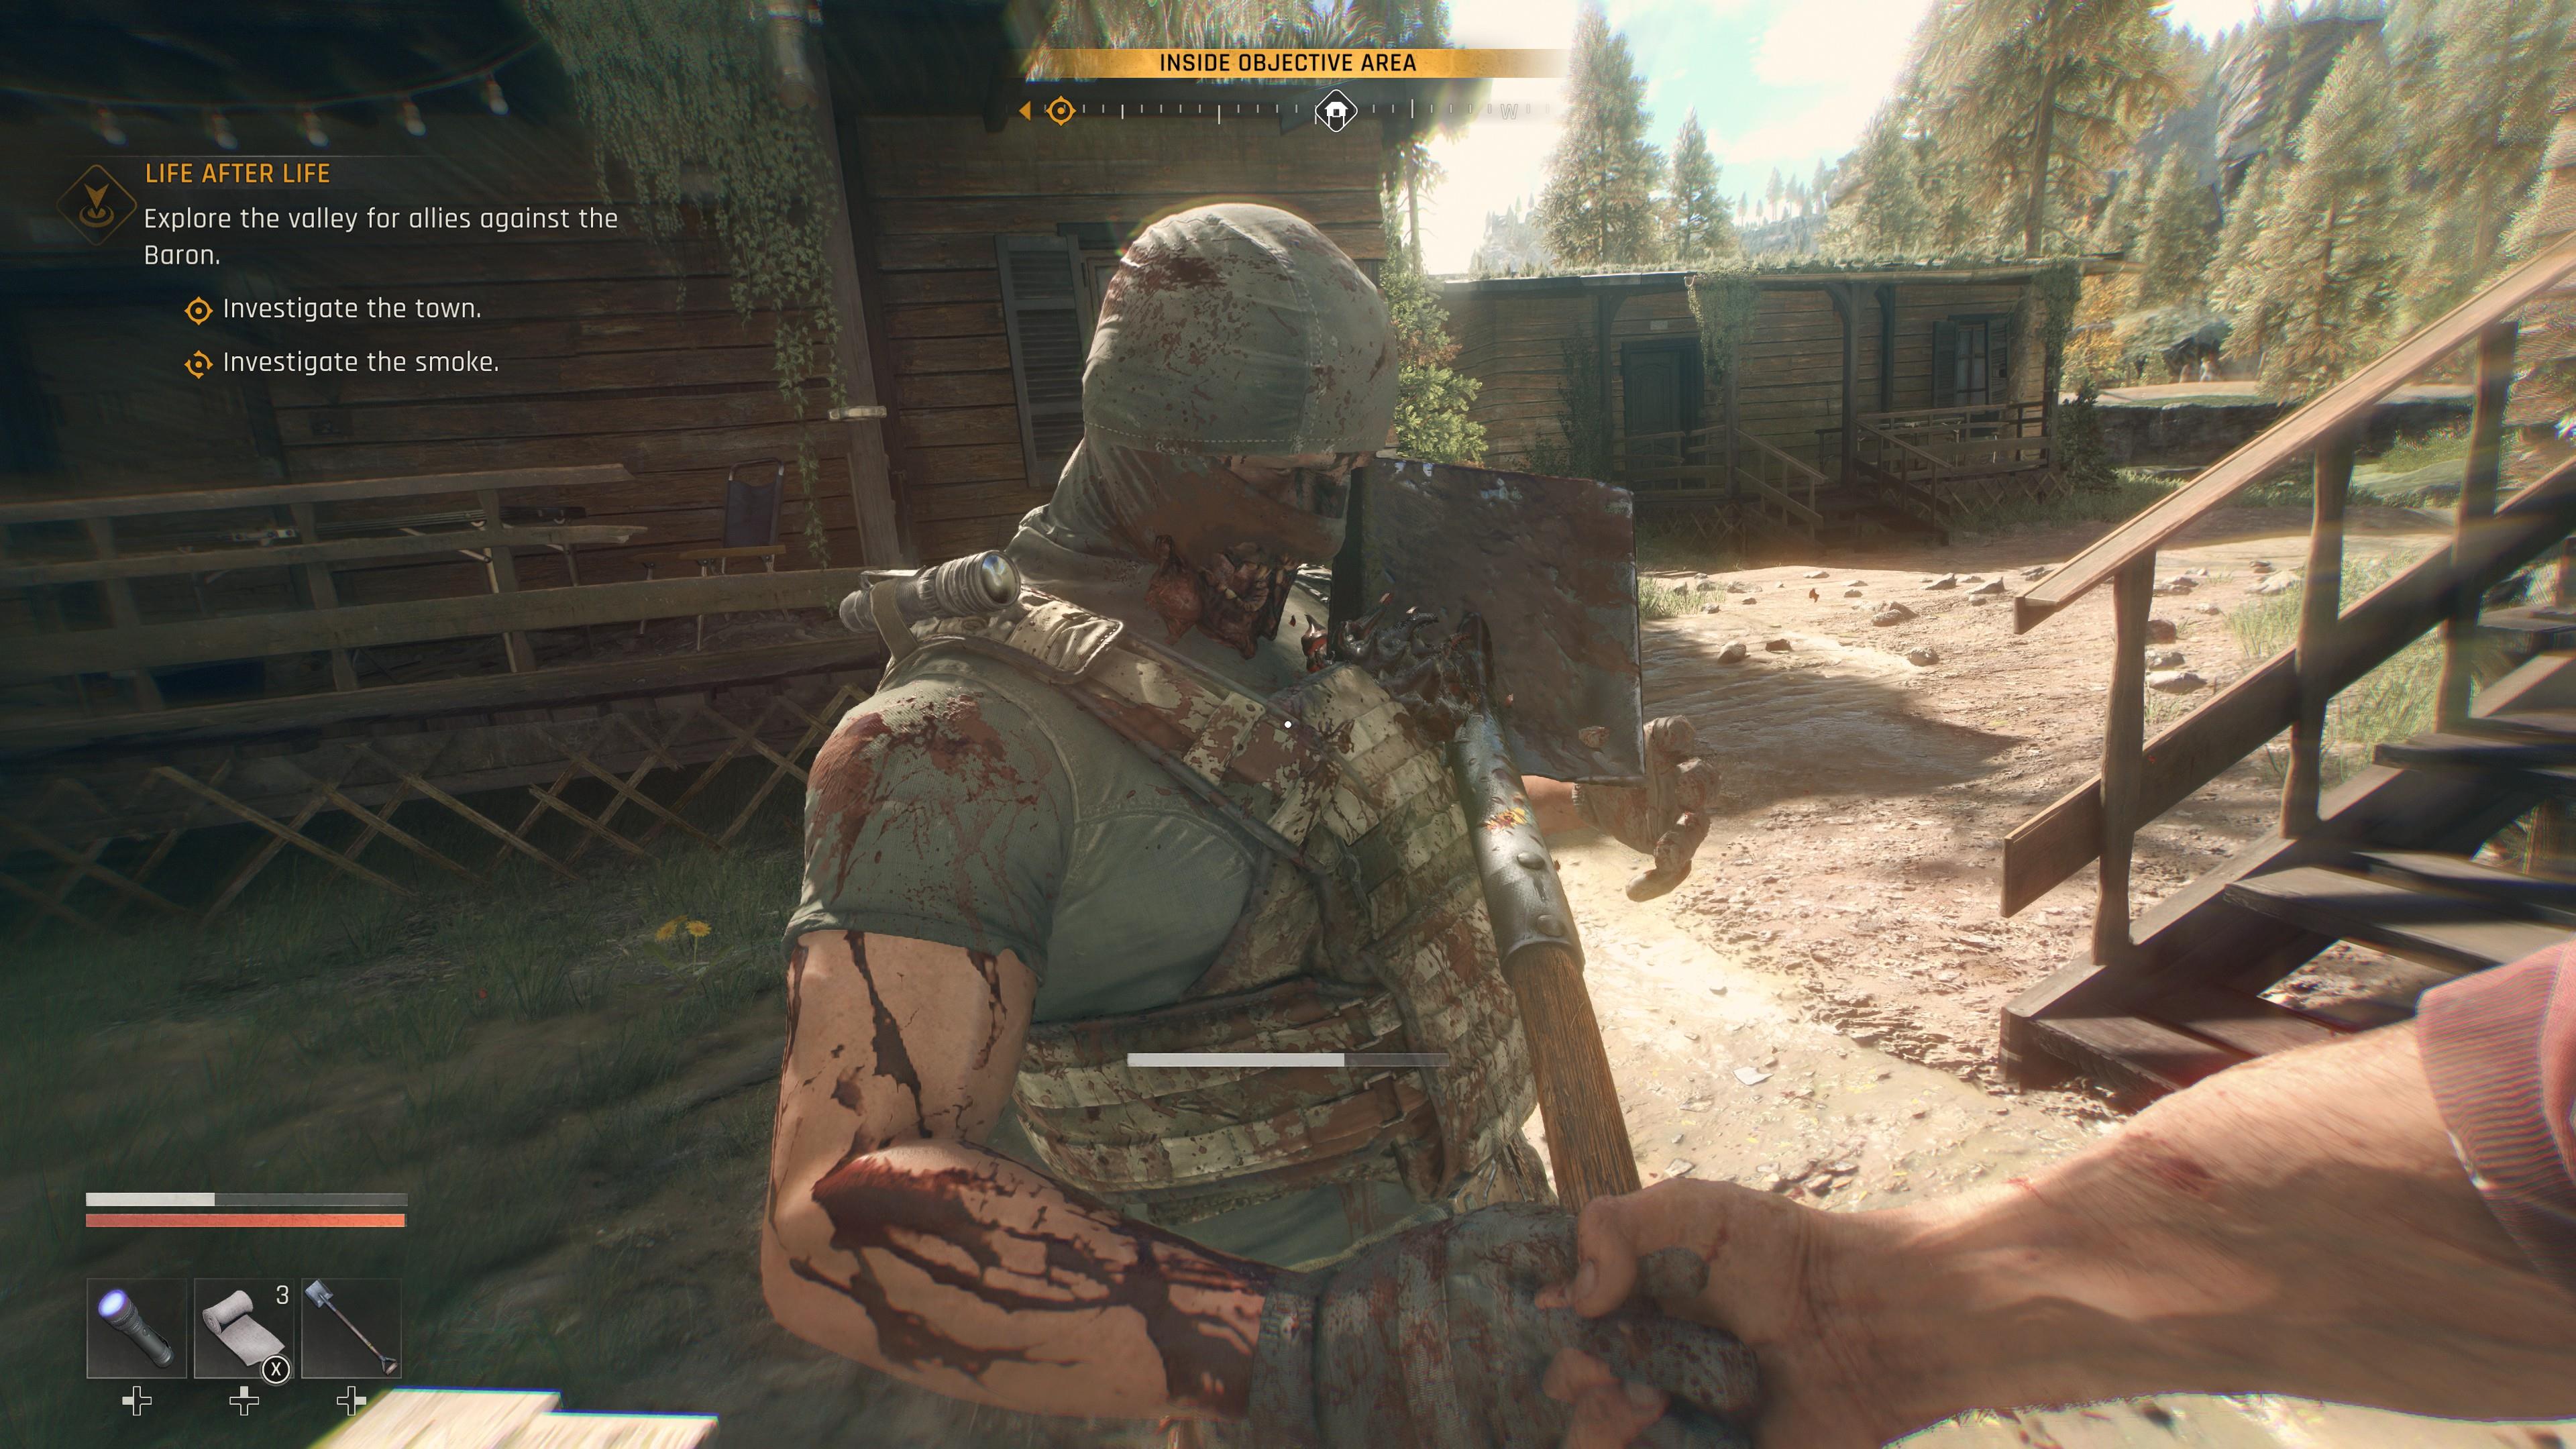
Master the intricacies of melee combat and weapon degradation
If you do get spotted, then it’s time to take the fight to your opponents:
- Ammo tends to be scarce, so it’s better to make use of melee weapons.
- A well-timed block temporarily staggers an enemy—but if an enemy charges up for a power attack, you'll have to dodge the blow instead.
- Melee weapons lose durability the more you use them. You can repair them at the cost of Scrap and other resources. However, the repair action itself can only be done a limited number of times.
- If you don’t want to repair a weapon, you can dismantle it to receive Scrap.
Fear the night as Volatiles hunt you down
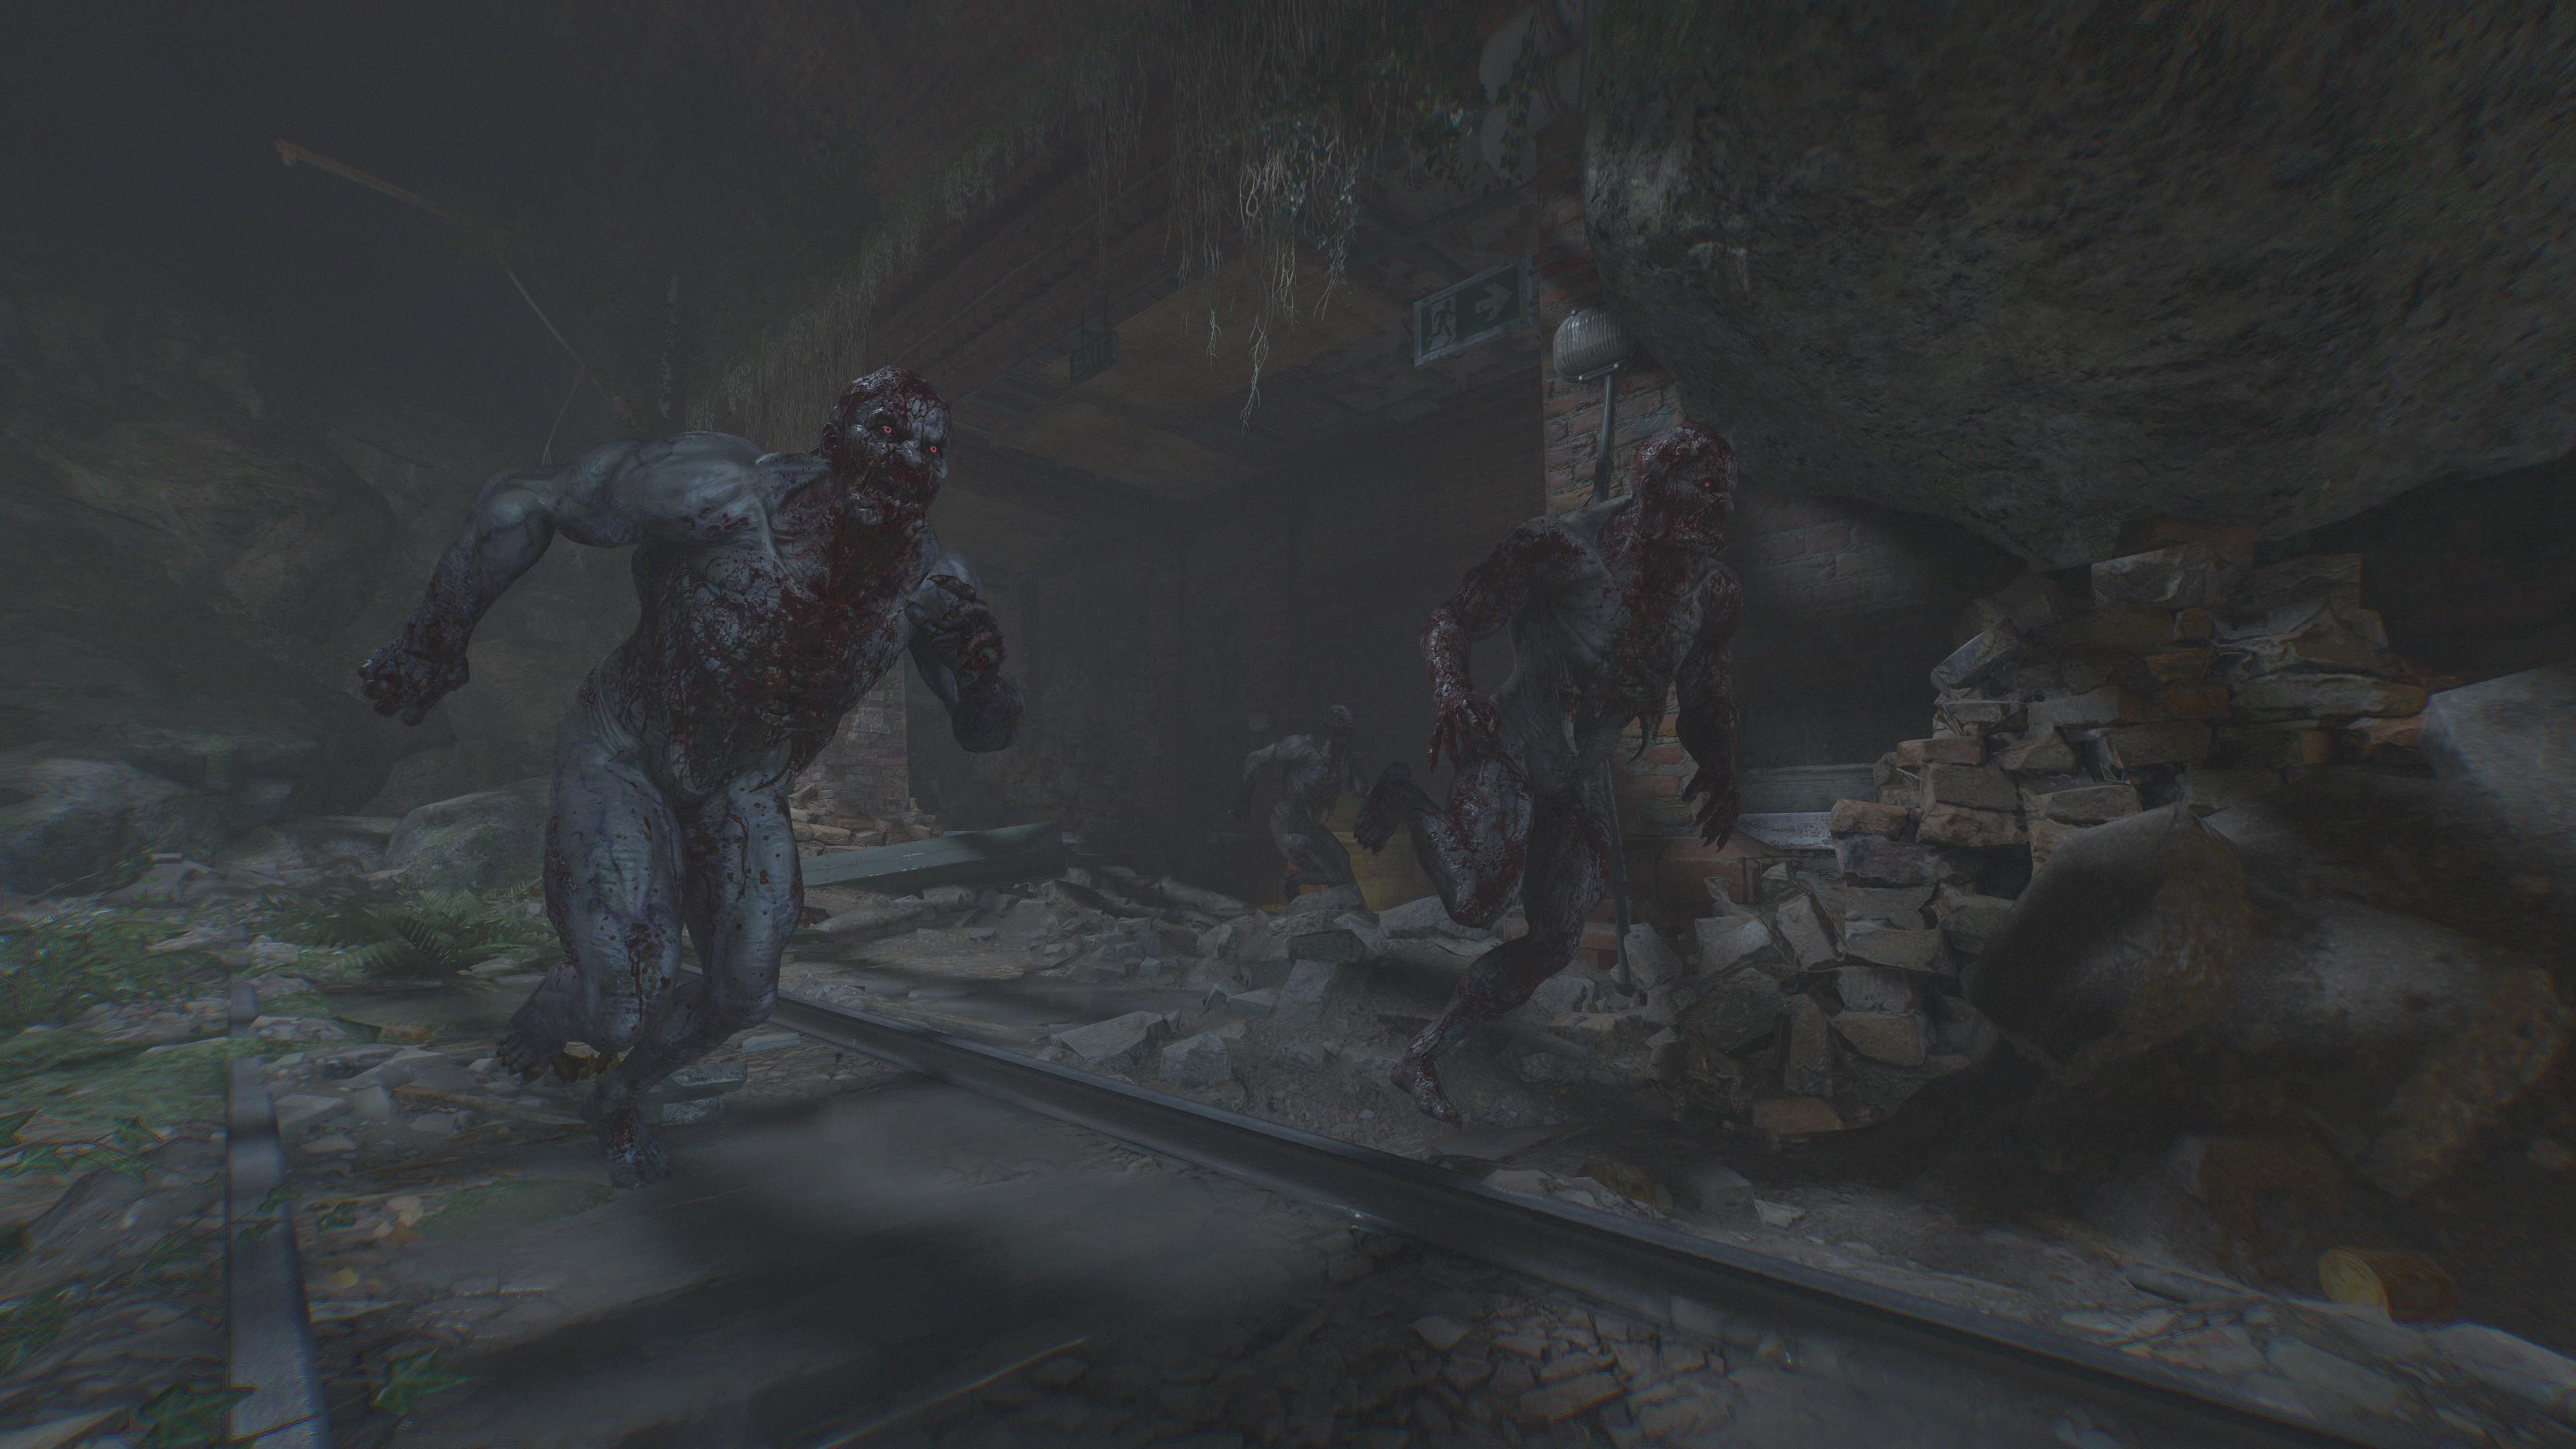
The Dying Light series has always been known for its dynamic day-night cycle, where dangerous days give way to extremely dangerous nights. Dying Light: The Beast is no different, so our first tip is to stick to exploring during the day until you master parkour and some of the other basic systems. You can usually change from night to day by resting in a safe area.
Once you do start venturing out at night, you should be extra-careful. The dangers are often multiplied tenfold at night due to the presence of tougher Infected, including ferocious Volatiles. When a Volatile spots you, a chase sequence occurs. You have to sprint, jump, and climb to find safety in any location that has UV light emanating from it. If the creature catches up to you, then it will tear you apart limb from limb.
Be ready to face Chimeras
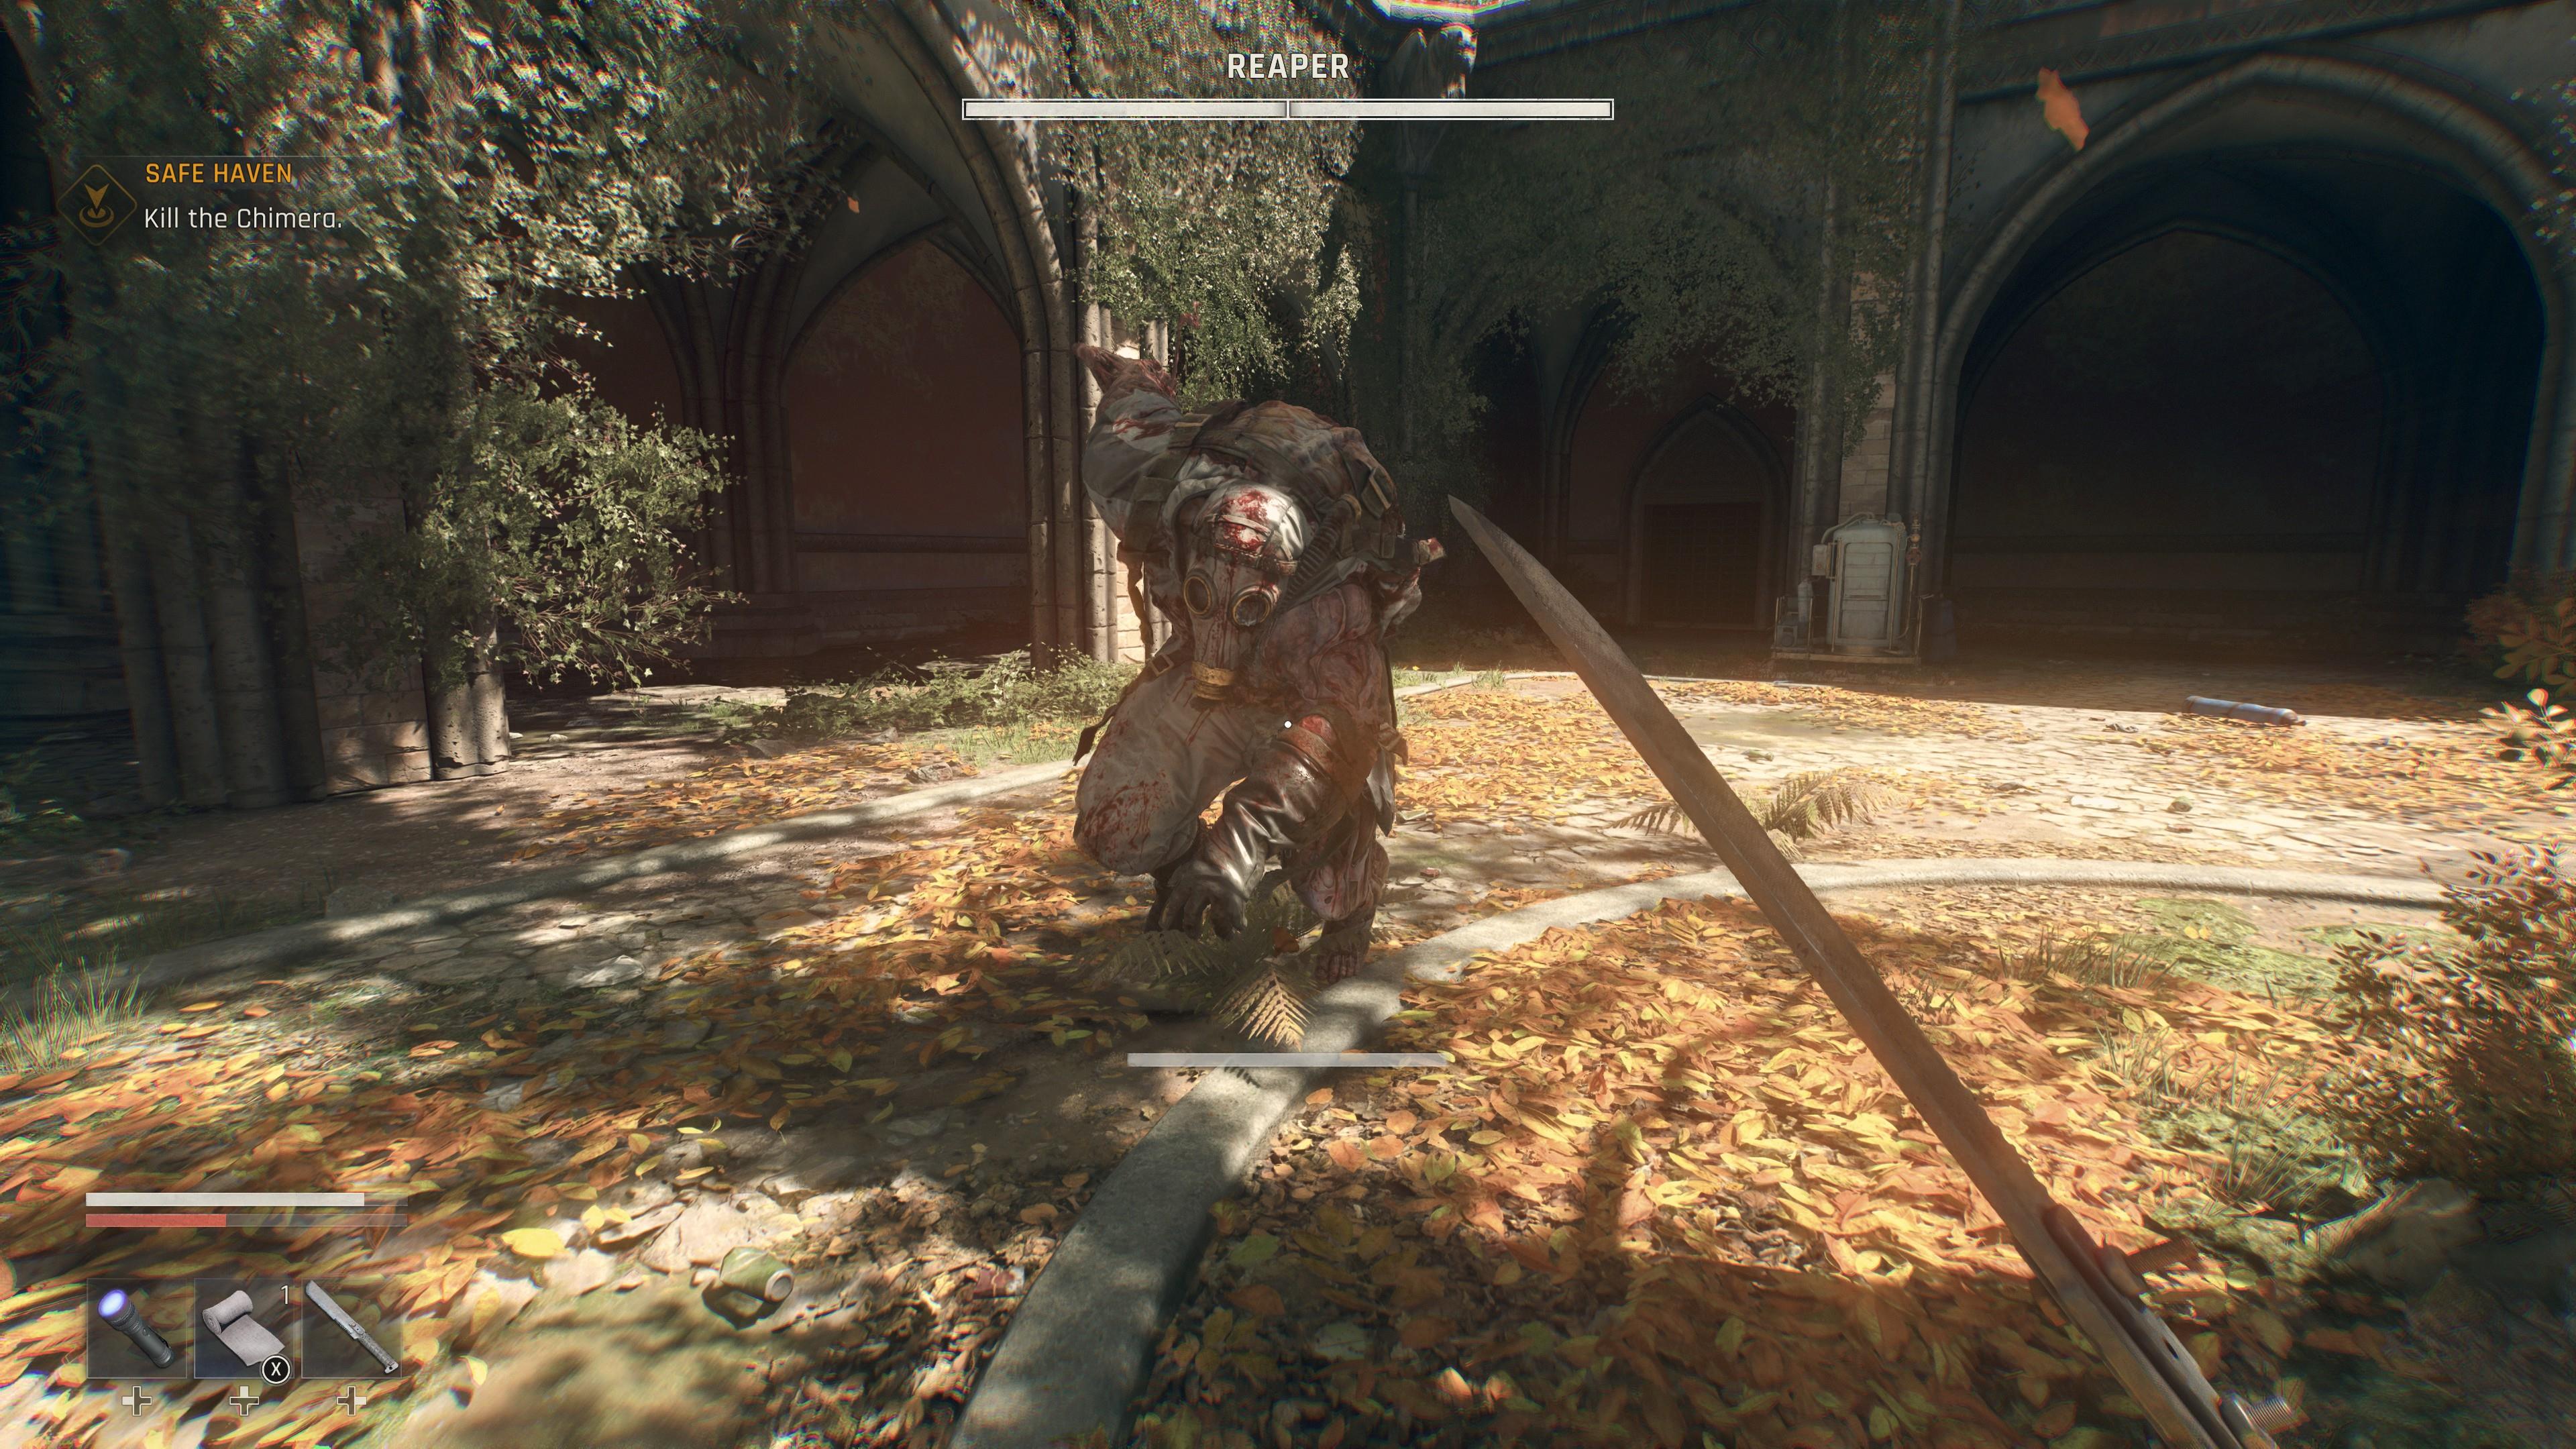
More fearsome foes known as Chimeras await you in Castor Woods. Chimeras are akin to boss fights, and punctuate several of the game’s main quests. Defeating them tends to be a very rewarding endeavor since you gain additional Beast Points. (We’ll talk about this mechanic more later.)
Choose the best perks from the Agility, Power, and Survival skill trees
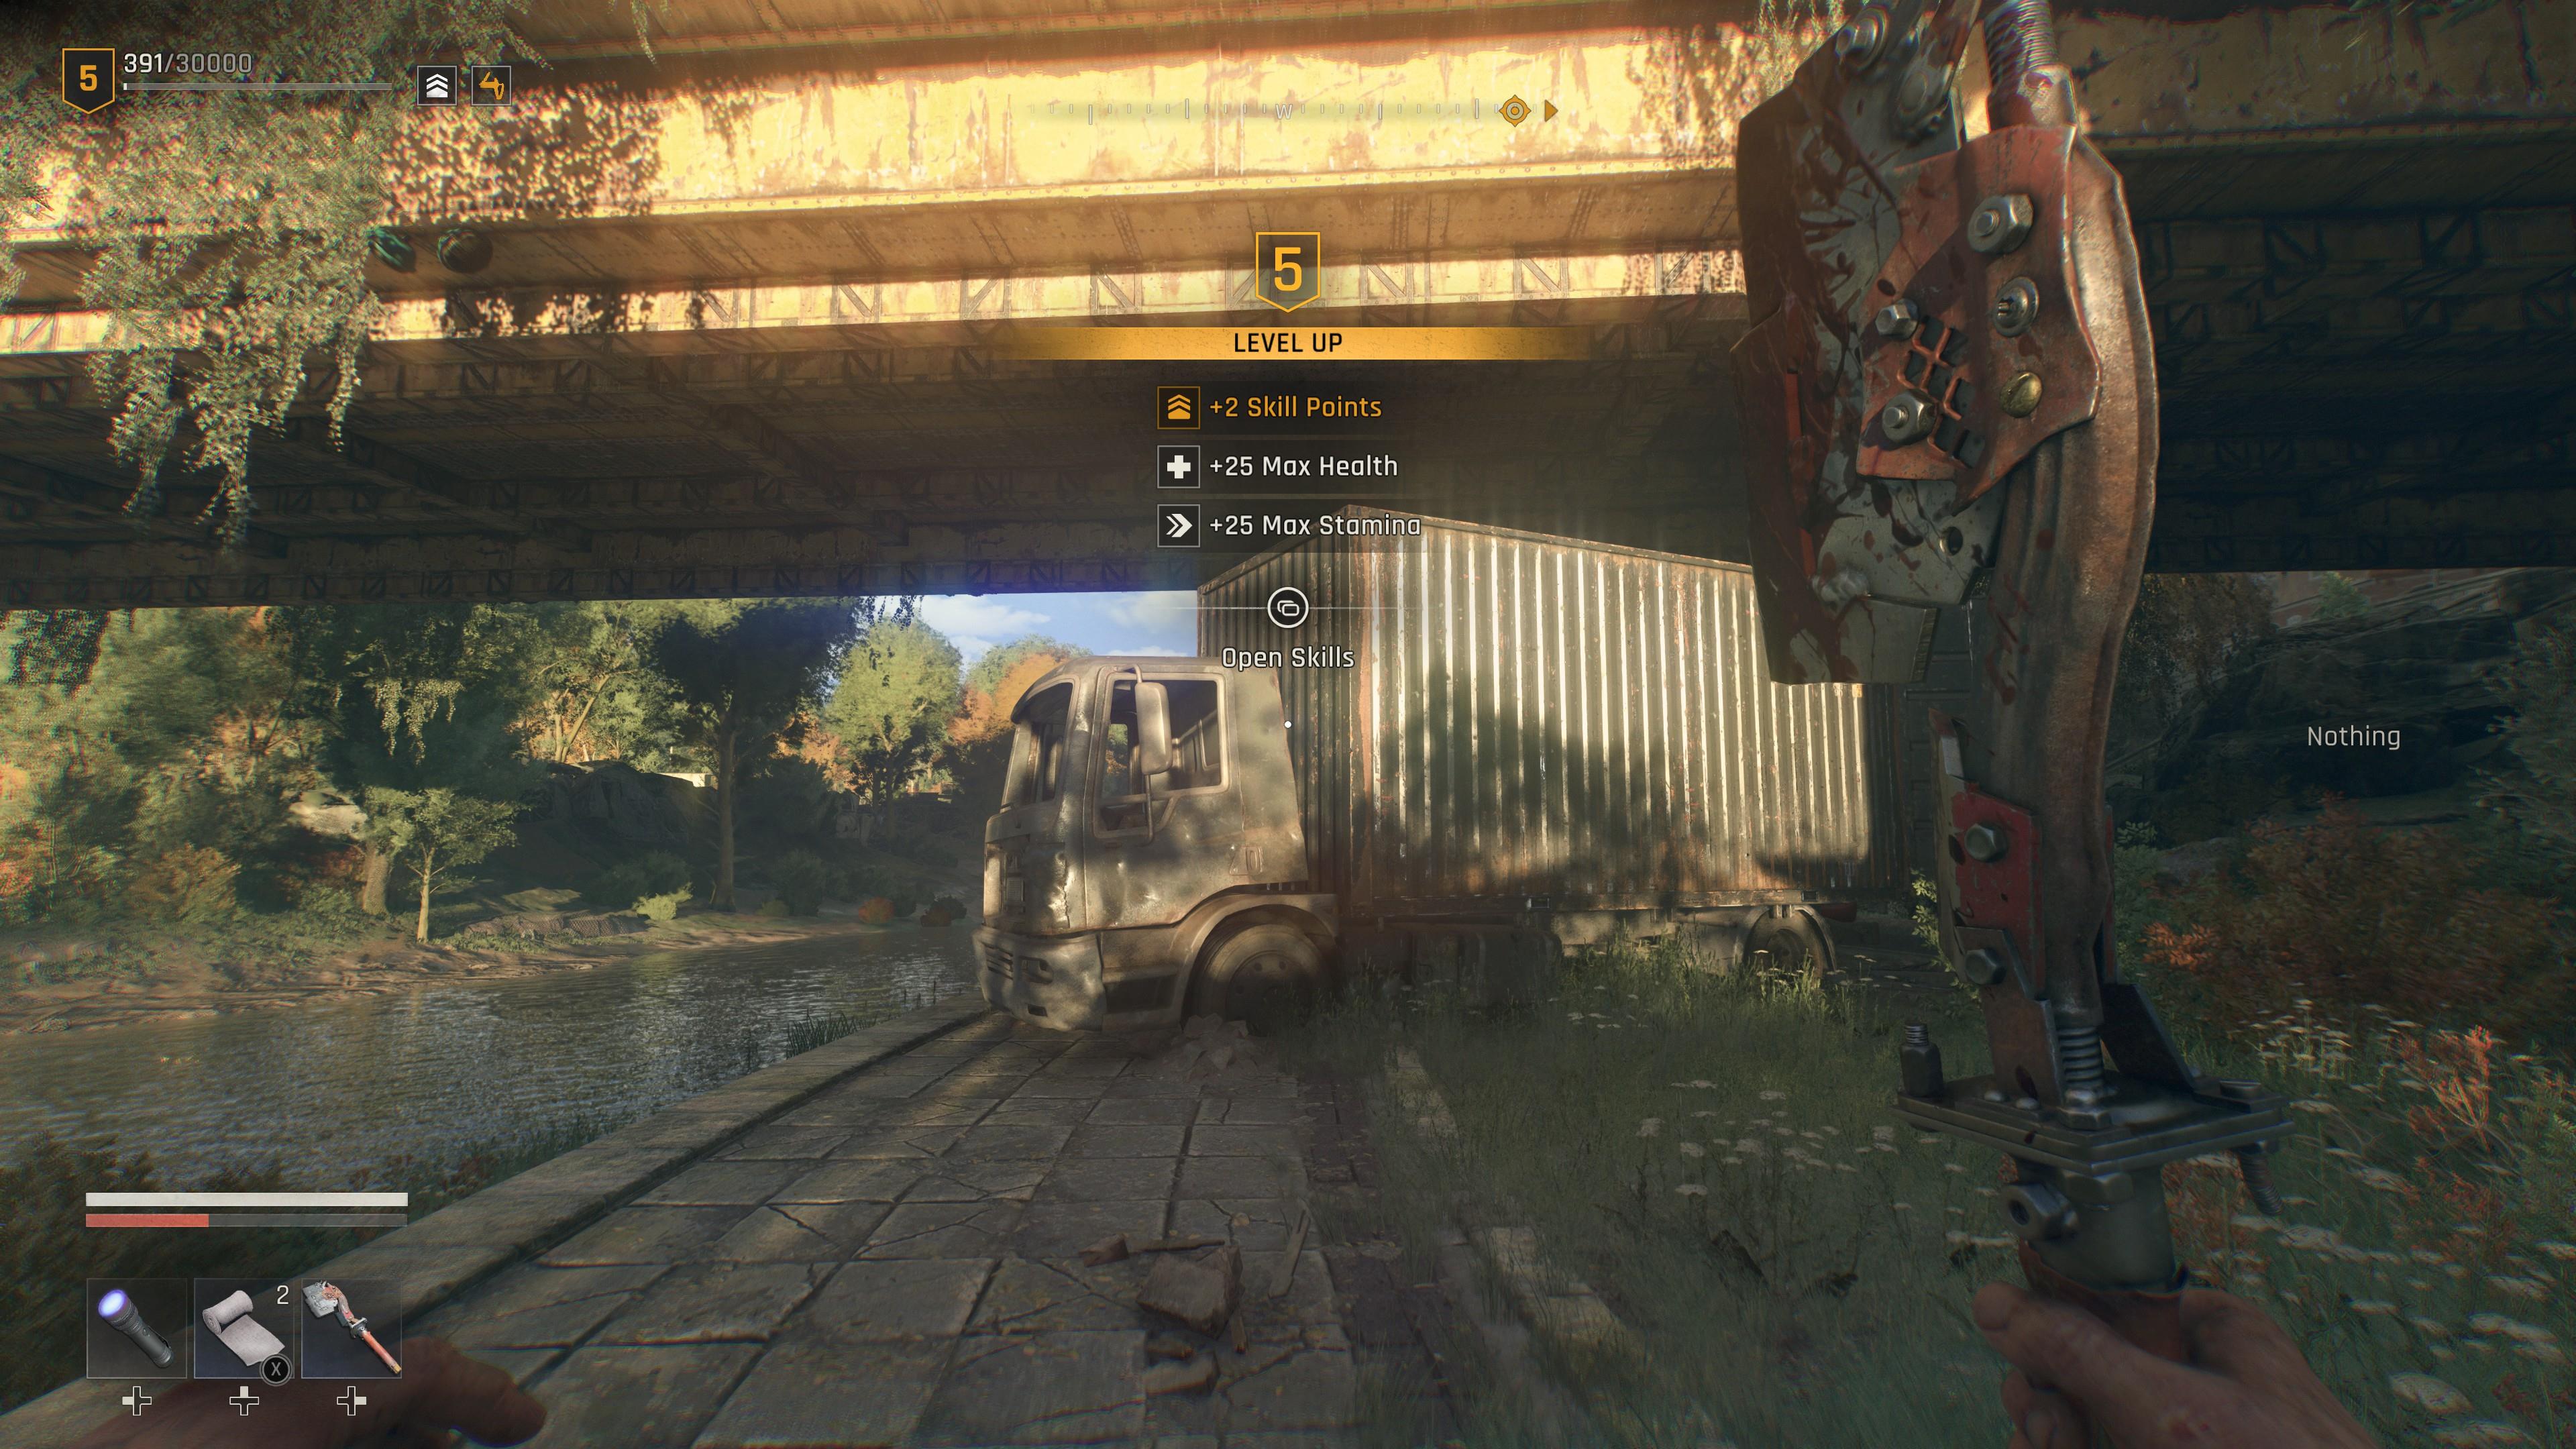
Whenever you level up in Dying Light: The Beast by earning XP, you increase your maximum health and stamina, and gain additional skill points. These points can be allocated into the following skill trees:
- Agility: The perks here are predominantly related to parkour and are meant to aid in traversal. These include “Active Landing,” which reduces fall damage even if you drop from a great height, and “Enemy Jump,” which lets you leap off of enemies' heads.
- Power: Options here generally improve Kyle Crane's combat capabilities. Perks include “Power Shot,” which inflicts piercing and bonus damage, and “Whirlwind,” which allows you to spin around with a melee weapon and hit nearby hostiles.
- Survival: Some of the perks here, such as the aforementioned “Stealth Expert,” improve Crane's ability to sneak around. Others like “Efficient Driving” and “Collision Expert” aid you when driving a vehicle. Meanwhile, “Flamethrower,” “Advanced Grenades,” and “Grenade Launcher” unlock new armaments for crafting.
Unleash the Beast within and unlock more vicious powers
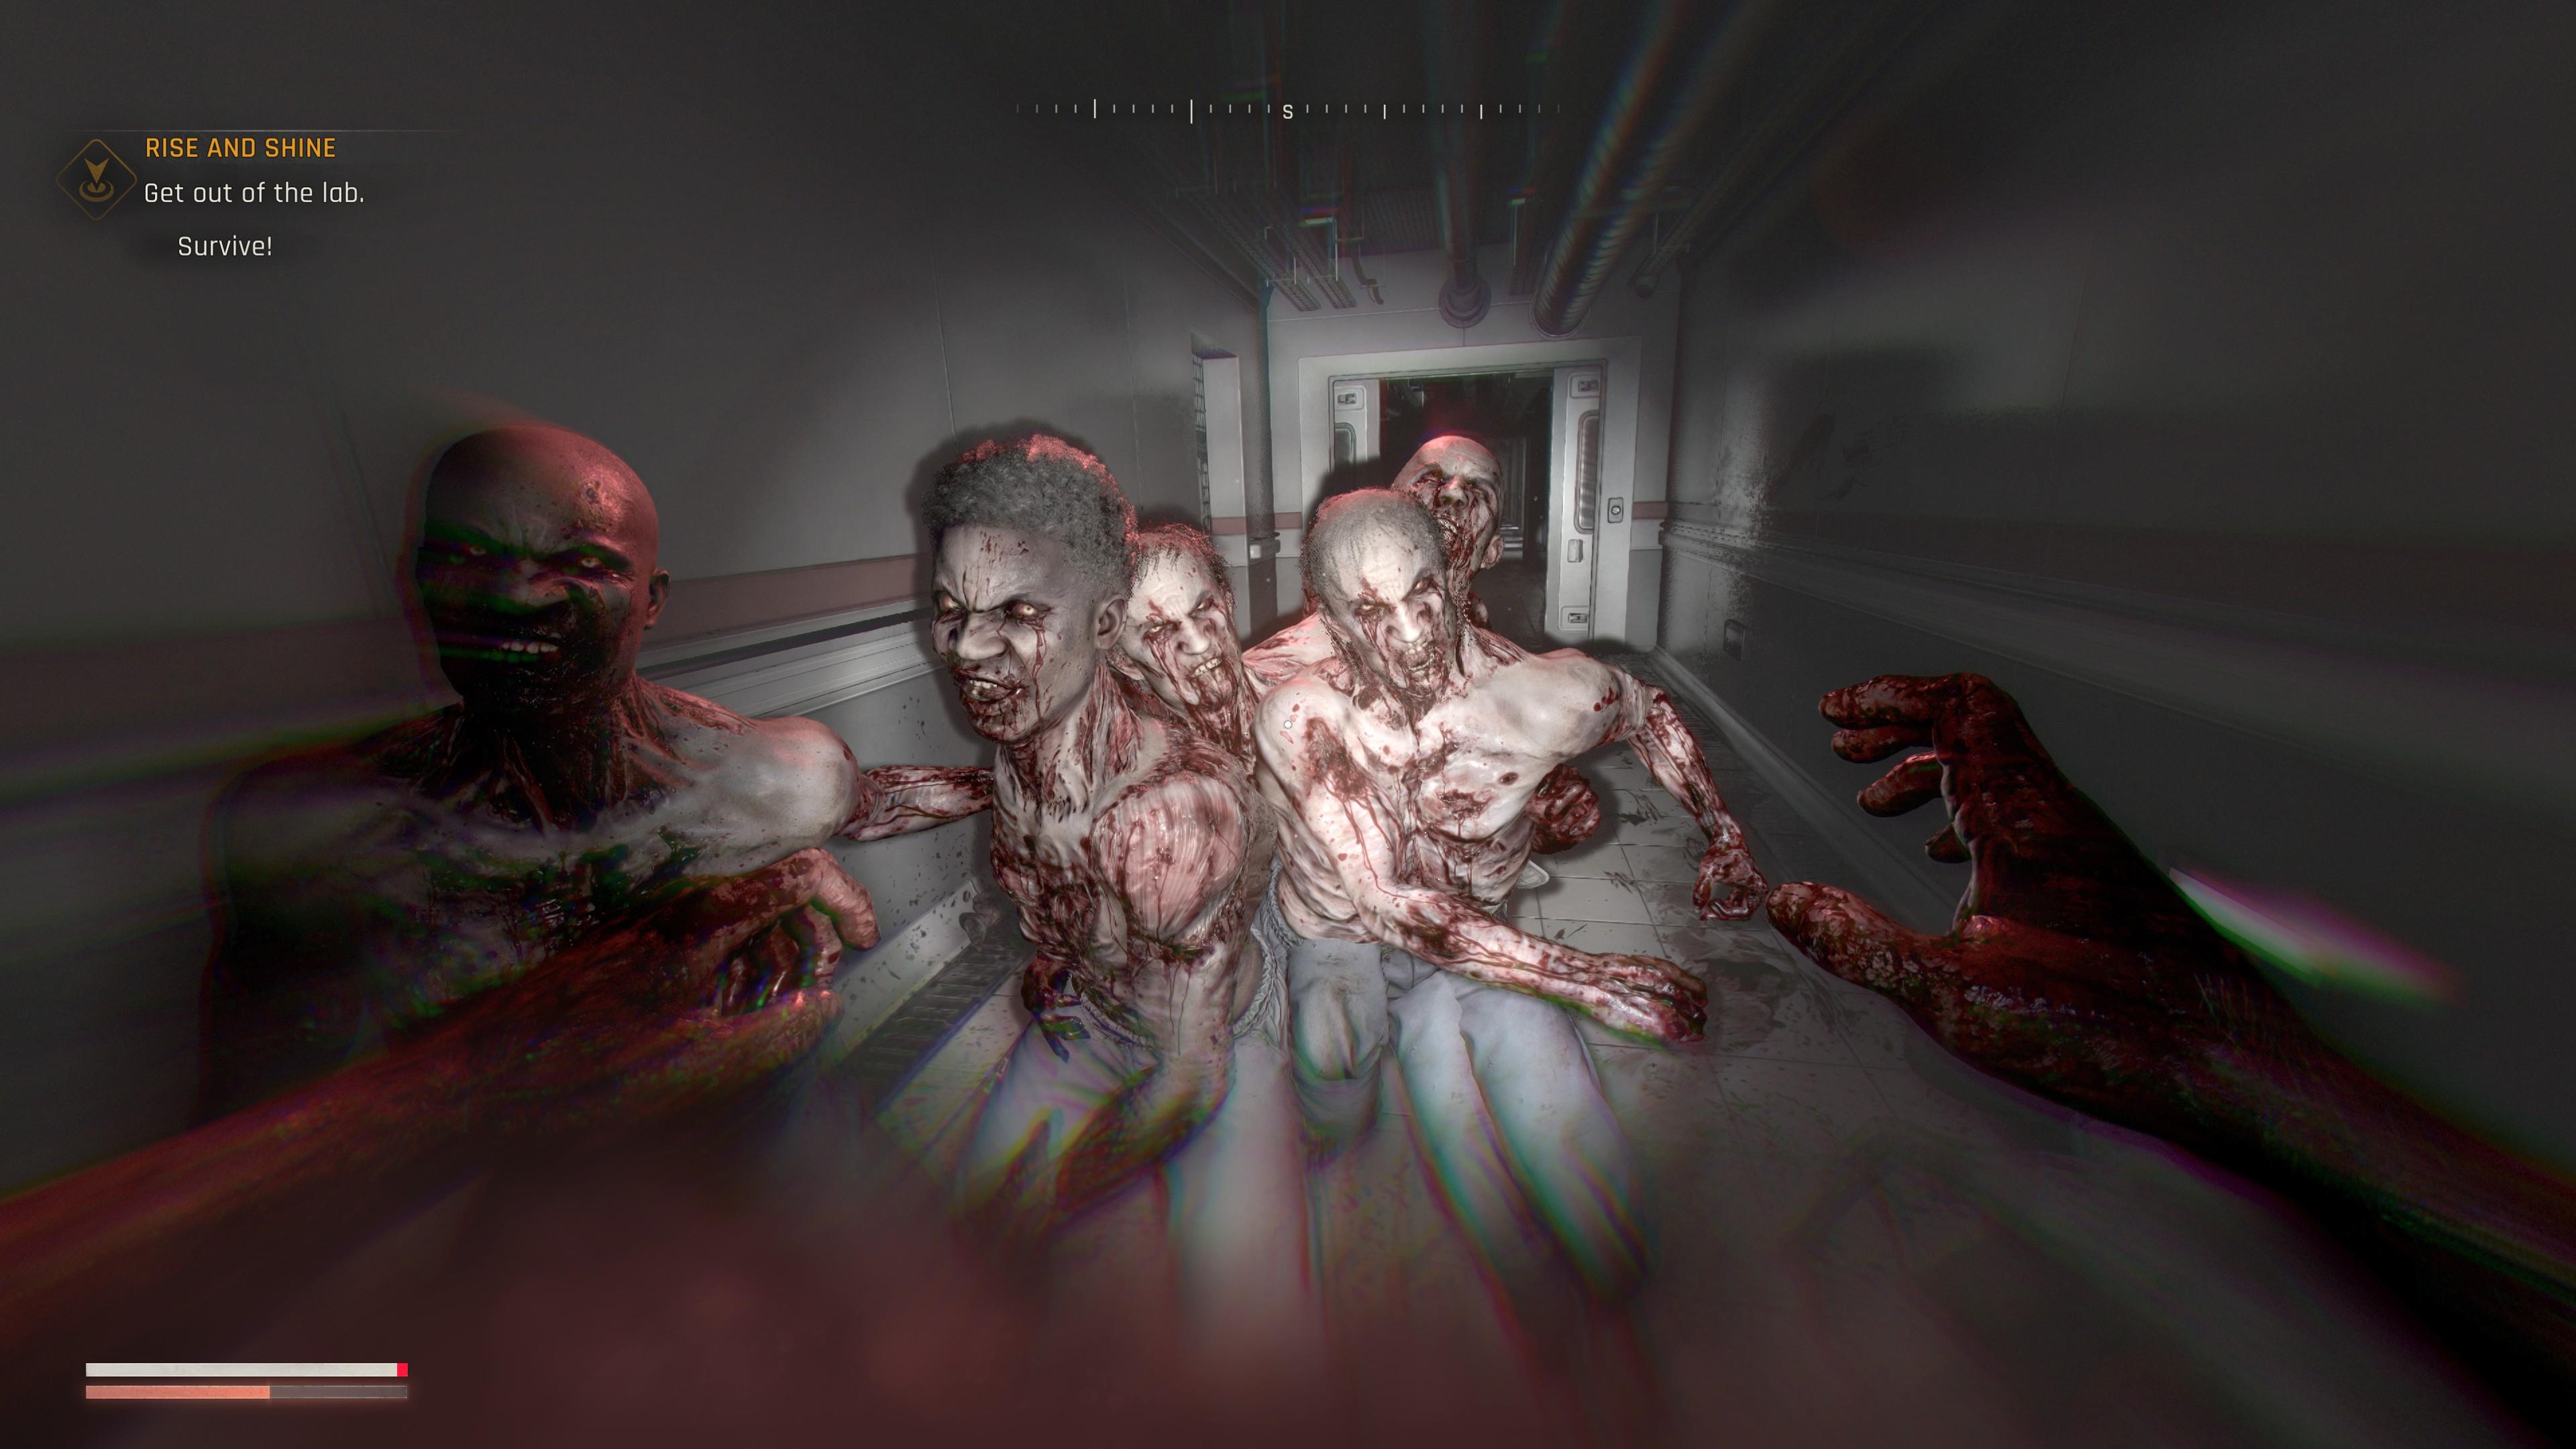
The sadistic experiments performed on Kyle Crane have turned him into a half-human, half-Beast hybrid. The red meter seen below your health bar denotes how close you are to entering Beast Mode:
- The Beast Mode meter gradually fills up whenever you fight in melee, perform perfect dodges and parries, and take damage.
- Once the meter is full, Kyle automatically transforms into the Beast. This restores his health and grants him devastating melee attacks that rip apart his opponents with ease.
- Every Chimera that you defeat nets you Beast Points, a fourth skill tree that has Beast-related powers. Abilities include a long-distance leap, a ground smash from mid-air, and a means of tossing large boulders into undead hordes.
- The “Beast Controlled” skill allows you to manually trigger the transformation. This is great when you need to hold off on dealing a burst of damage during boss battles.

Discover Safe Spots, Dark Zones, and other points-of-interest
The lush countryside of Castor Woods holds many landmarks and secrets. Here are some examples:
- Safe Zones and Safe Spots: Places where you can rest and change the day-night cycle. The infected cannot enter these areas.
- Dark Zones: Locations with a lot of loot, though they’re also crawling with Infected.
- Military Convoys: Look for the access card so you can pick up weapons, ammo, and grenades.
- Substations: Restores power to part of the region.
- Treasure Hunts: Maps that offer hints as to the locations of caches and treasure.
- Collectibles: Documents, recordings, murals, sigils, and more found everywhere in Castor Woods.

Drive vehicles to explore areas faster
From time to time, you'll encounter vehicles left by the wayside. You should definitely take advantage—hop in and drive these derelicts to reach your destination faster. And yes, you can run over the undead too, for some highway mayhem.
It’s worth noting however that vehicles run out of fuel quickly. You'll need to gather fuel from abandoned cars and gas stations if you want to continue driving. Enemy attacks, environmental hazards, and crashing into obstacles can also bring a quick end to your joyriding. If the car sustains enough damage, you'll need to escape and run away before it explodes.

Always bring extra lockpicks
Because you have to scavenge for loot, it’s often a good idea to bring several lockpicks with you. Lockpicks can be crafted directly from the menu and each one only requires 3x Scrap.
If you stumble upon a locked door or container, start the minigame to open it. Press the WASD keys or move the left thumbstick to turn the pick. Then, move the mouse or right thumbstick to rotate the lock.

Help out other survivors in Castor Woods
You’re bound to encounter numerous survivors and groups who need your aid. Try to tackle these side quests in between main missions. More often than not, these optional activities lead to more secrets and rewards. Examples include “What Lurks Beyond the Pines” from Eli and “Chain Reaction” from Selby.
That does it for our Dying Light: The Beast beginner's guide. We hope these tips help you prepare for your trek across Castor Woods!
Dying Light: The Beast is available now on the Epic Games Store.