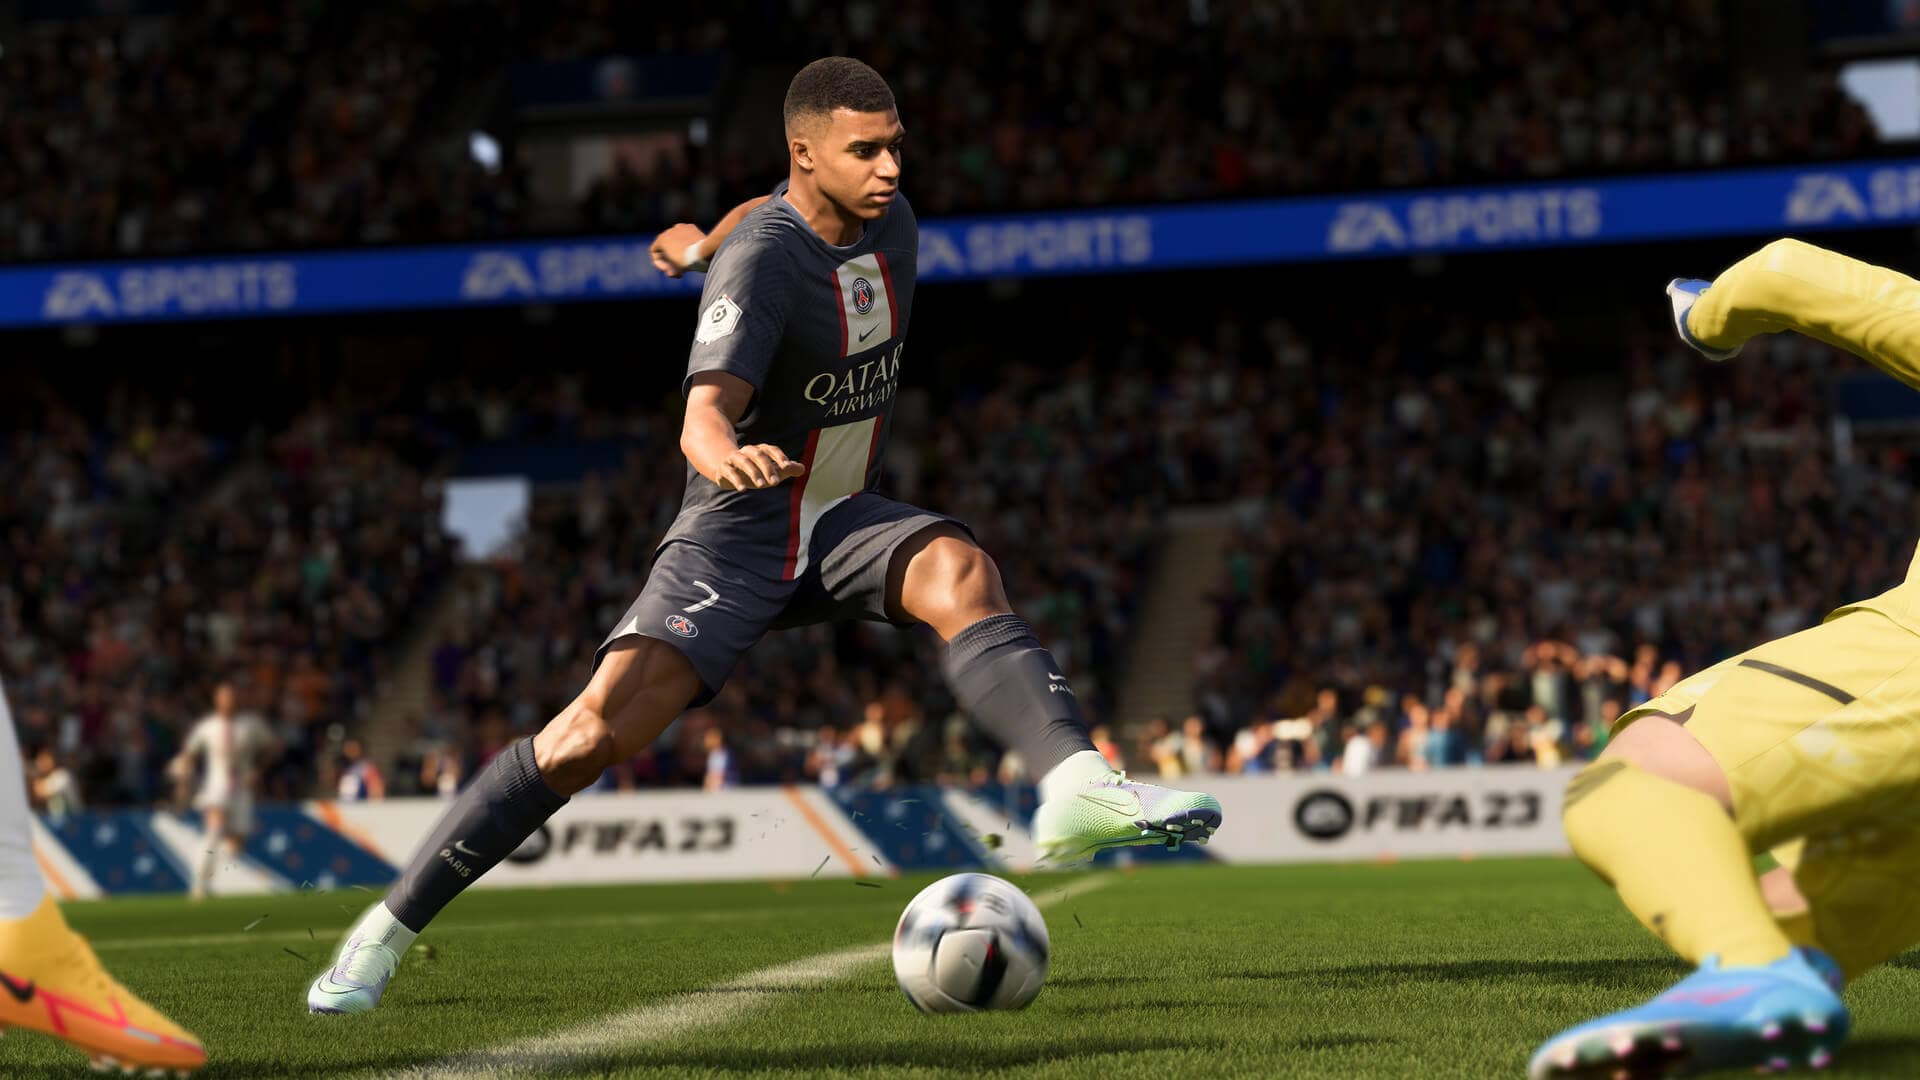
FIFA’s meta is constantly evolving, but these formations and players will always give you an advantage
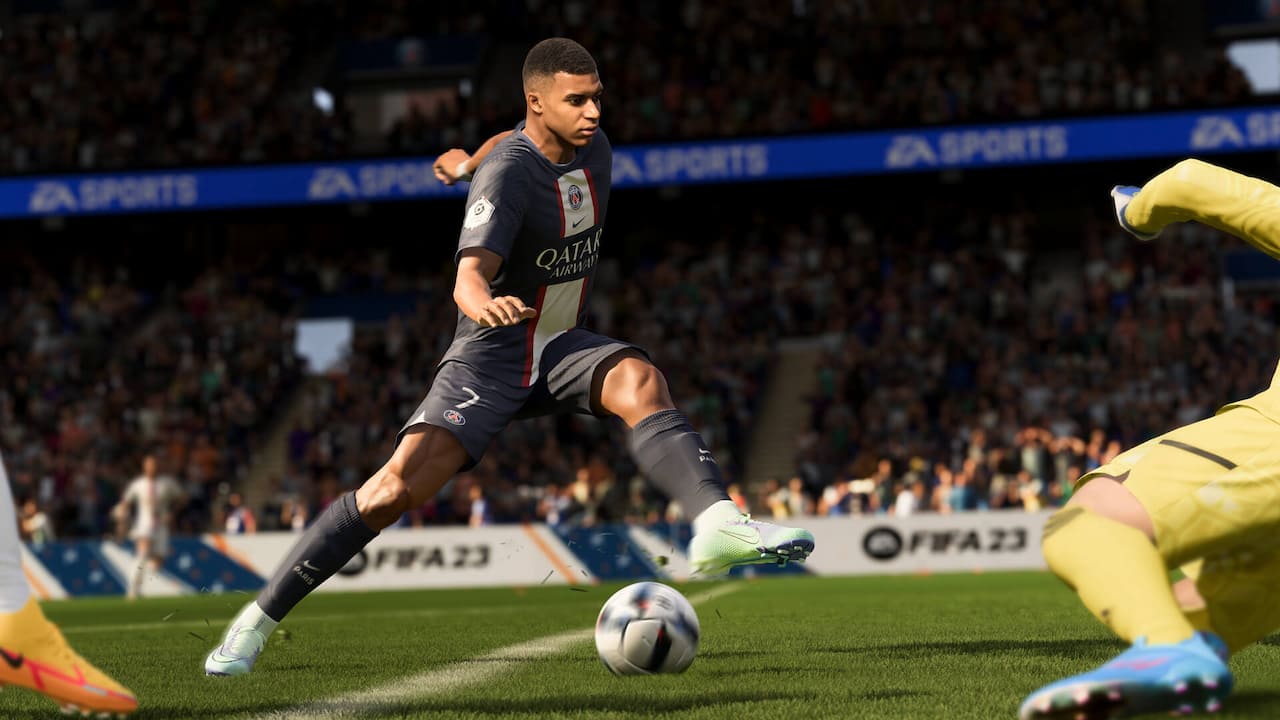
Wins don’t come easily in FIFA 23. But you expect that from a stratospherically popular simulation of the world’s favorite sport, don't you? Like it or not, the best players have had quite a while now to figure out where the advantages can be gleaned.
Will setting a particular formation and a set of tactical instructions magically bypass all the expertise and skill that’s usually required to go on a FIFA Ultimate Team (FUT) win streak? Absolutely not. Will fielding the best players do that? Well, it'll certainly help. But consider this a disclaimer: No amount of tactical nous or clever recruitment can negate the need for skillful inputs and good decisions on the pitch.
That said, following this formation and player stats guide will make things considerably easier. This is particularly the case if you’re just starting out in FUT and your lineup isn’t uniformly brilliant yet.
Formations
There’s no single formation that breaks the game and guarantees you a string of glorious 20-0 FUT wins. But you knew that in your heart already, didn't you?
However, there are a few formations and custom player instructions that work more effectively than others when it comes to opening up the pitch and generating attacking opportunities.
At time of writing (July 2023), the meta has swung towards a 4-2-3-1. Given that this formation’s always been one of the go-tos since launch, it’s the most stable foundation for you to use in building your own custom tactics and player instructions.

The idea here is direct, central, narrow play in possession, with a balanced defensive approach. One of your three central attacking midfielders (CAMs) should always be open for an easy pass in order to keep probing at defenses and looking for gaps. By focusing the attack centrally, you’re not over-committing player numbers in the final third, and you have both wing backs and two defensive midfielders staying back to guard against counter-attacks.
Here’s an example of the kind of tactical instructions to use with this formation. Basically: narrow and balanced.

And some example player instructions:
Striker
Support runs: stay central
Attacking runs: get in behind
Interceptions/defensive support: default
Central attacking midfielder (CAM)
Defensive support: stay forward (central), come back on defense (left and right side)
Attacking runs: get in behind
Support on crosses: default (central), get into the box (left and right side)
Positioning freedom/interceptions: default
Central defensive midfielder (CDM)
Defensive behaviour: cut passing lanes
Attacking support: stay back while attacking
Defensive position: cover center
Interceptions/positioning freedom: default

Wing back (WB)
Run type: overlap
Attacking runs, interceptions, defensive position: default
Center back & Goalkeeper
Default (all settings)
Best stats for each position in FIFA 23
Now that you’re equipped with a formation that's capable of winning so much that you'll make Mourinho’s trophy cabinet look like a quaint collection of knick-knacks, you need the right players to slot into each position.
Technically, it’s possible—and not entirely without merit—to just field ten pacey strikers in your outfield. However, a slightly more balanced and conservative approach will ensure you spend more time winning and less time shouting into sofa cushions or picking up broken controllers from the floor.
Keep these stats in mind for each position and you’ll end up with a well-rounded group who can bring the best out of your chosen formation.
Goalkeeper
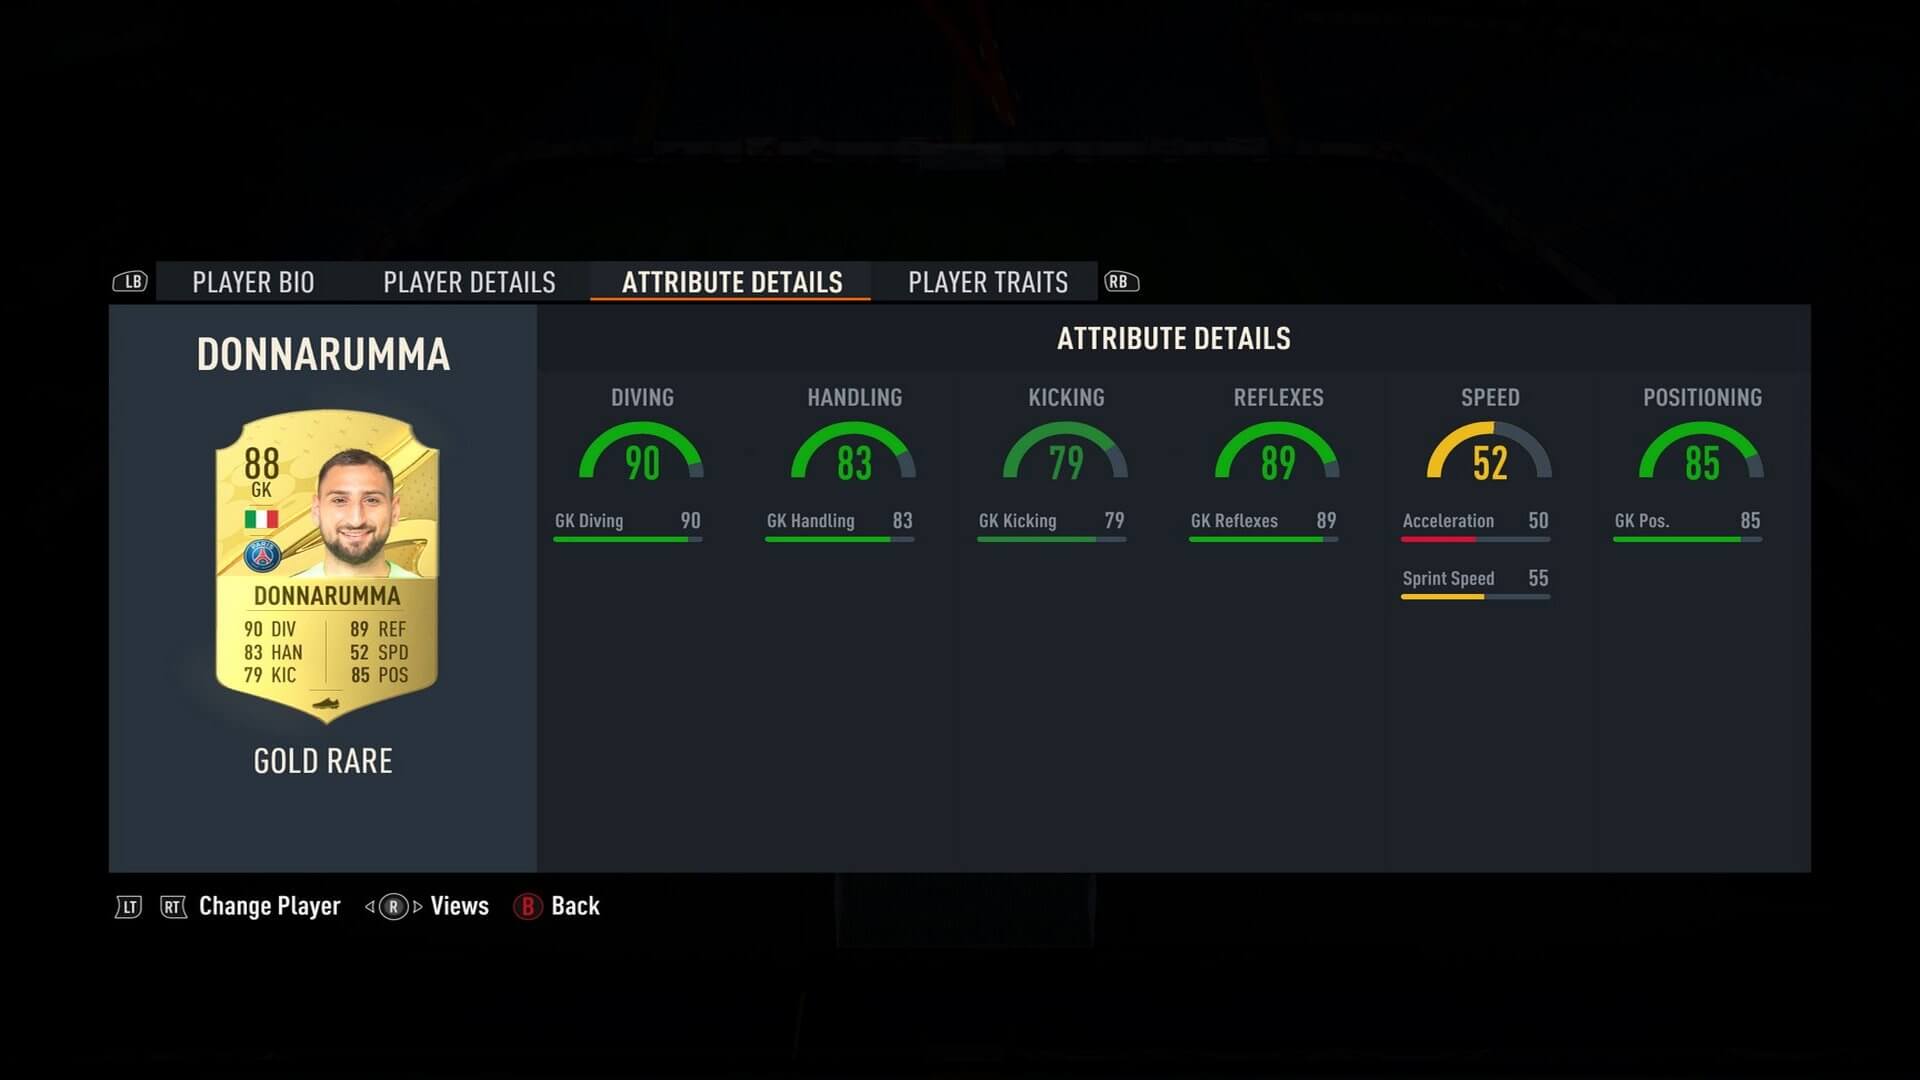
Unless you’re that FIFA player—you know, the one who likes to dribble it forward with your keeper and have a shot from the halfway line—the player stat criteria for this position is pretty straightforward. Higher stats across the board means fewer mistakes.
Kicking and speed aren’t the crucial metrics of a good keeper. Focus on these instead:
Reflex
Diving
Positioning
Handling
Height also plays a big role in a keeper’s effectiveness, as you might expect. It allows them to reach the top bins, defend their near post from attackers approaching from an angle, and come out ahead in one-on-one situations.
Full back & wing back (RB/LB/RWB/LWB)
These positions are the speed merchants of FIFA. You already knew speed was going to be a biggie for this position, but don’t sleep on their physical, defending and passing ratings. You need to be able to jockey with opposing wingers and muscle past them. And you need a final product, whether it’s a perfect cross or an incisive ground pass that guides a forward through to the goal.
Some inexperienced FUT players over-prioritize pace compared to defense, but when you’re facing players who focus their attacks out wide, it’s your side backs who provide the cover. Keep these in mind when you’re making your selections:
Pace
Defending
Physical
Passing
Center back (CB)
Like keepers, center backs are often defined more by their mistakes than what they do right. All it takes is one moment when they’ve wandered out of position or failed to get up for a header, and your defense opens up for an easy goal. It’s a tough job.
Minimize their errors by focusing on the following stats:
Pace
Defending
Physical
Passing
Work rate
They don’t have to be super quick, but a pace stat above 75 will be enough to make sure they’re not getting left behind during counter-attacks. You should look out for defenders with lower attacking work rates to ensure they don’t get carried out of position in the attacking phase.
Height plays a vital role for CBs. The taller they are, the more likely they are to bang in headers from corners and make vital aerial interceptions when your opponent tries to float one in behind your lines.

Central defensive midfielder (CDM)
Defensive midfielders have similar requirements to CBs, though with slightly more of a focus on passing. They’ll be putting in a lot of tackles—and you can indeed lunge in a bit more rashly with them, since you’ve got a backline to fall back on—so high physical and defending stats are important to maximize the effectiveness of those challenges. In possession, they should be able to spray it about with precision.
Defending
Physical
Passing
Look for CDMs with higher work rates in defensive play than attacking play. This will ensure they stay in position.
Central midfielder (CM)
Central midfielders should be—above all—versatile. They’re literally in the middle of the action, setting up attacking moves and often taking shots on goal. But when you’re out of possession, you’ll need them to close out passing lanes and press the ball carrier. These are the three crucial stats to look for in a CM:
Passing
Dribbling
Shooting
Passing’s the biggest one here. It’s useful for your CMs to be able to make a run now and then, but you usually have faster and more agile players up the field who they should just pass to instead. That said, having a CM with a decent finish comes in handy on the edge of the box.

Central attacking midfielder (CAM)
This is where the magic happens. CAMs are crucial in FIFA, particularly in formations that channel attacks down the middle, like the 4-2-3-1, which currently dominates the meta. Defending is really the only thing CAMs don’t need to be good at. Pace, dribbling and passing are a given, but they’ll often find themselves at the last phase of an attacking play, so they’ll need to be able to finish with precise shots on goal. Look for these stats in your CAMs:
Pace
Dribbling
Shooting
Passing
It’s very useful for your CAMs to be good on their weaker foot, too—look for 4 stars on a player’s weaker side. Their work rate should skew towards attack.
Wide midfielder & winger (RM/LM/RW/LW)
The demands of a winger or a side midfielder are similar to that of a CAM, except they need to be even quicker due to the nature of their position. Shooting’s nice to have, but it depends how you play them in your system. Wingers from the Arjen Robben mold who cut inside in the final third definitely need a good finish, but if you’re using your wide players to create chances rather than to finish them, you should prioritize pace, passing and dribbling over shooting. In either scenario, these four are the most important:
Pace
Passing
Dribbling
Shooting
Just like the CAM position, it’s a big advantage if your winger has 4 stars or above on their weak foot.
Forwards
And now for the jewel in your crown. Other than the ability to celebrate goals in a long-winded and unsporting fashion, the best forwards are unerring marksmen. The rest comes down to how you play them. Some players—the most annoying, let it be noted—love to get the ball early in the attacking phase and roll out skill moves all the way into the box. Other (empirically better) players prefer to build up using their midfield and rely on their striker for the final touch. Which one are you? In any event, these are the important stats:
Pace
Shooting
Dribbling (agility and balance)
Two-footed forwards have a big advantage, so once again look out for 4 stars on their weaker foot. You'll also want a high attack work rate, which will put them in the right position more often than not.
Forwards are another position where height proves really advantageous. Taller players can be used as target men to hold up the play after receiving a long ball, or to finish off crosses in the box. Height does often come at the expense of agility, though.