How to tackle tricky scenarios in Bridge Constructor Studio (and come in under budget!)
Whether you’re trying to survive in a post-apocalyptic, zombie-ridden world or have traveled back in time to the realm of kings and knights, there’s no shortage of ways to dive into the world of Bridge Constructor. For those of you looking for your next construction fix, Bridge Constructor Studio offers up 70 new puzzles to tackle, with the added option to live out your engineering dreams in virtual reality (assuming you own a compatible VR headset, that is).
With no restrictions on your budget and building materials of choice, there are endless ways to tackle each of developer ClockStone’s challenging stages. However, if you’re dead set on keeping costs down and delivering a solidly constructed bridge, you’ll want to read on for some tips on how to tackle some of Bridge Constructor Studio’s trickiest scenarios.
Best materials to balance length and cost
Across Bridge Constructor Studio’s five unique biomes, you’ll run into a handful of puzzles that task you with designing a bridge that can span a rather sizable distance. While this is fairly trivial for those who don’t mind spending plenty of cash, it can be a bit tricky to engineer a solution that also comes in under budget. Relying entirely on lumber will keep construction costs down, but it’s nigh impossible to do so if you want your bridge to remain intact. On the other hand, opting to build a bridge using steel solves the structural integrity issue, but you’re likely to come in way over budget given how expensive the material is in the first place.
While there are a few different ways to pull off this balancing act, one common tactic is to make use of both wood and steel. Construct a bridge using wood for the road and triangular trusses before reinforcing them using a steel frame.
Consider cables for nearly limitless support

After making your way through Bridge Constructor Studio’s opening set of levels, you’ll unlock cable as a building material. Compared to wood and steel, which can bear both tensile and compressive forces, cable can only be used to support a structure when it’s placed under tension.
This might sound rather limiting, but using it comes with one unique advantage: Cable is nearly limitless in length. While individual pieces of wood and steel have maximum lengths, cable is largely free from this restriction, which means you only have to consider cost when using it.
Needless to say, should you find yourself playing a level with anchor points on both sides of a gap that you’re attempting to build over, consider using these to set up anchors to use cables with. This proves particularly useful when trying to prop up and support a bridge that needs to cover a lot of ground.
Start big with pillars, then reduce
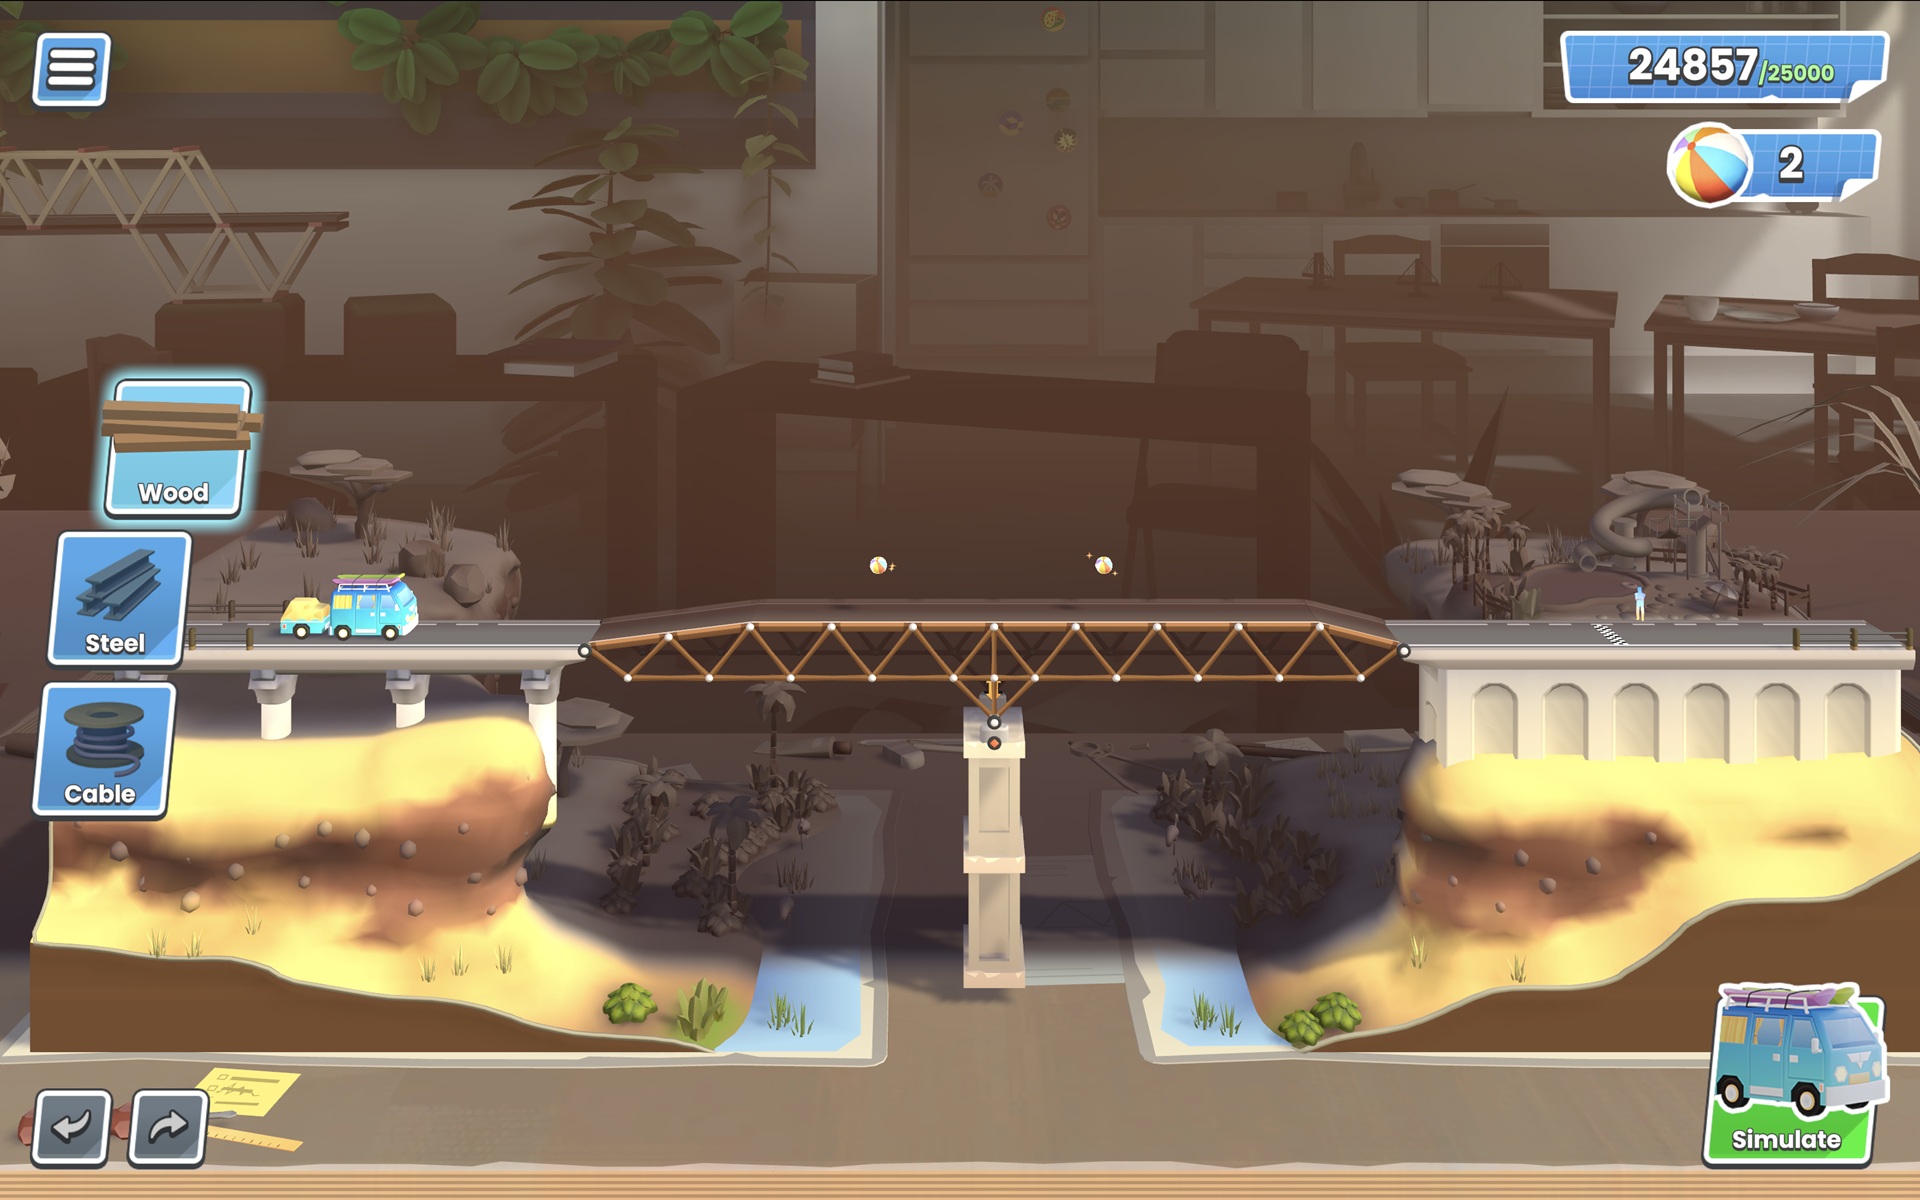
In later stages, you’ll be given the option to change the height of preexisting cement pillars, which can be used to provide much-needed stability to your constructed bridge. In fact, most of these levels are designed around using these support structures to your advantage, but of course, they come with a catch. Increasing the height of a pillar comes with a hefty cost, and it’s possible to blow your entire budget by making a pillar too tall.
One way to work around this is to start out by adjusting a pillar to a reasonable height as a starting point. From there, continue building your bridge as intended, testing out your creation along the way to see if your structure holds up. Once you’re satisfied with the end result, begin lowering the pillar’s height and making small tweaks to your bridge (make sure to test along the way!) until you come in under budget. It might take some time, but this iterative process can help you strike a balance between bridge complexity and cost.
You can build your support below your bridge
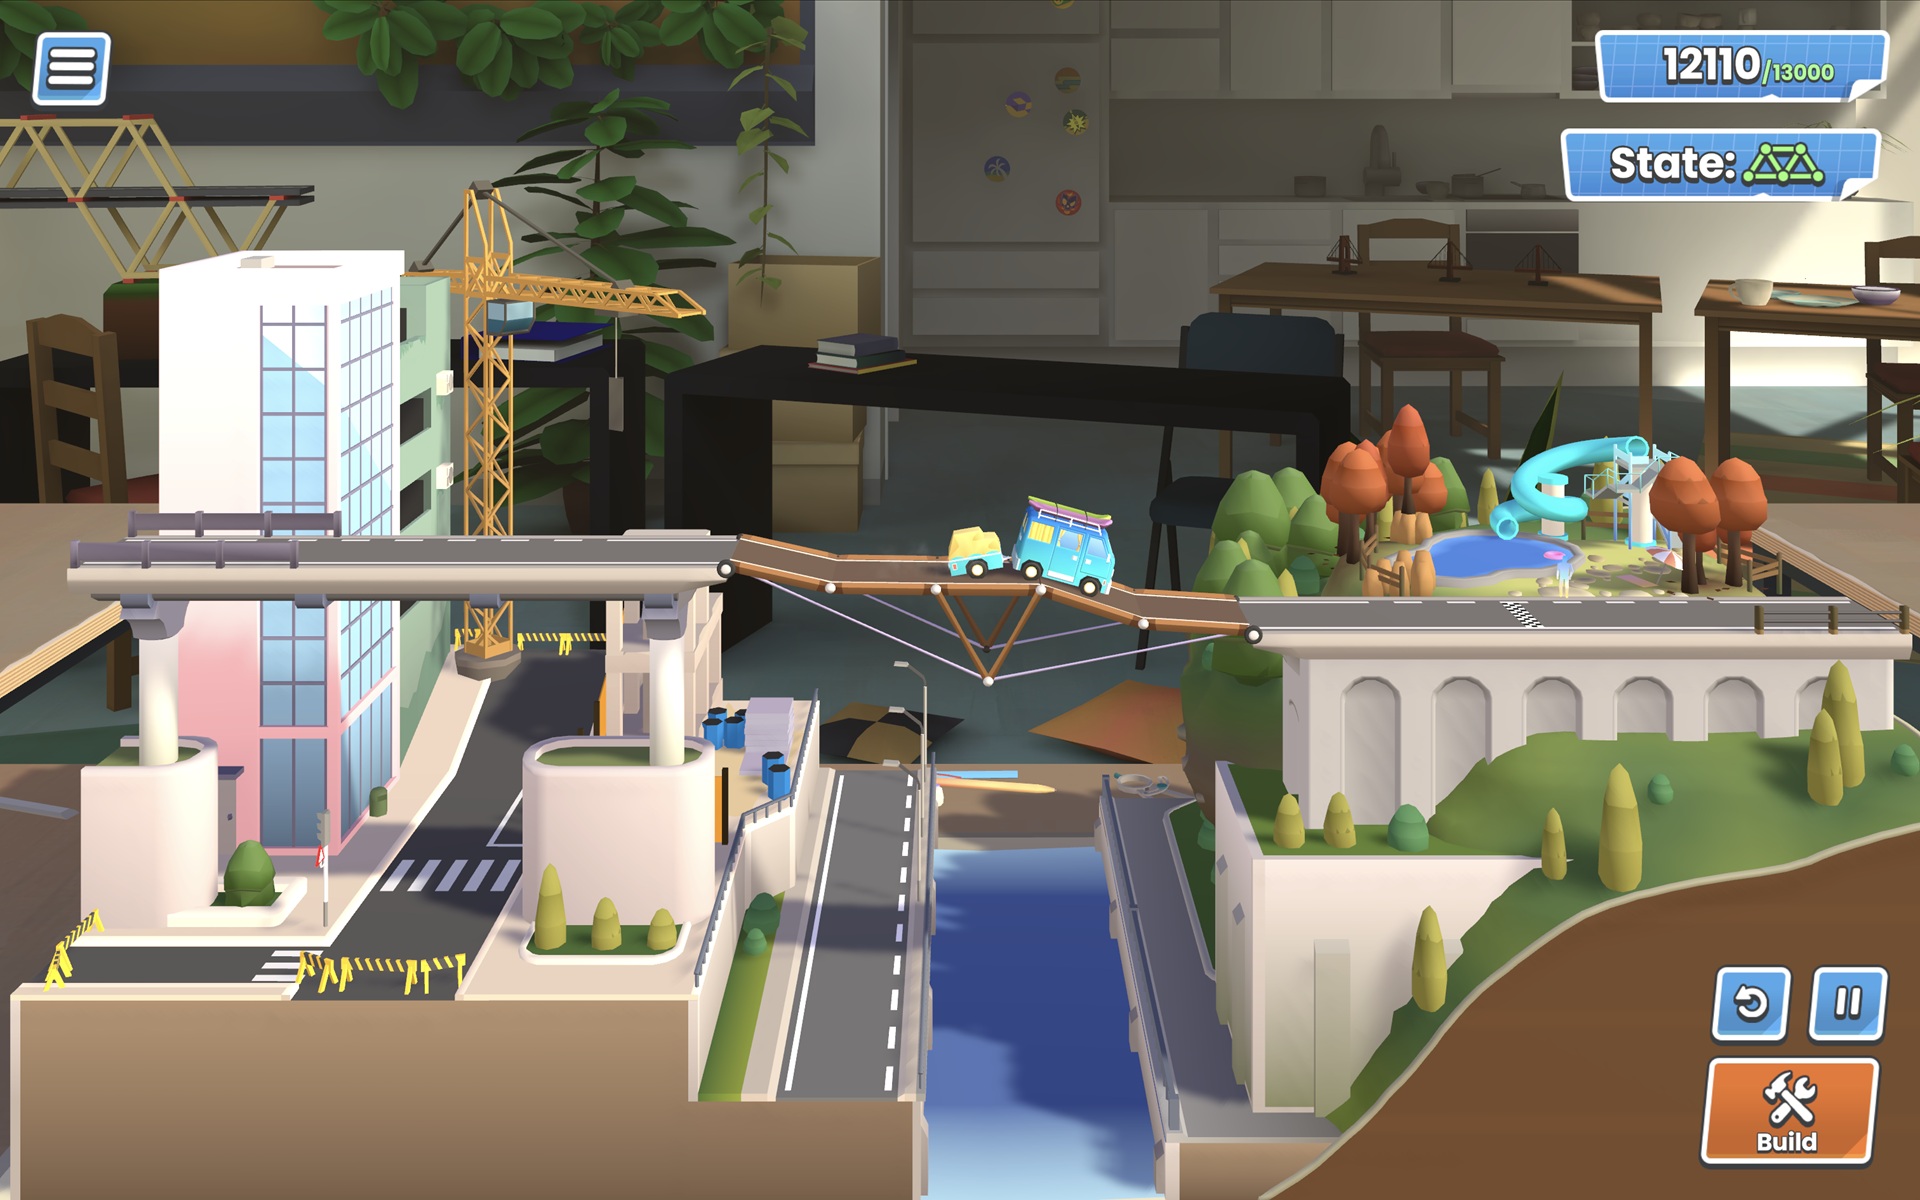
Even though we typically associate suspension cables as a way to support a structure from above, there are a few instances where you can use cables to keep your bridge intact from below.
If you find yourself playing a stage that has no good anchor points for cabling, consider using cable below your bridge. By adding a support structure under your bridge (which, by the way, can be as simple as a single triangular truss or lone piece of wood), you can connect them to cables on either end of your bridge. It might look odd at first, but this setup can keep your bridge upright by keeping it under balanced tension. This approach can also help to come in under budget on levels with stringent cost requirements.
Gaps can be fun
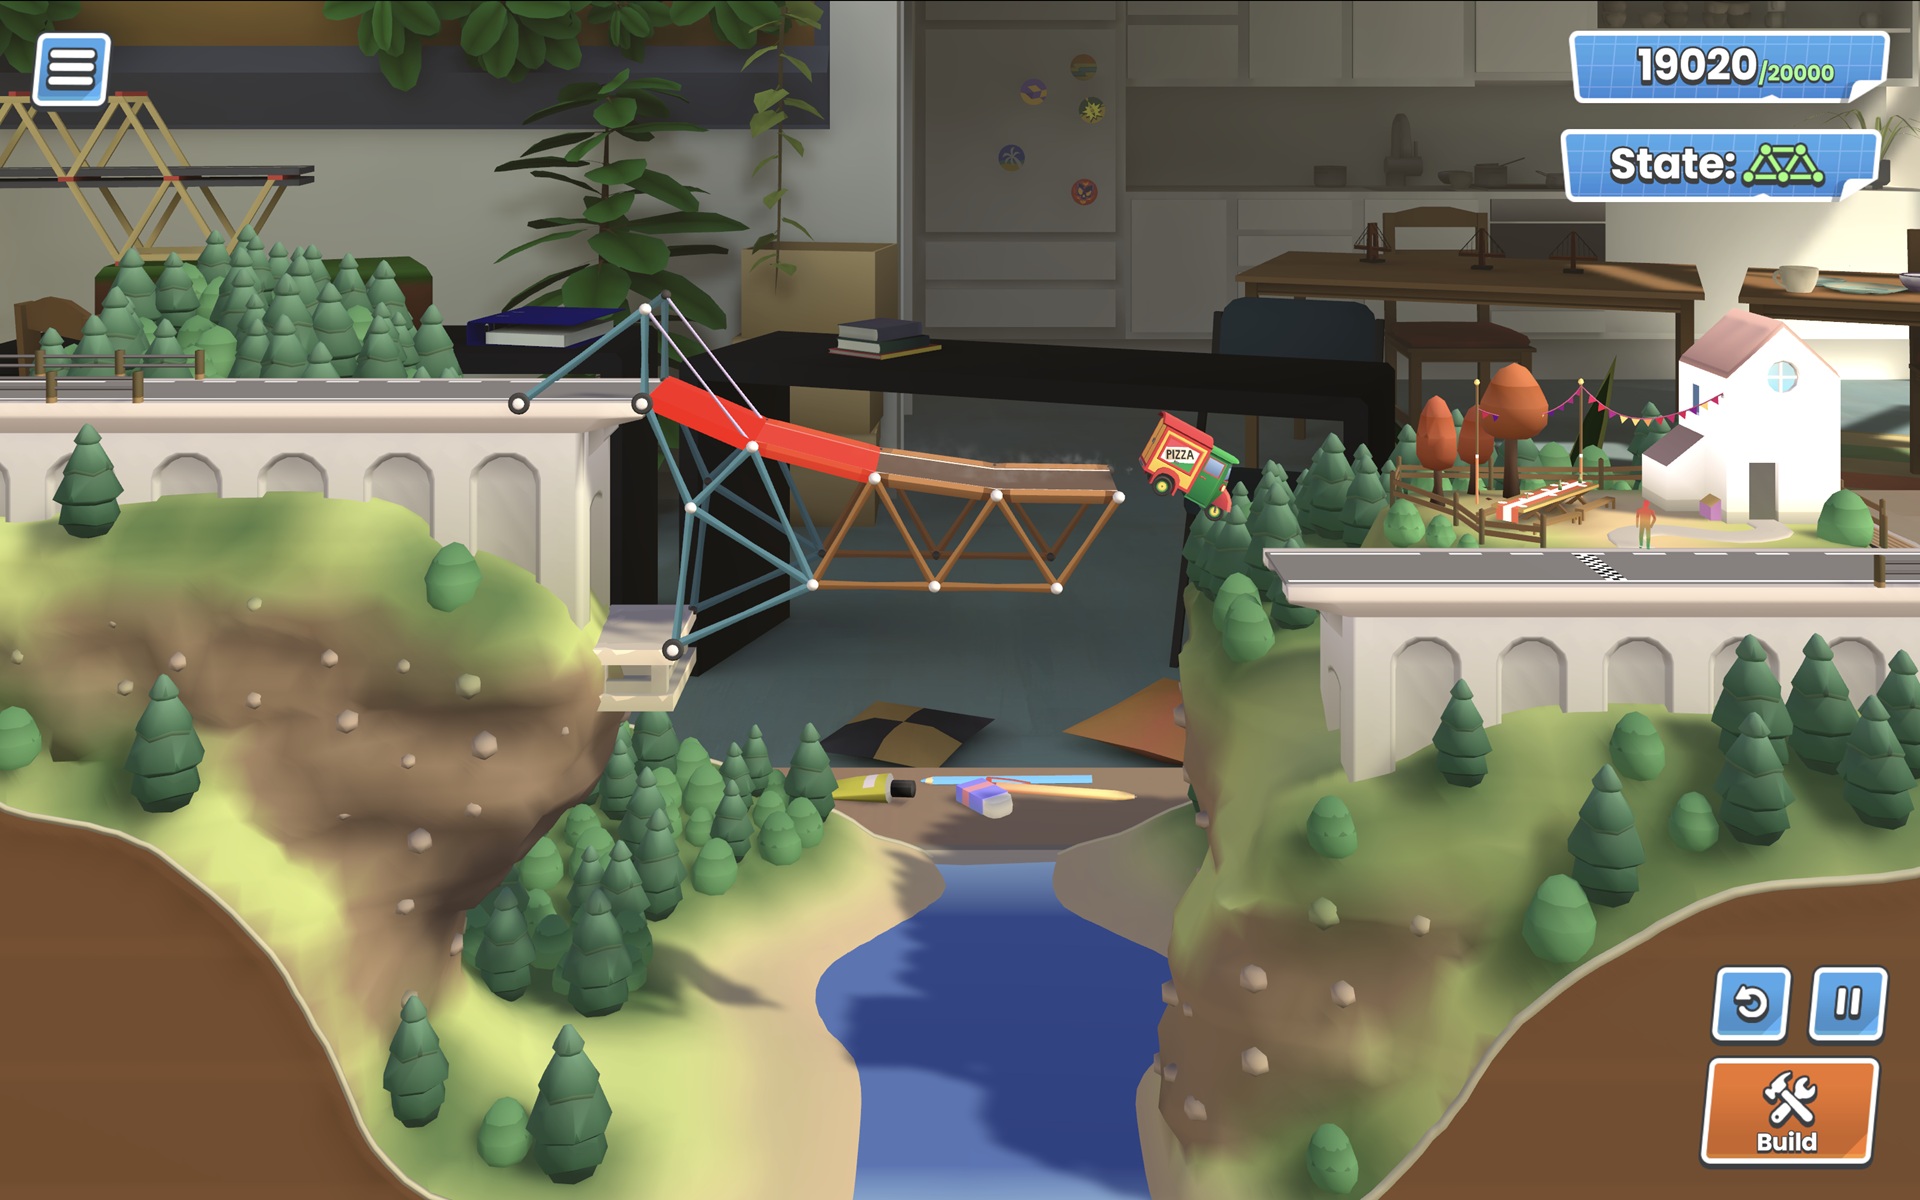
There’s no denying it: Every so often, Bridge Constructor Studio will make you adopt some rather…questionable design decisions. Case in point: the flying pizza van.
To complete every stage and come in under budget, you’ll occasionally need to cut back on, well, the bridge itself. This might seem risky (mostly for the one driving, mind you), but as it turns out, some smaller, lighter vehicles can become airborne for a short amount of time without running the risk of flipping over or plummeting to an untimely demise.
To be clear, not every situation will call for this, but building a shorter bridge that sits slightly above the end goal can work, though it’ll take some trial and error to figure out the optimal dimensions. It’s also important to find alternate ways to support the far side of the bridge, as it won’t be connected or anchored to anything to keep it upright (in fact, the levels that call for this strategy often lack any anchor points near the end goal).
That wraps up our Bridge Constructor Studio guide. Hopefully, these tips and tricks (as unorthodox as some of them may seem) will help you to master all 70 stages while coming in under budget!
Bridge Constructor Studio is now on the Epic Games Store.