Știri
RIDE 6 guide: Master every class of bike with these effective practice aids
P
Phil Iwaniuk
One of those elements is realism, and you’ll notice it the first time you try to take a corner like you’re in Road Rash. There’s a nuance and sophistication to the weight transfer, brake inputs, and rider weight that takes a long time to master. While there are plenty of aids to ease the journey towards mastery and a choice between Arcade and Pro handling models, ultimately the goal is to master these bikes in their most untamed and raw form: no assists, Pro physics.
That’s going to be a journey. These steps will keep you on track in every sense.
The Bridgestone Riding School’s technical tutorials are a must
You’ll see the Bridgestone Rider School in RIDE 6’s paddock, the game’s equivalent of a main menu. You could be forgiven for passing over it, since tutorials are often too basic to be useful in racing games, but Milestone has built something considerably more involved and useful than a traditional tutorial here.
What you’ll find are a series of technique-based lessons which first show the technique being performed, break down the inputs exactly, and then give you the controls and have you replicate that technique and reach the finish within a time limit.
Since there are so many different categories of bike to master this time out, it’s a good idea to spend some time here understanding the different physical properties of baggers versus sport bikes, and gain a feel for how to brake and tip into corners on every kind of bike. Plus, the structure’s rather fun to work your way through.
Use rewinds to learn braking points
Rewinding after a crash not only saves valuable time, it’s also a great tuition aid to help you learn what you did wrong and why it led to a crash. Using the rewind function, you can analyze where you hit the brakes on both successful and non-successful corner entries and use the former to commit the exact brake marker to memory.
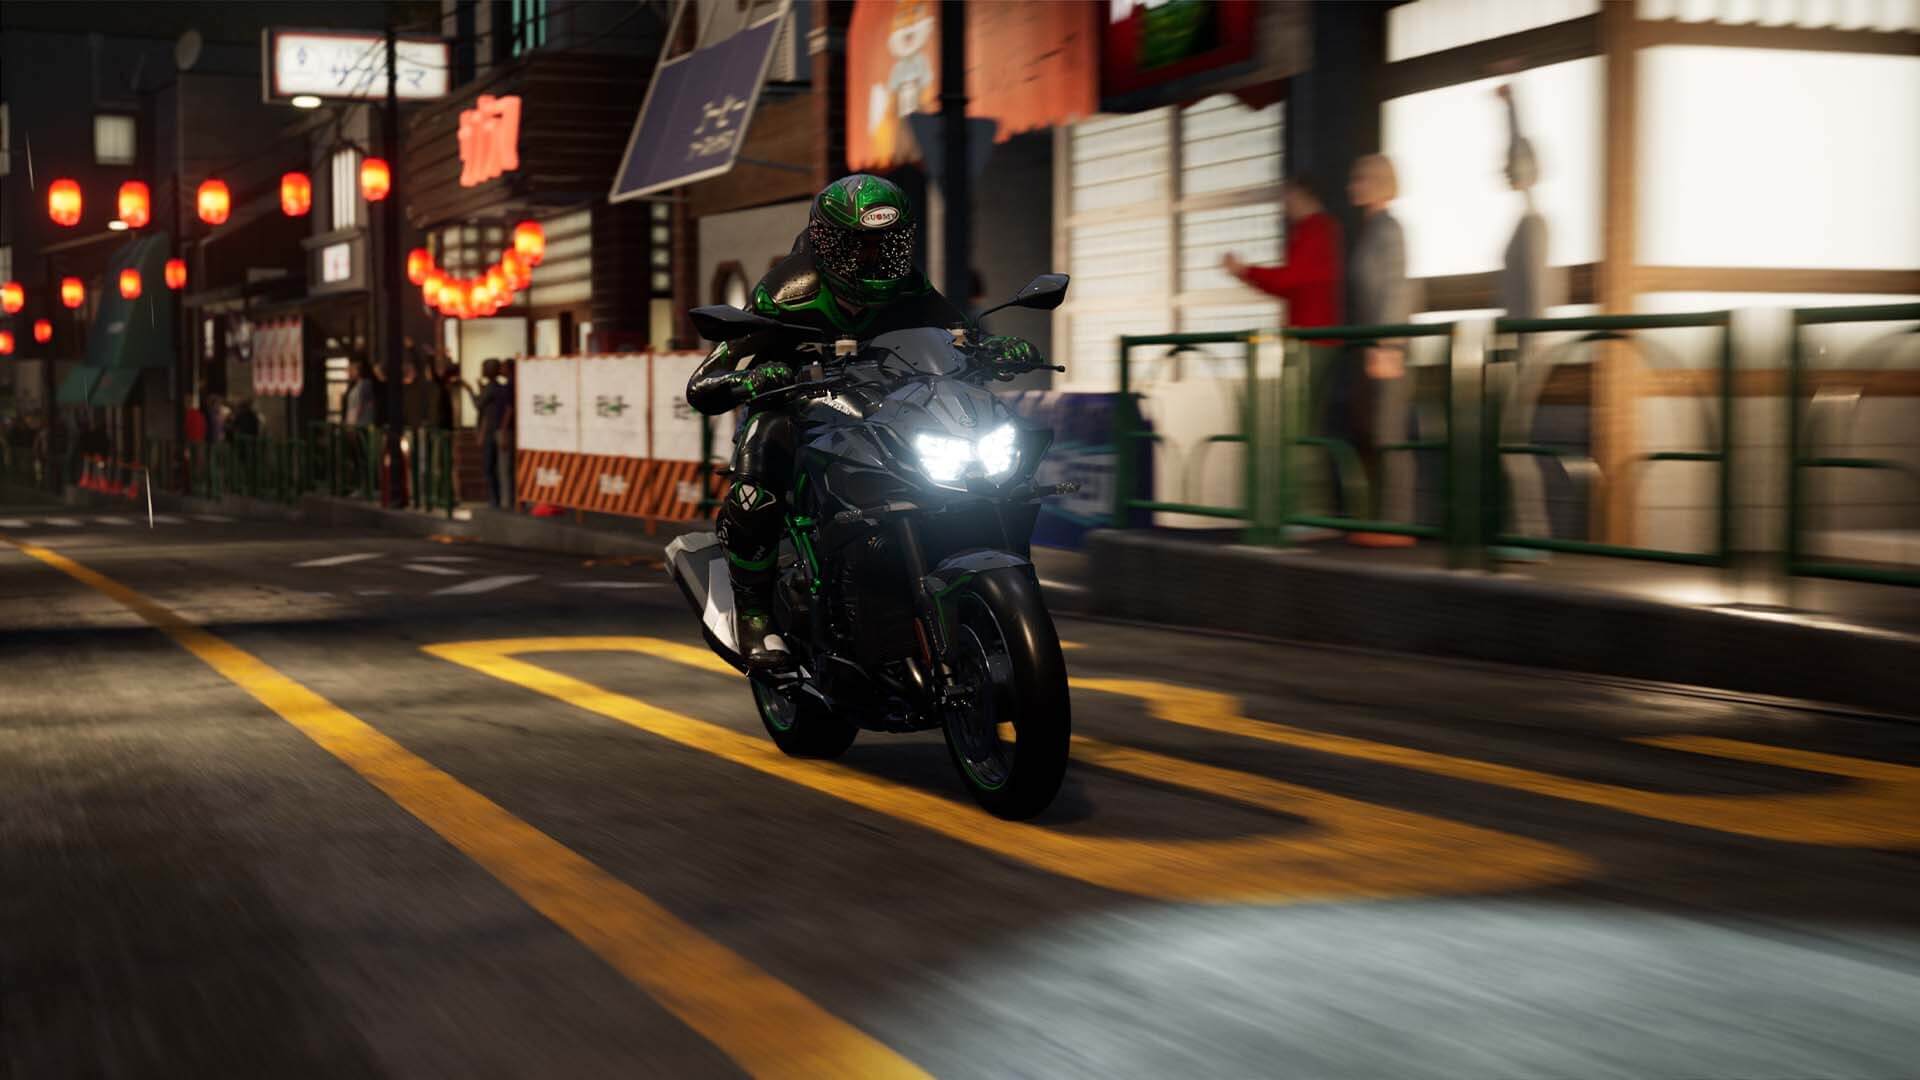
If you crash and you’re not sure what happened in the lead-up, rewinds are also a good analysis tool. When did the bike start falling away? Was it a squirm from the rear, or a sudden wipeout from the front? Taking a moment to watch your mistakes in slow motion is a great way to process the sequence of inputs you should have taken to avoid it.
Push your rider’s weight back when braking
One of the few constants across RIDE 6’s 350+ bikes is that the brakes bite like a ravenous piranha. When using the Pro physics option, overly aggressive braking will push your weight forwards too quickly, raising the rear tire and further impacting your stopping power.
This is more of an issue on some bikes than others. It’s all about your rider’s position: On a bagger or enduro bike that places your body geometry into an upright seated position, the accidental stoppies will happen less frequently, but on sports bikes that have you in a tucked position, hitting the front brake will require some careful countermeasures.
Hit down on the left stick when braking to shift your rider’s weight towards the rear of their seat. You’ll see them sit up and out of the aero tuck when you do this. To transition from straight line braking to leaning, roll the left stick from six o’clock around to three or nine, slowly and smoothly, to keep from upsetting the bike as you shift your weight and get your knee down.
More braking equals less turn-in
The Arcade physics model lets you hit the brakes hard and keep trailbraking deep into corner apexes, but if you want to master the Pro physics, you need to approach braking differently.
The more lean angle you apply to the front tire, the harder it is for that tire to keep rotating when there’s pressure being applied to the front brake disc. Worst case scenario, you can end up "tucking the front"—the front tire locks and subsequently drifts over the track surface instead of rolling, causing the bike’s weight to fall over completely and booking you for an immediate appointment with the gravel trap.
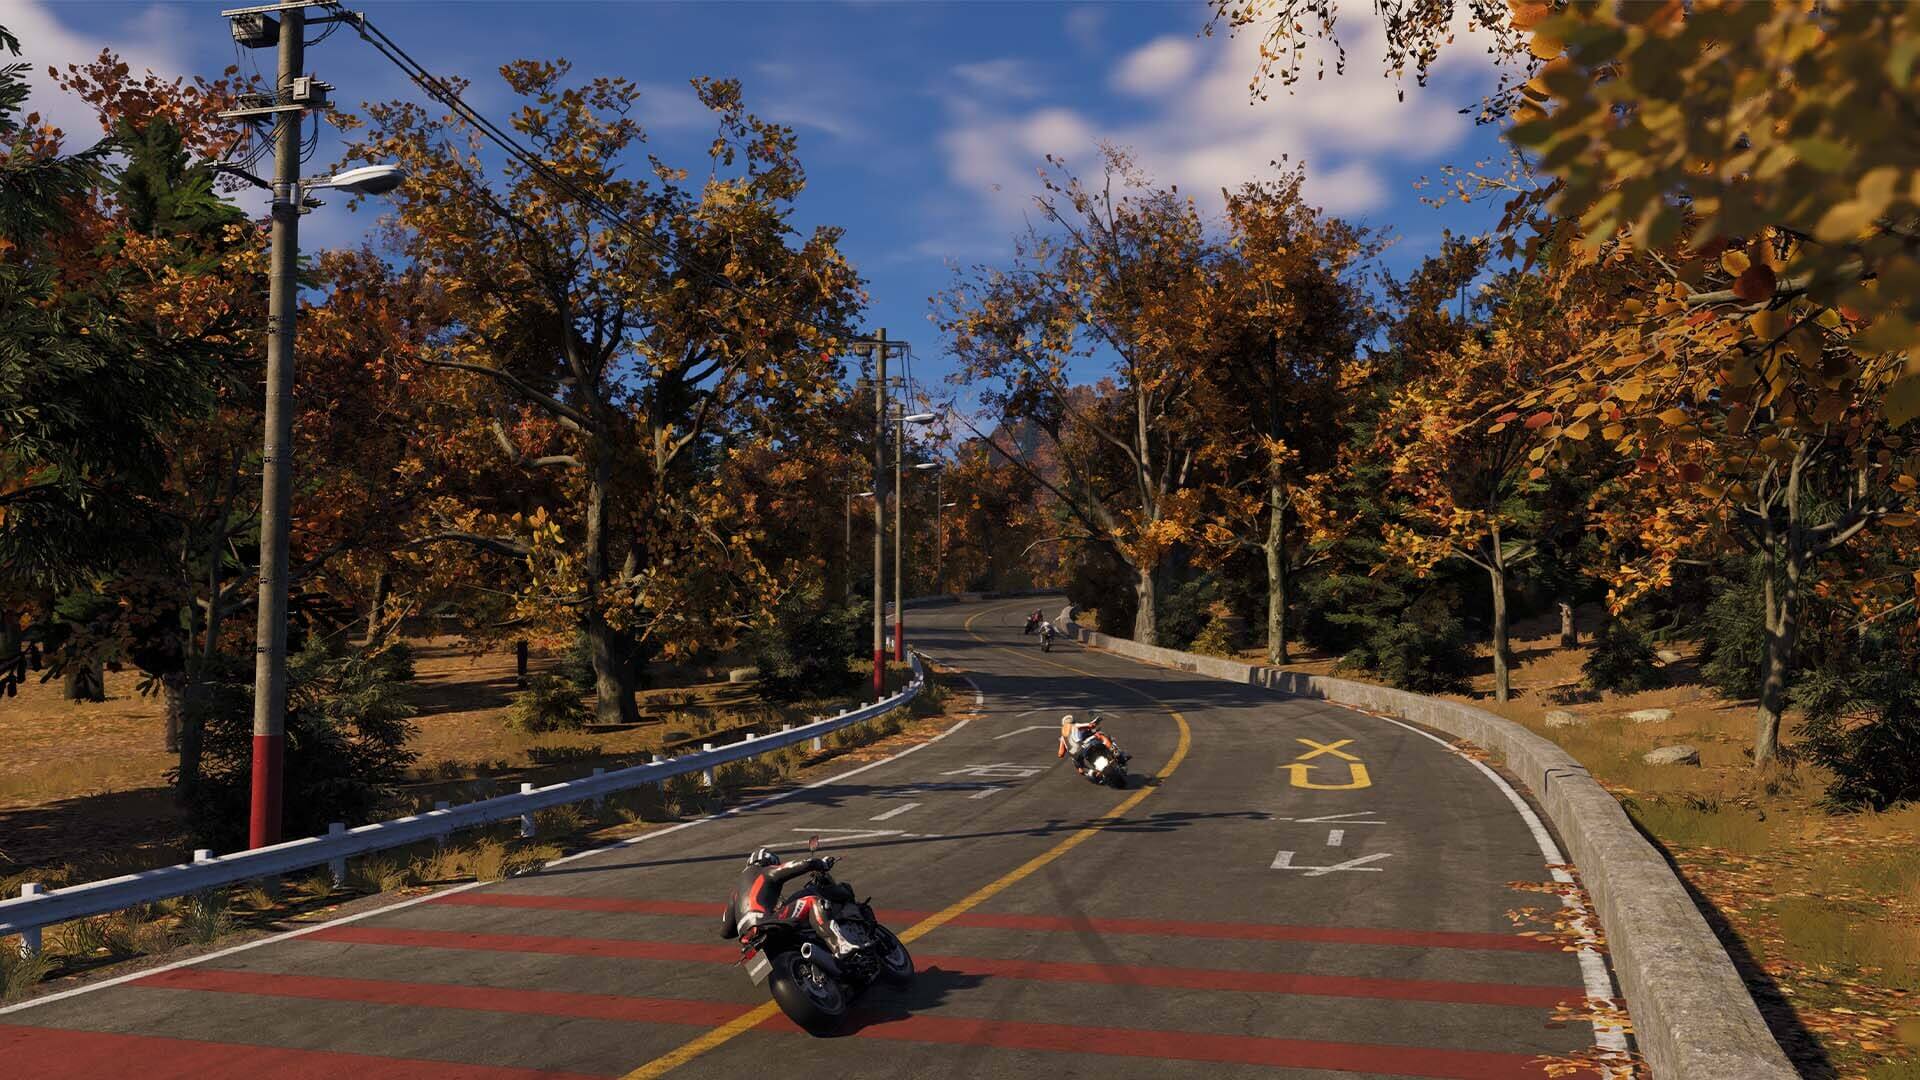
But even if you don’t push the trailbraking as fair as a front end lockup, you’ll still notice that your turn-in isn’t as sharp as you’d like. That’s your front tire fighting against the opposing stopping and rolling forces you’re trying to impose on it.
To remedy this, if you feel like you’re not turning in enough to hit the apex, as counterintuitive as it sounds, it’s best to apply less pressure on the front brake and let the engine braking and leaning do the rest.
Use the rear brake to pivot, not to stop
Going fast on a motorbike isn’t difficult. Slowing it down again is the tricky bit, and much of the mastery in RIDE 6 comes down to learning the subtleties of braking. The controls allow for independent front and rear braking, and if your racing experience is primarily on four wheels, your natural instinct might be to hit both hard simultaneously and keep them held.
On a bike, this is a great way to send yourself to the moon, but not a great way to make the apex. We’ve covered front brake technique above, but application of the rear brake is just as nuanced.
By default, the rear brake is mapped to a button on your gamepad rather than a trigger, which means it’s either 100% on or off. Keeping it held for too long will lock up the rear, which will make your bike step out to the side. If the angle’s too severe when you release the rear brake and the tire starts to rotate again, you’ll cause a crash.
The best way to use the rear brake is with short taps in a straight line, and then an extended press just before you enter a corner if you’re looking for a last bit of turn-in angle. Deliberately locking up the rear at a lower speed and then releasing at the apex not only helps your turn-in, it looks pretty dang cool too.
RIDE 6 is available now on Epic Games Store.