News
Subnautica 2 guide: 15 tips to help you survive the ocean’s depths
J
Jason Rodriguez
Our Subnautica 2 guide has numerous tips to help you get started with the campaign and survive the ocean's depths—everything from basic gameplay mechanics and craftable items to unlockable abilities and ferocious enemies.
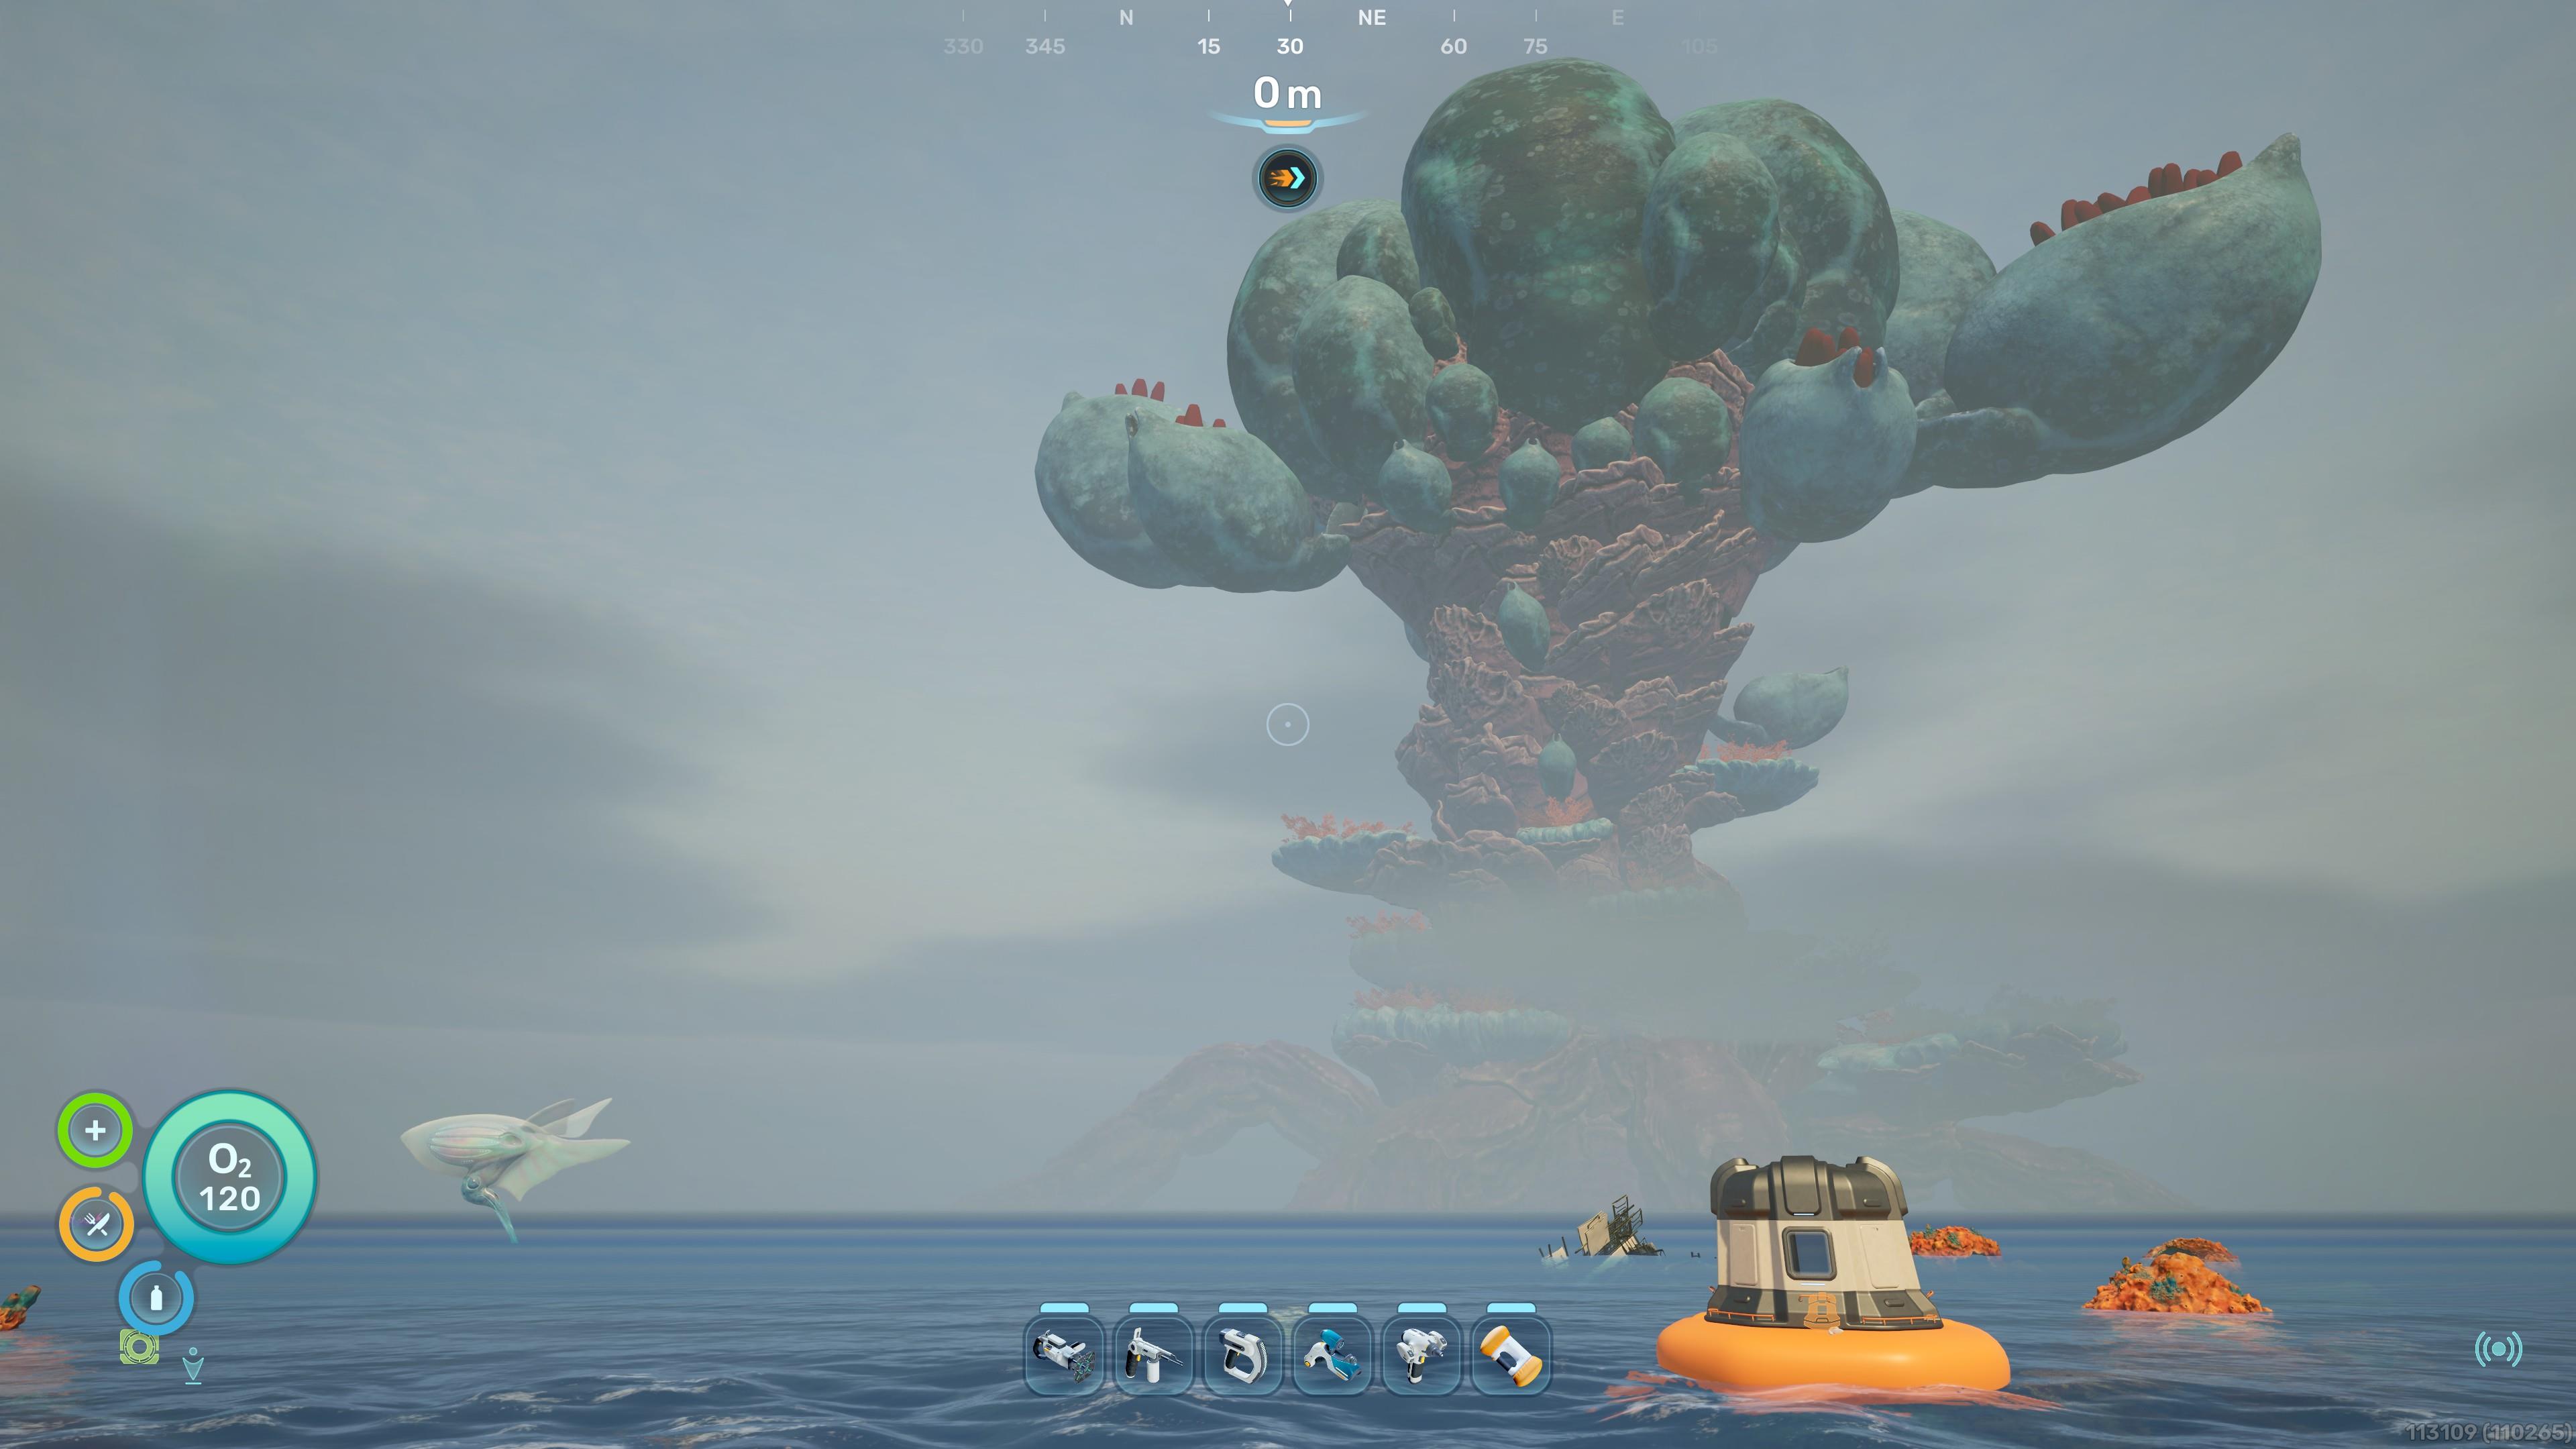
Use the Lifepod to get your bearings
Similar to previous games in the series, Subnautica 2 does not have a traditional in-game map. Instead, you need to get your bearings via the compass at the top of your heads-up display (HUD). If you press the Escape key and pause the game, you’ll also see your character’s coordinates at the bottom-right corner of the screen.
Take note of the Lifepod’s location, which serves as both your base and a fixed reference point. The Lifepod has the following devices:
- NoA Terminal: Displays messages related to objectives.
- Biobed: Acts as your respawn point.
- Fabricator: Allows you to craft tools and resources.
- Pod Locker: Lets you store items.
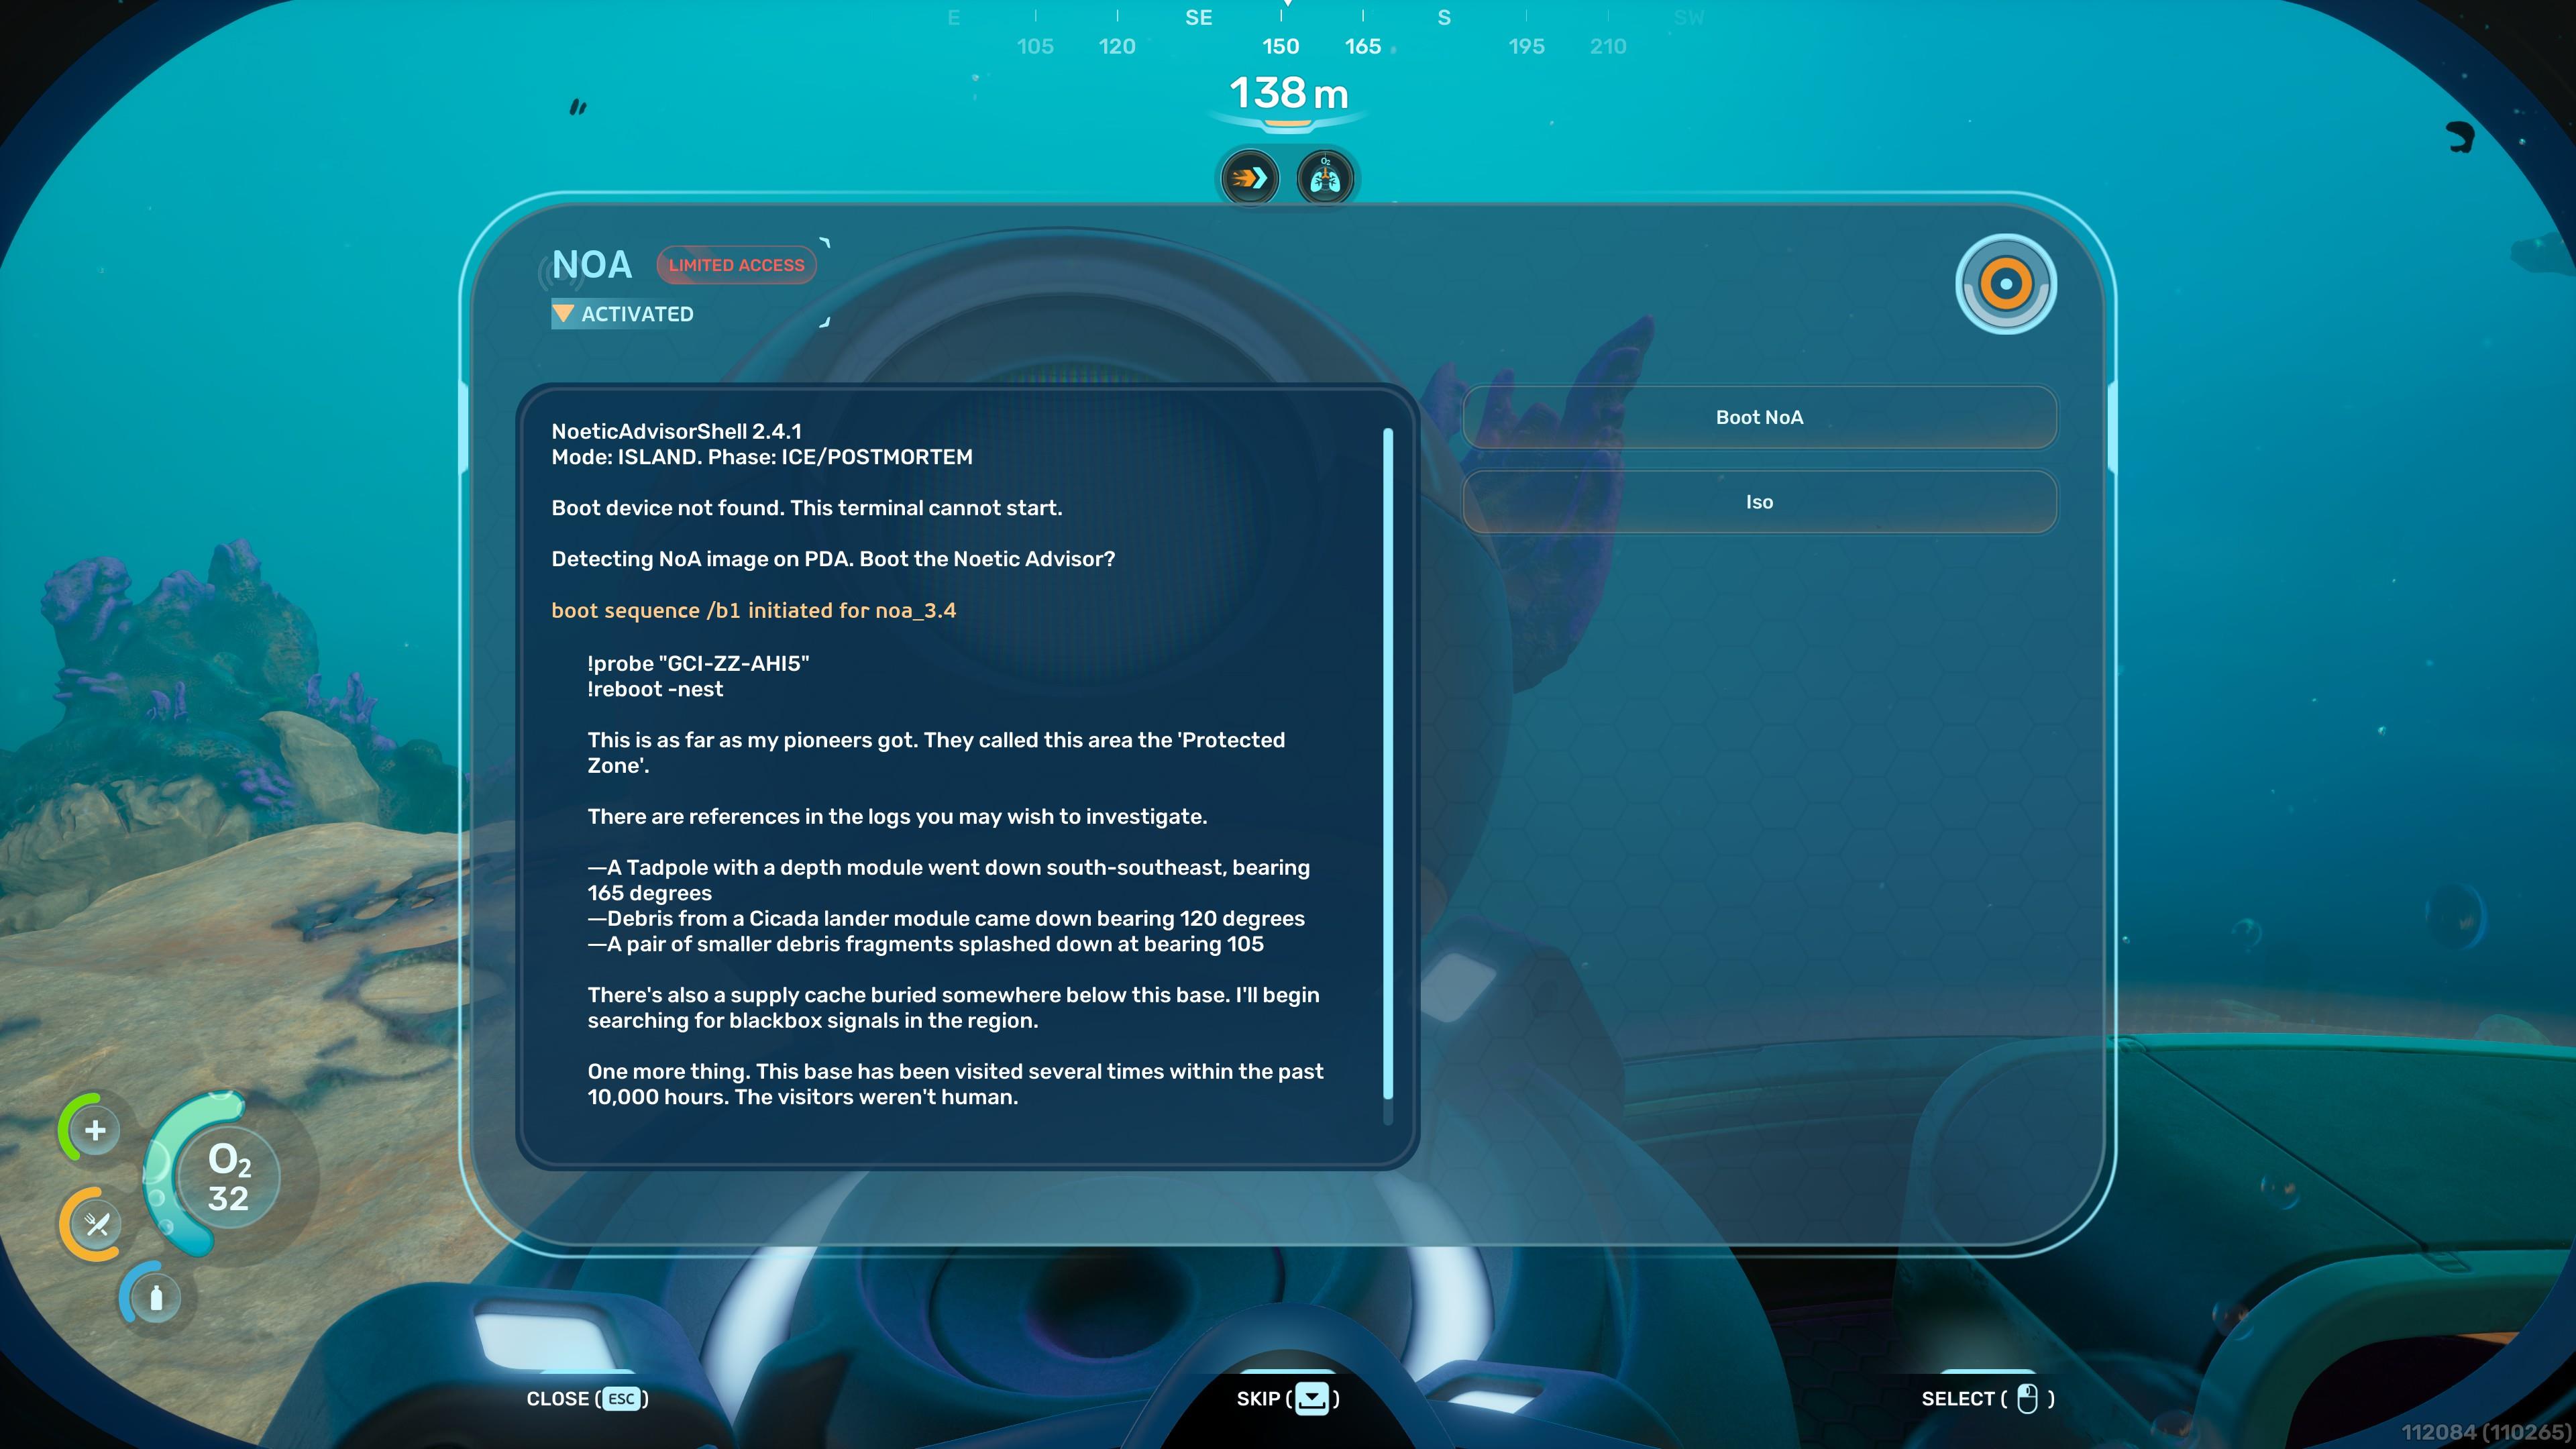
Check the NOA for blackbox objectives
Subnautica 2 is an open-world (or open-water, rather) game. While you can roam around at your leisure, you should still tackle key objectives to progress further into the campaign. This is done by interacting with the Noetic Advisor or NoA Terminal.
The NoA Terminal periodically informs you of points-of-interest, such as the blackboxes left behind by lost colonists, sunken habs, and strange alien lifeforms. In turn, these are marked as signals or icons on your screen.
Monitor your character’s health, hunger, thirst, and oxygen levels
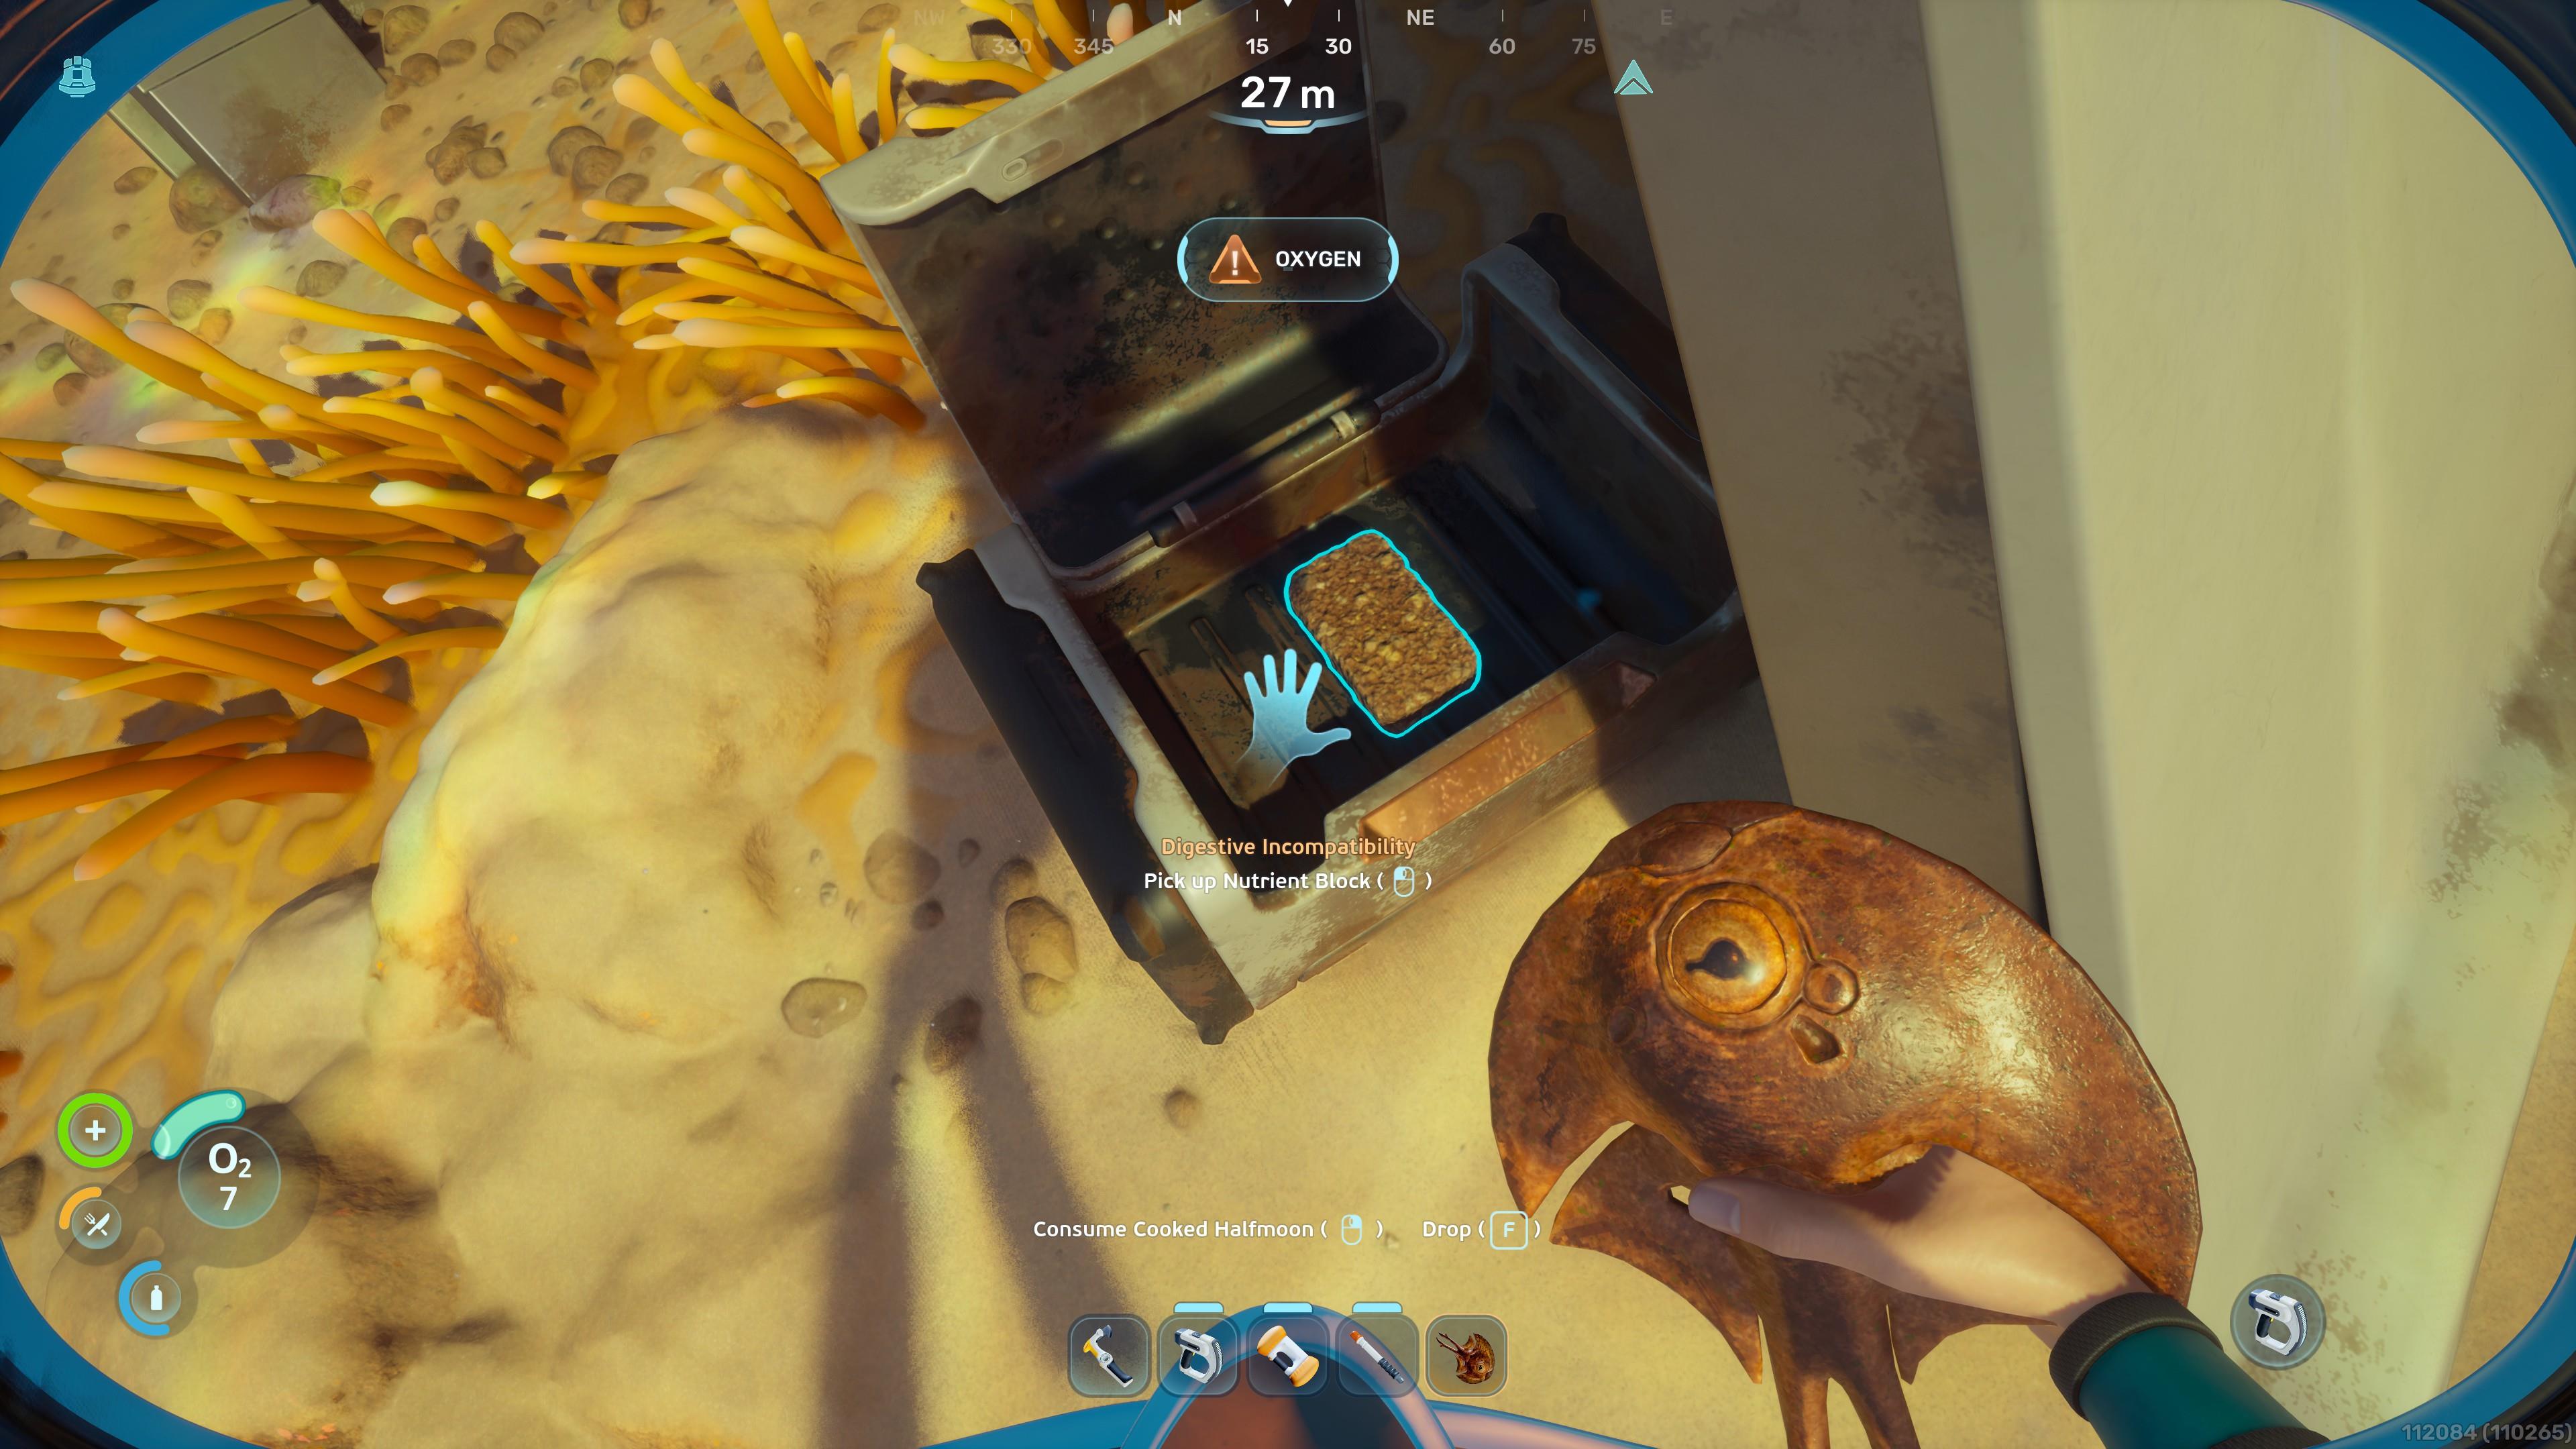
One important Subnautica 2 tip to keep in mind is that, if you play on Creative Mode, you won’t need to worry about dying at all. However, if you choose Survival Mode, then you need to manage your character’s condition.
Oxygen gets depleted quickly while you’re submerged:
- By default, you have 45 oxygen. You can increase the maximum amount to 75 and 120 oxygen by crafting the Standard Air Tank and High Capacity Air Tank, respectively.
- Certain objects in the environment also help replenish oxygen levels. Examples include the Oxygen Tunic and abandoned scuba tanks, which have air bubbles.
- The Air Bladder tool, when used, replenishes a bit of oxygen. The Rebreather, meanwhile, helps conserve oxygen as you dive deeper.
- Surfacing, entering a base with a hatch, and riding a vehicle automatically restore oxygen levels.
- When you run out of oxygen, the screen will go dark. If you’re unable to surface or find an interior within a few seconds, your character will perish.
- You can quickly restore +50 health via First Aid Kits.
- Bulbous pink plants known as Acid Raions also have a Medical Gel Sac that restores +10 health.
- By default, you can only eat Nutrient Blocks, which grant +40 food.
- You must unlock the Digestion Adaptation upgrade if you want to eat various types of alien flora and fauna.
- The Fabricator’s Sustenance tab has recipes that let you cook fish, jerky, and mash.
- Catch little critters known as Water Slugs.
- Use the Fabricator to turn 1x Water Slug into a +40 water consumable.
Scan everything to unlock blueprints
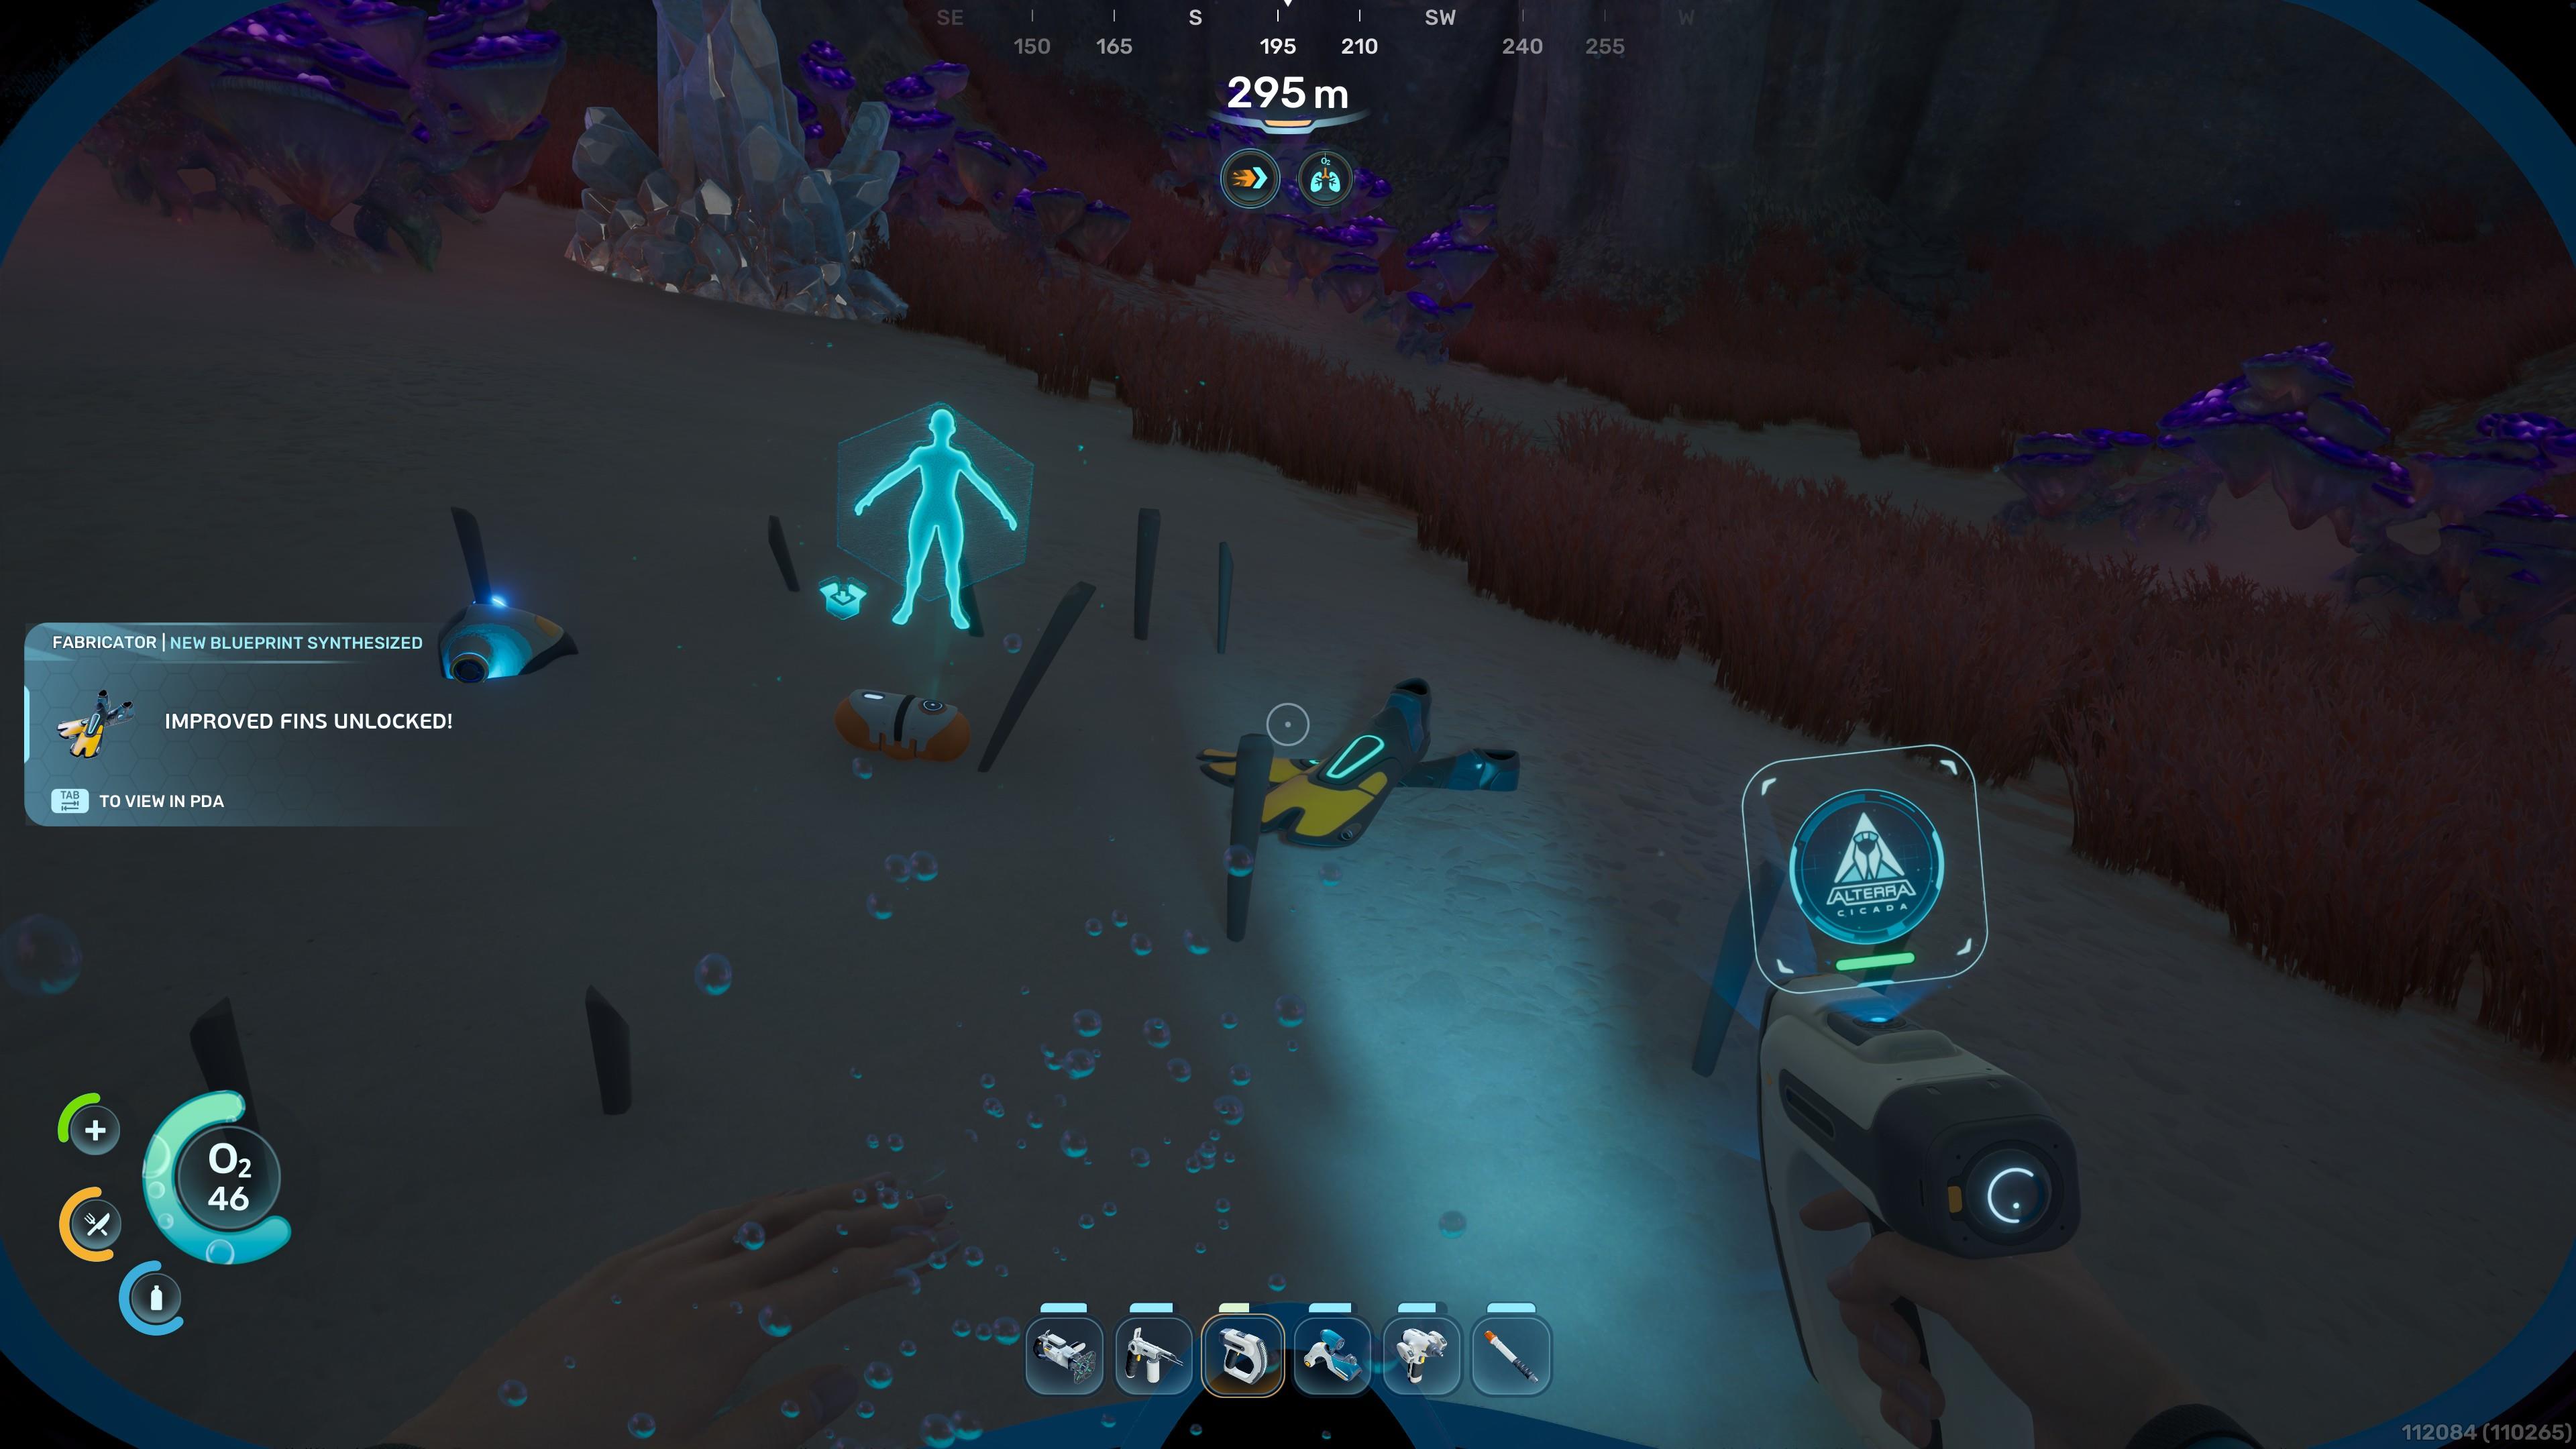
The vast majority of objects and structures won’t be available unless you unlock their respective crafting blueprints. This is done through the use of the Scanner.
The Scanner is crafted via the Fabricator. It costs 2x Titanium, 2x Quartz, and 1x Battery. Bring it out and check its screen for scannable objects, which appear as yellow pips.
Gather more minerals using tools
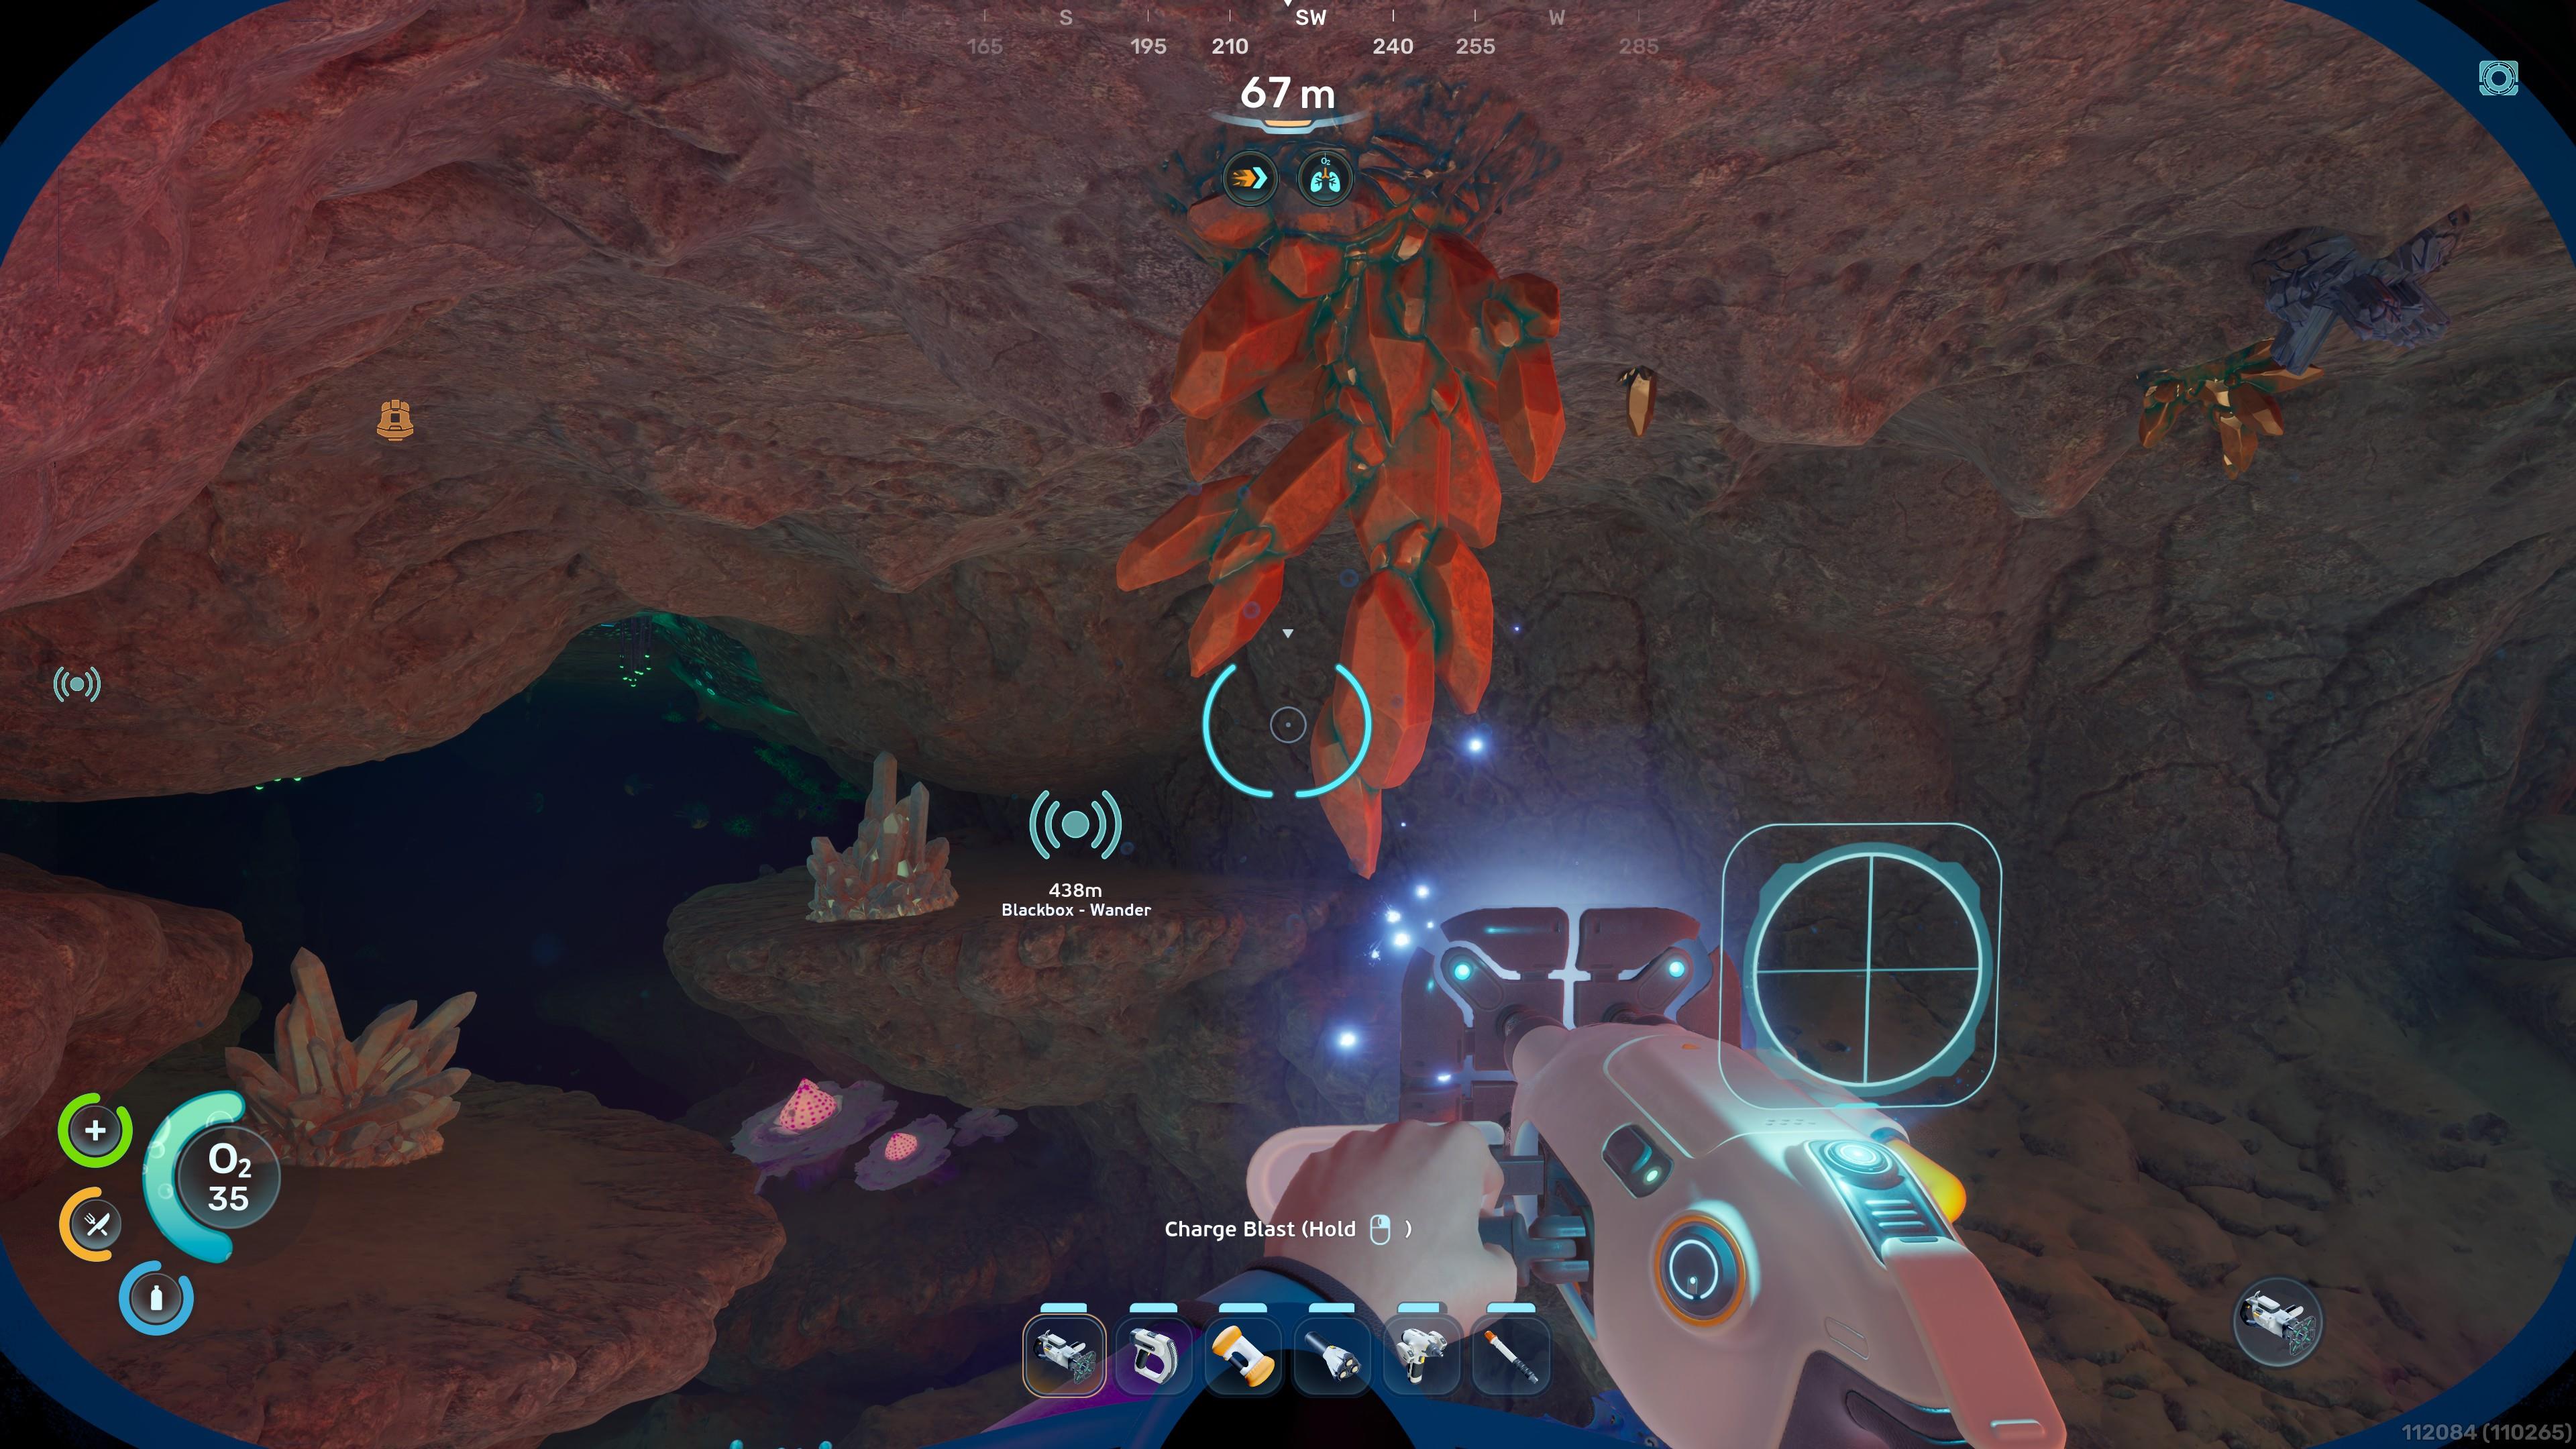
Early on, you can only gather small materials by hand. Eventually, you'll craft the Survival Multitool, which costs 3x Titanium. The device lets you break medium-sized mineral nodes.
Later, you need to scan and craft the Sonic Resonator, which requires 1x Basic Battery, 2x Titanium Ingot, 2x Lead, and 1x Wiring Kit. This machine destroys bloom cankers and larger deposits, which should net you several resources in one go.
Recharge batteries often
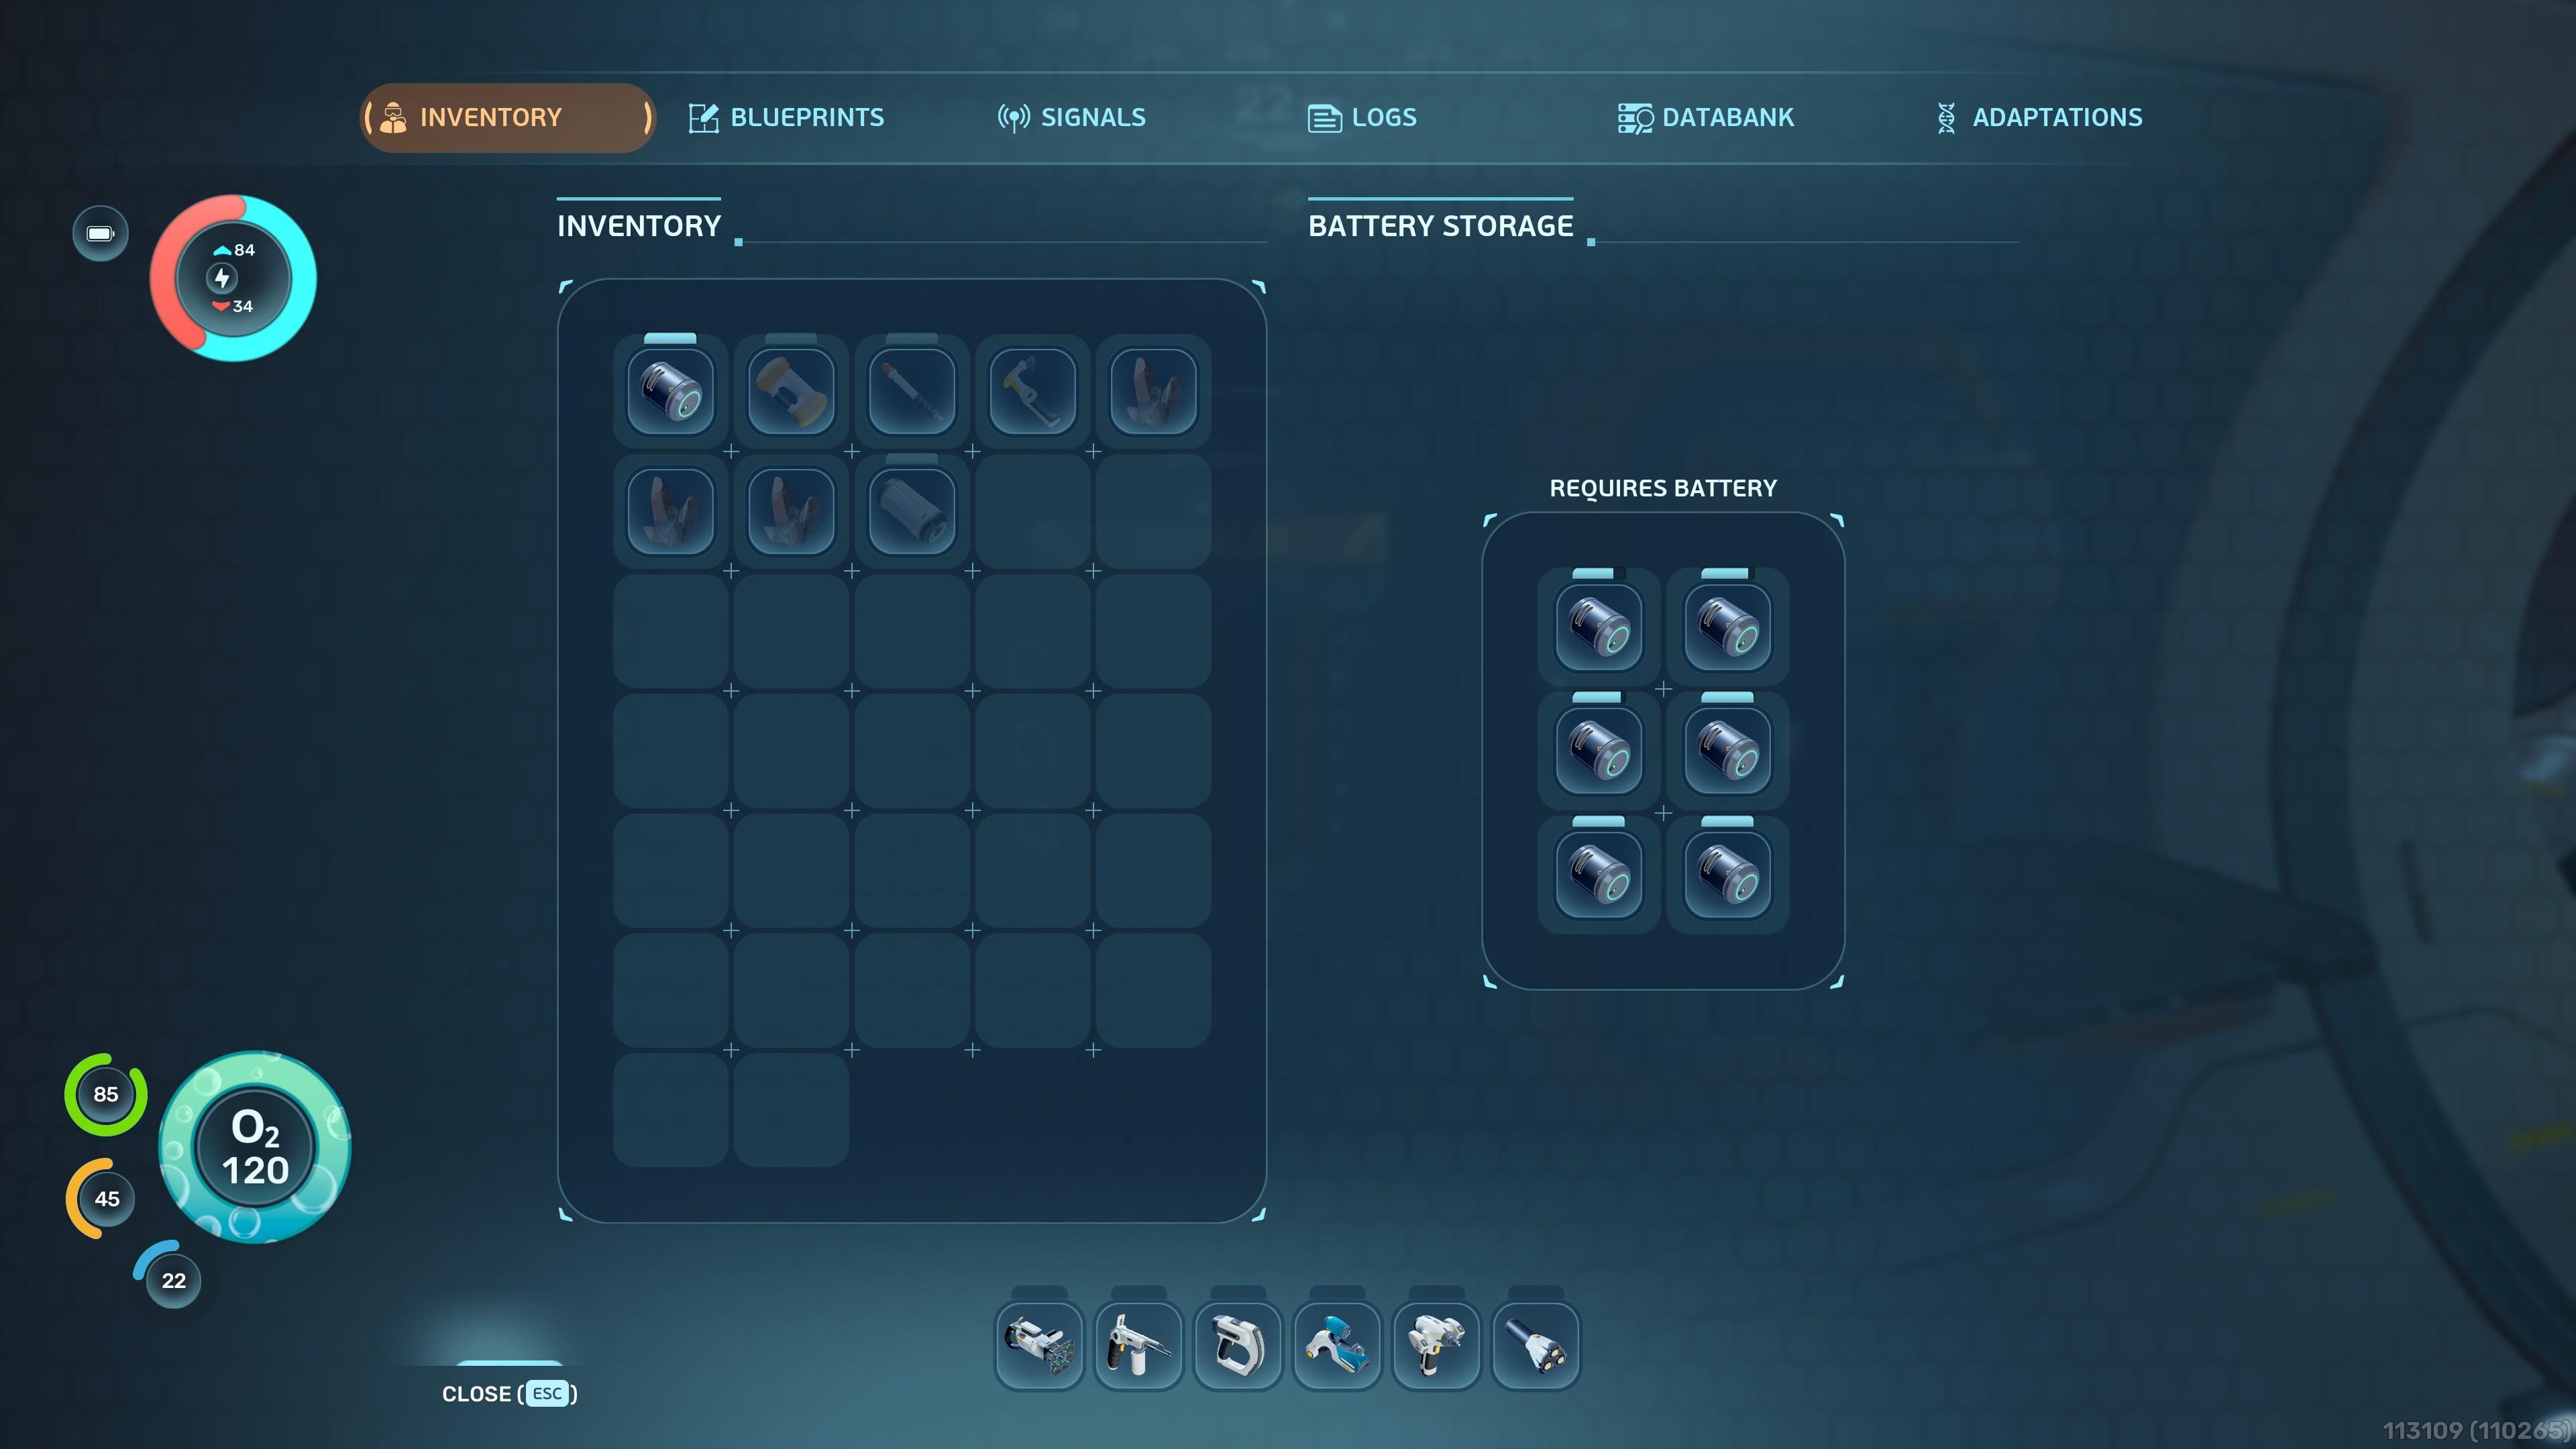
Tools like the aforementioned Scanner and Sonic Resonator, as well as many others, lose energy over time:
- Craft Basic Batteries, which require 2x Copper and 1x Acidic Raion Pouch.
- Bring out a tool and press the “R” key to unload or load batteries from your inventory.
- Once you have a base, you can build a Battery Terminal, which costs 2x Titanium, 2x Quartz, and 1x Copper Wire. Place Basic Batteries that have run out of juice to recharge them within seconds.
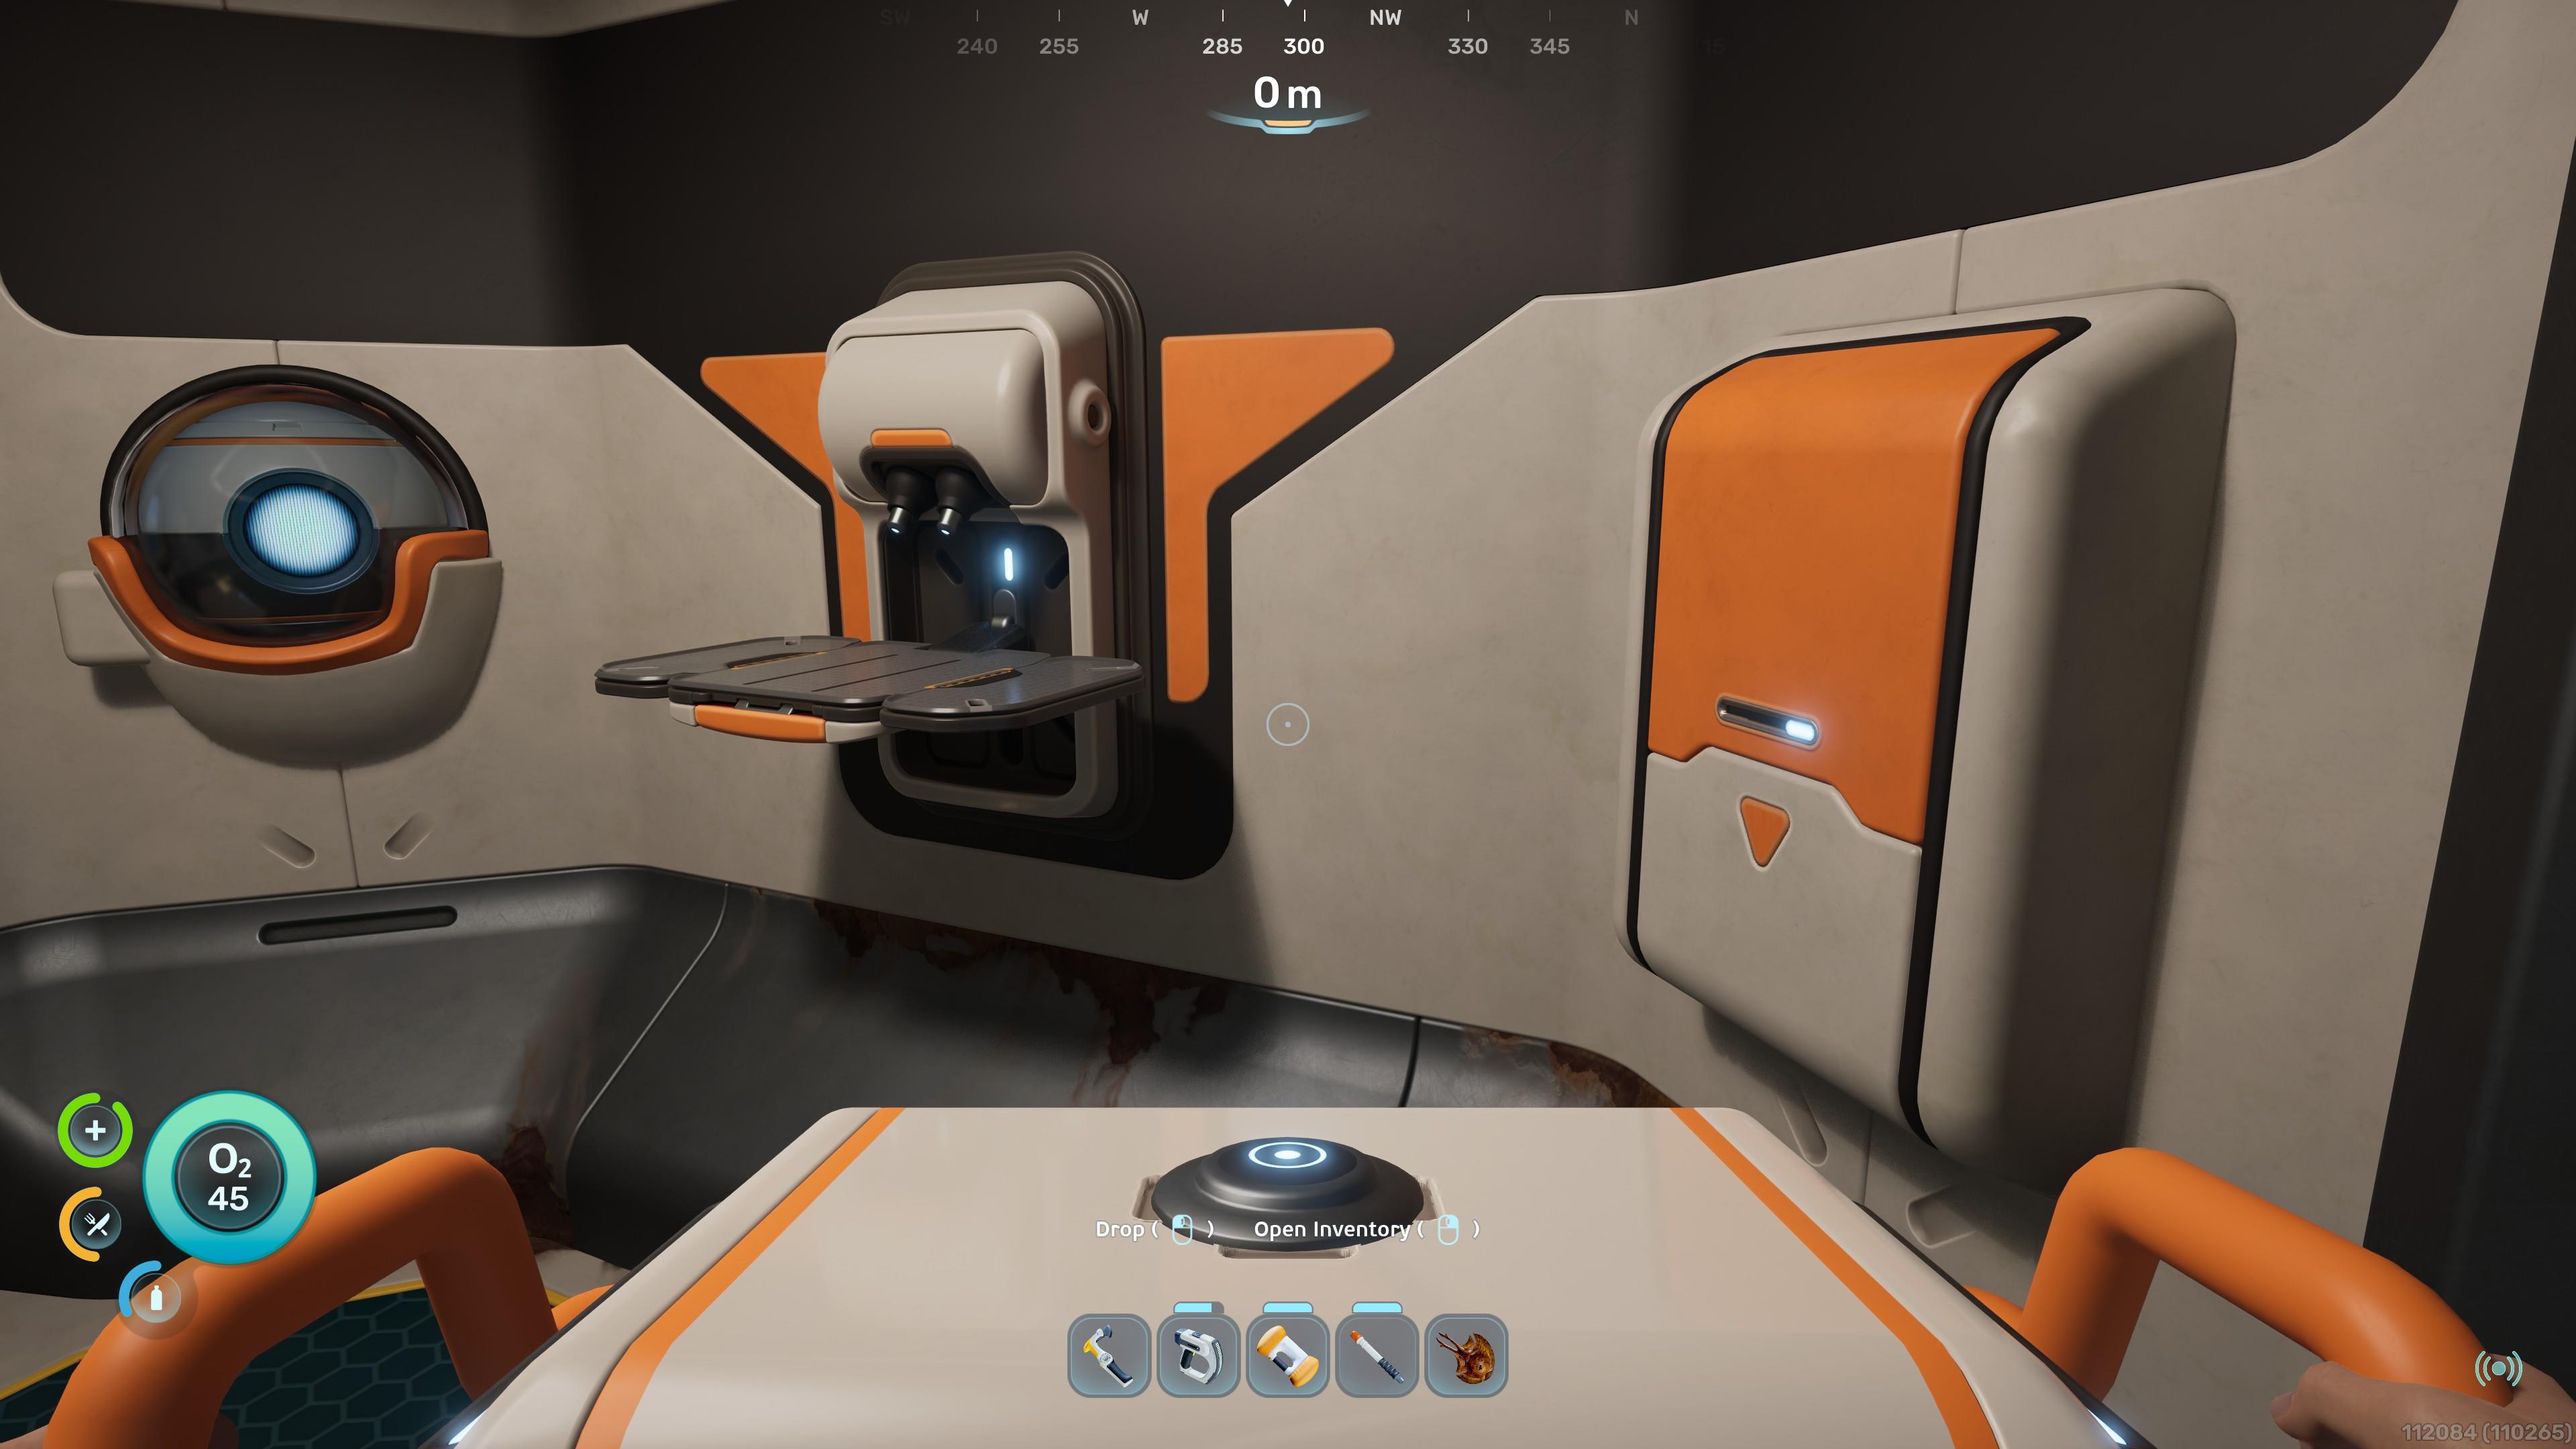
Manage your inventory via storage containers
Another important Subnautica 2 tip to remember is that you need to find ways to manage your inventory:
- At the start, your character can only keep 20 items in their inventory. This can be increased by finding Endurance upgrades.
- The Pod Locker stores up to 35 items. Once you have a base, you can build multiple Wall Lockers and Floor Lockers, with capacity for 20 and 30 items, respectively.
- Portable Lockers that you discover or craft have 15 slots. You can carry these around.
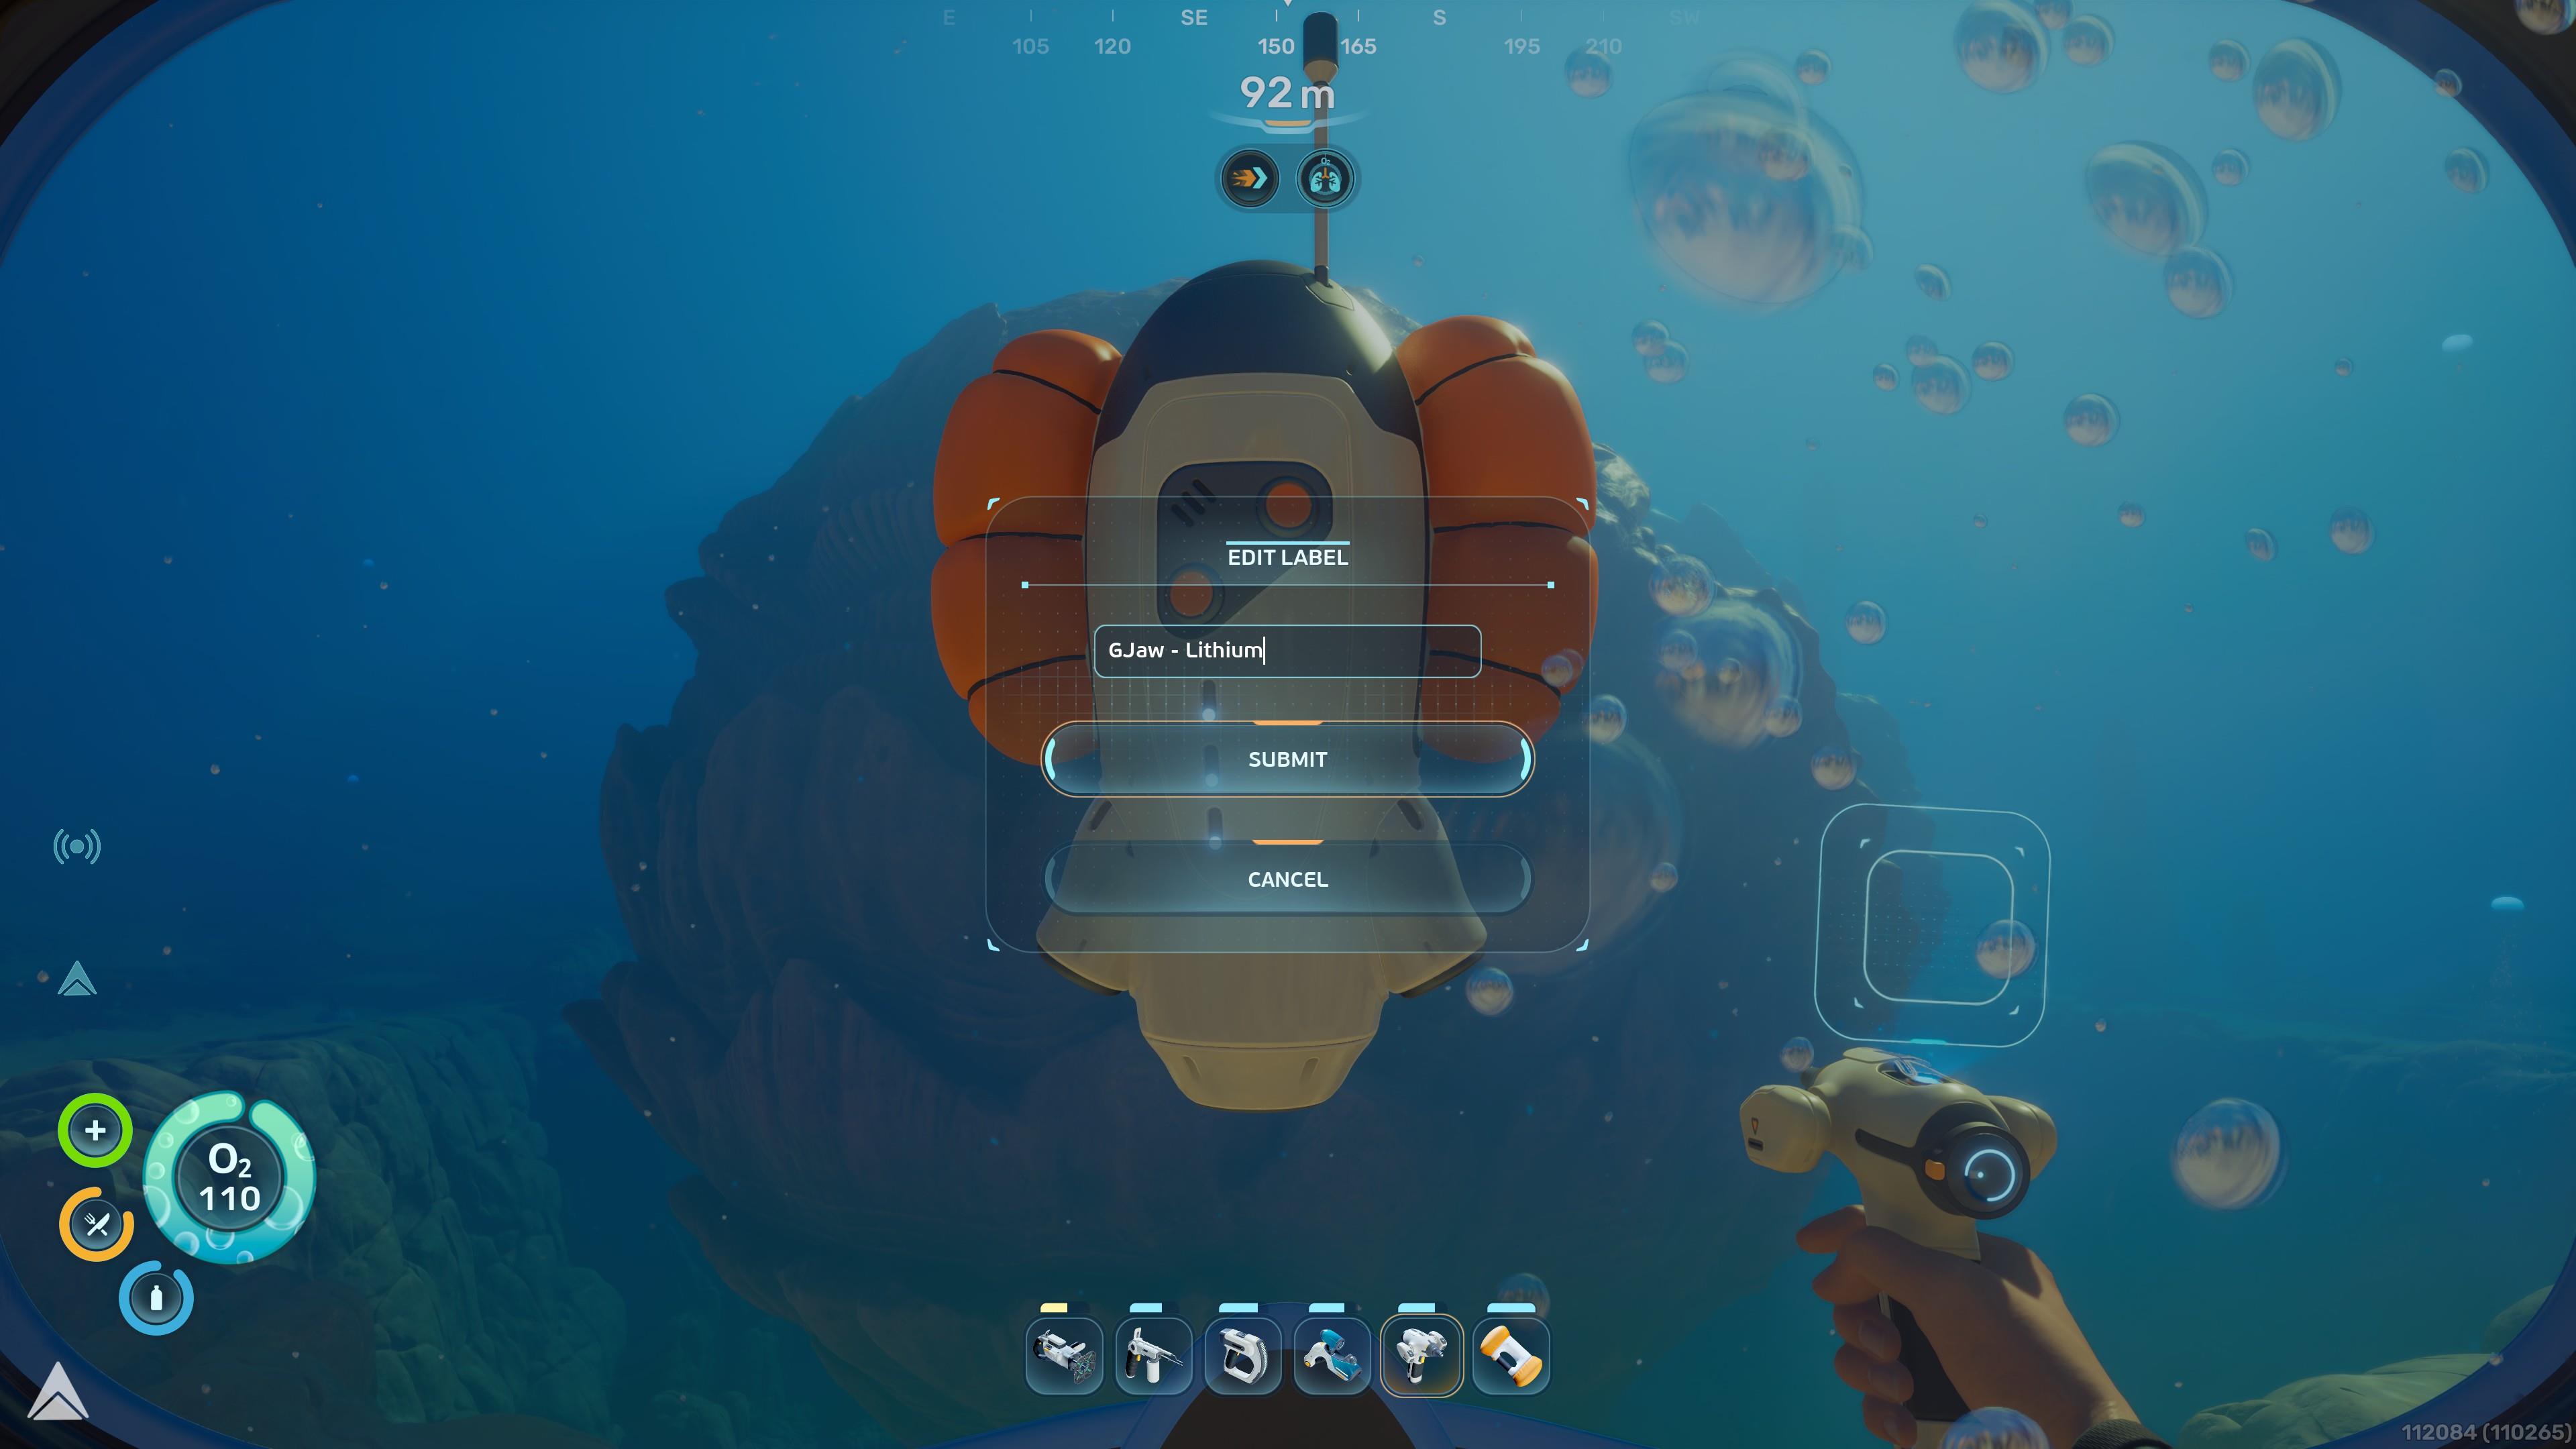
Leave a Beacon to mark farming spots
As you make your way to various points-of-interest, you’re likely to feel lost. Don’t fret because the Beacon, which is crafted via the Habitat Builder, helps mark locations.
Each Beacon costs 1x Titanium and 1x Copper. You can place them anywhere you want and label them accordingly, too. Ideally, you should leave them in areas that are great for farming resources.
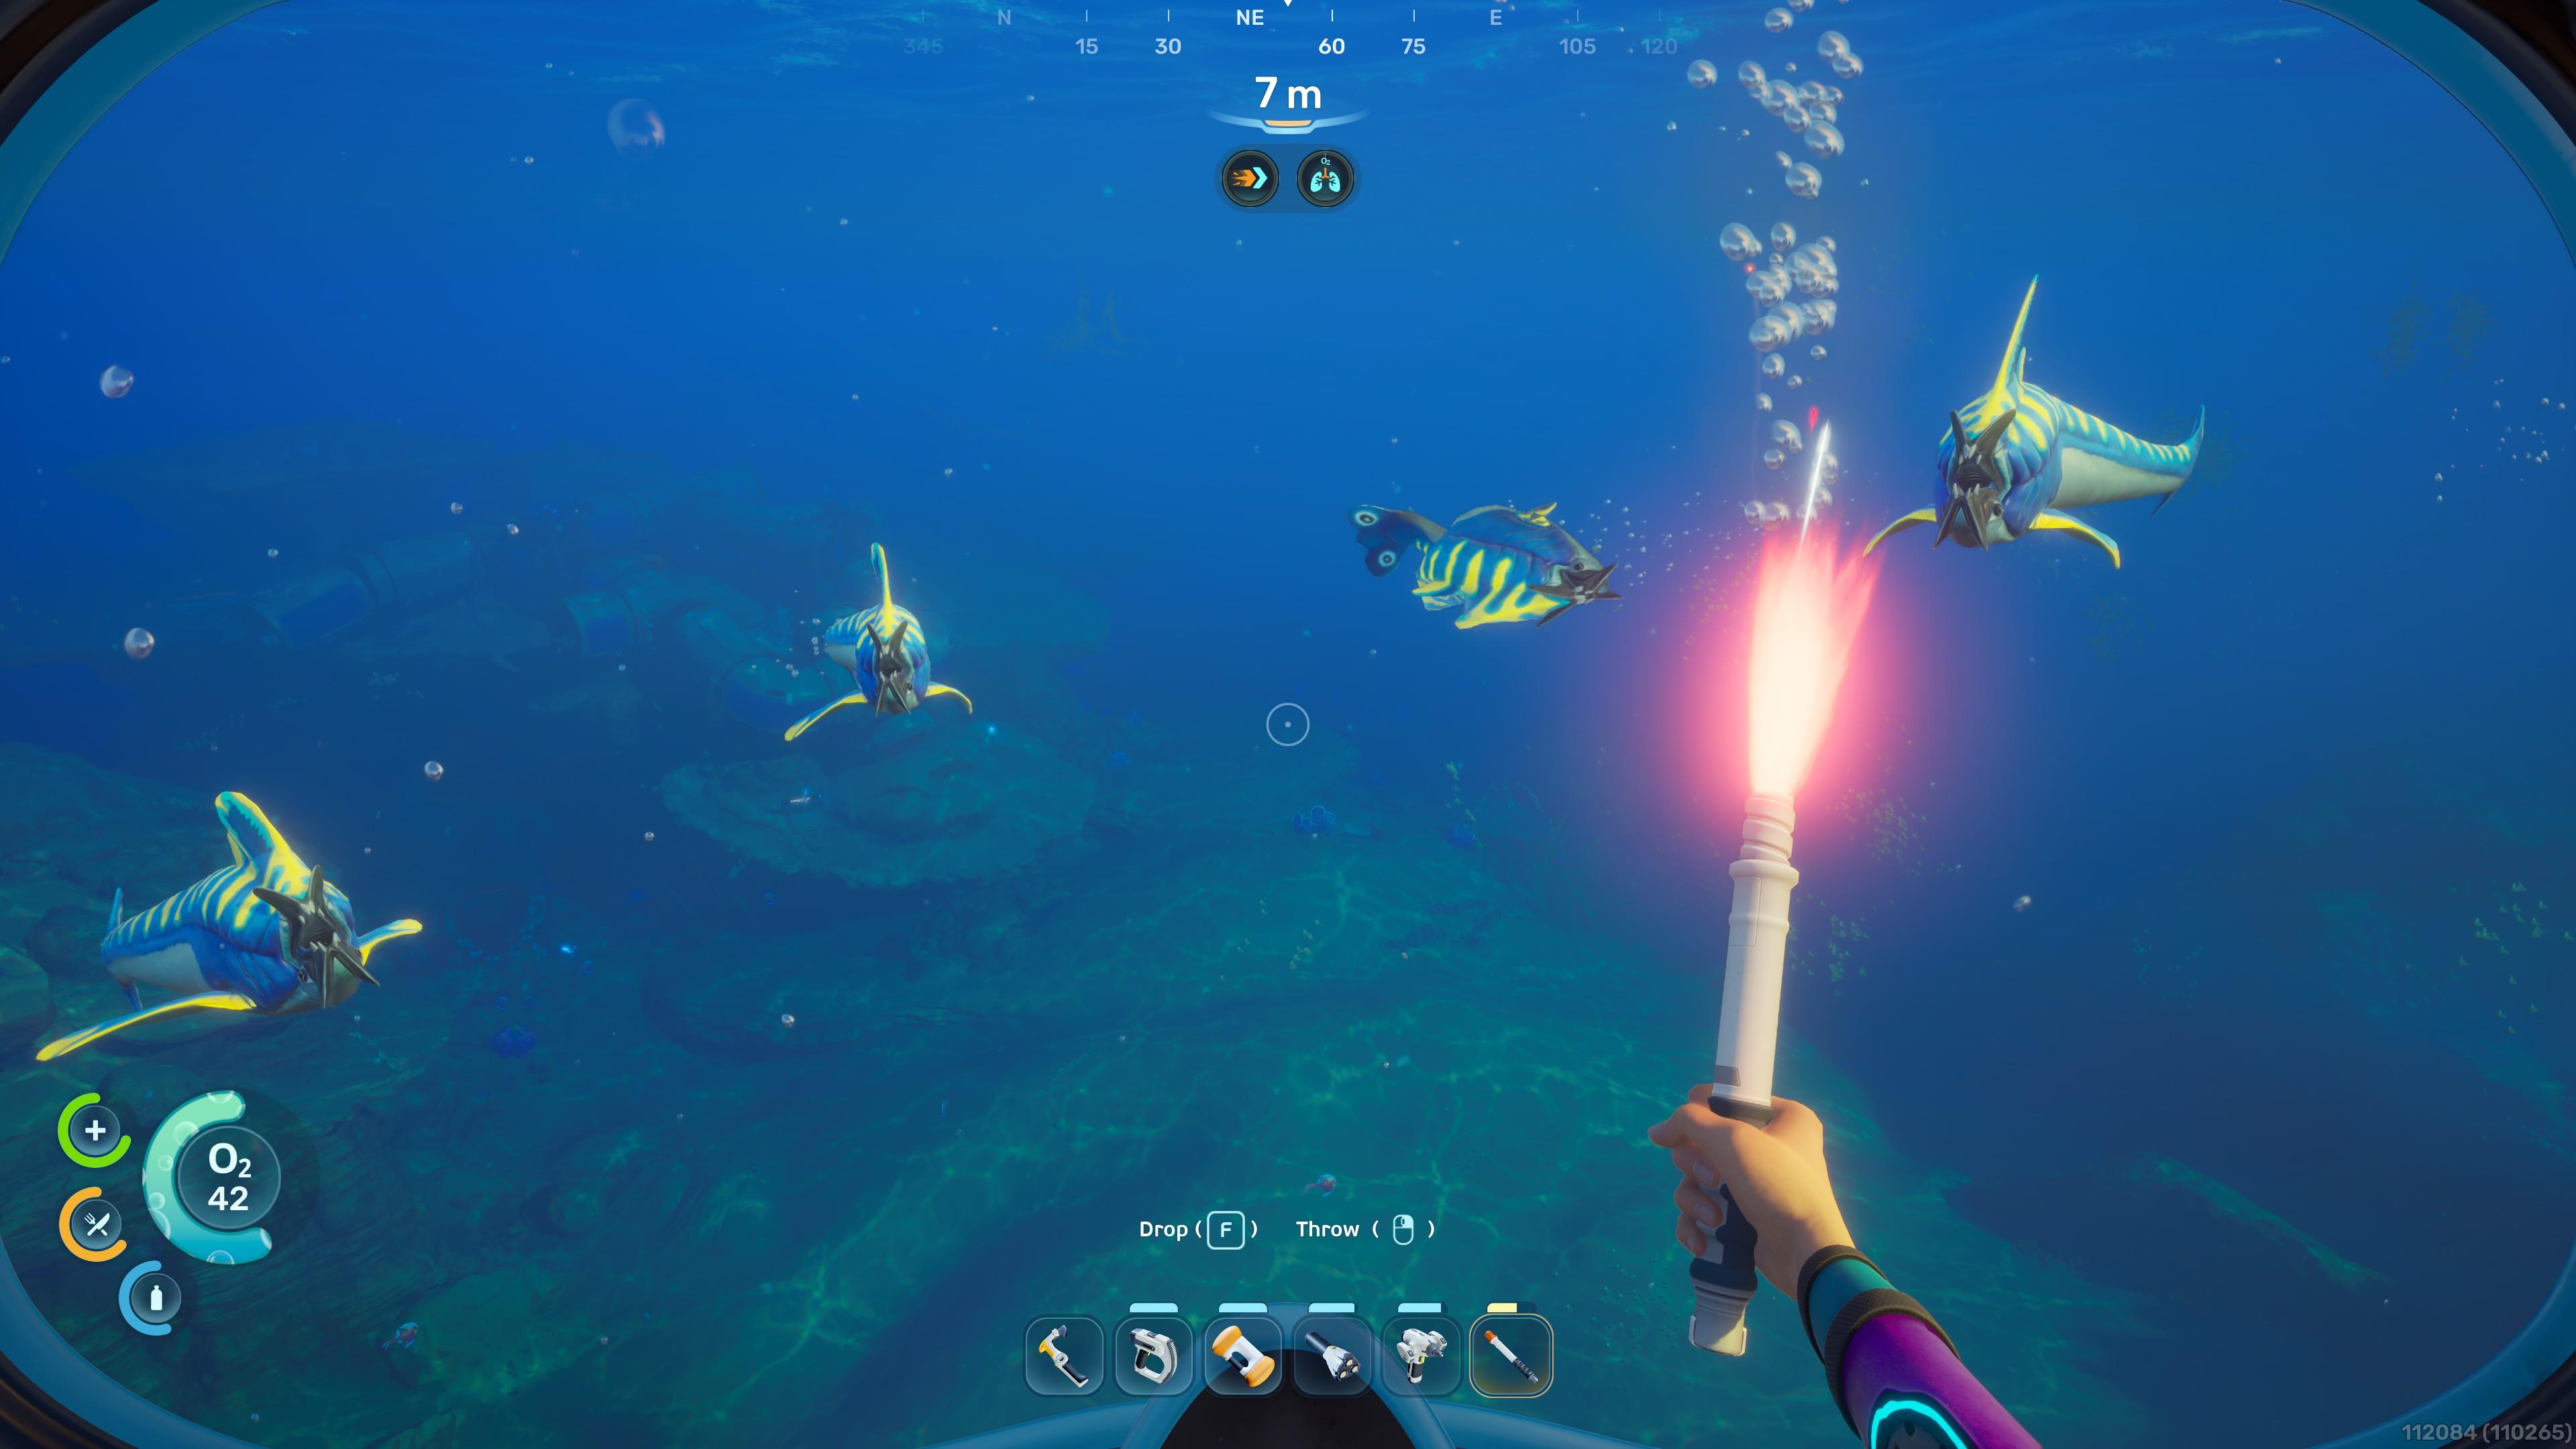
Scare away enemies with the Distraction Flare
While most fauna on Proteus won’t mind your presence, several others are extremely hostile, such as Marrowbreachers and Needler Mangoes. If you come across these dangerous creatures, make sure you have extra Distraction Flares.
A Distraction Flare costs 1x Titanium and 1x Quartz to craft. Ignite one to make ferocious fish steer clear of you.
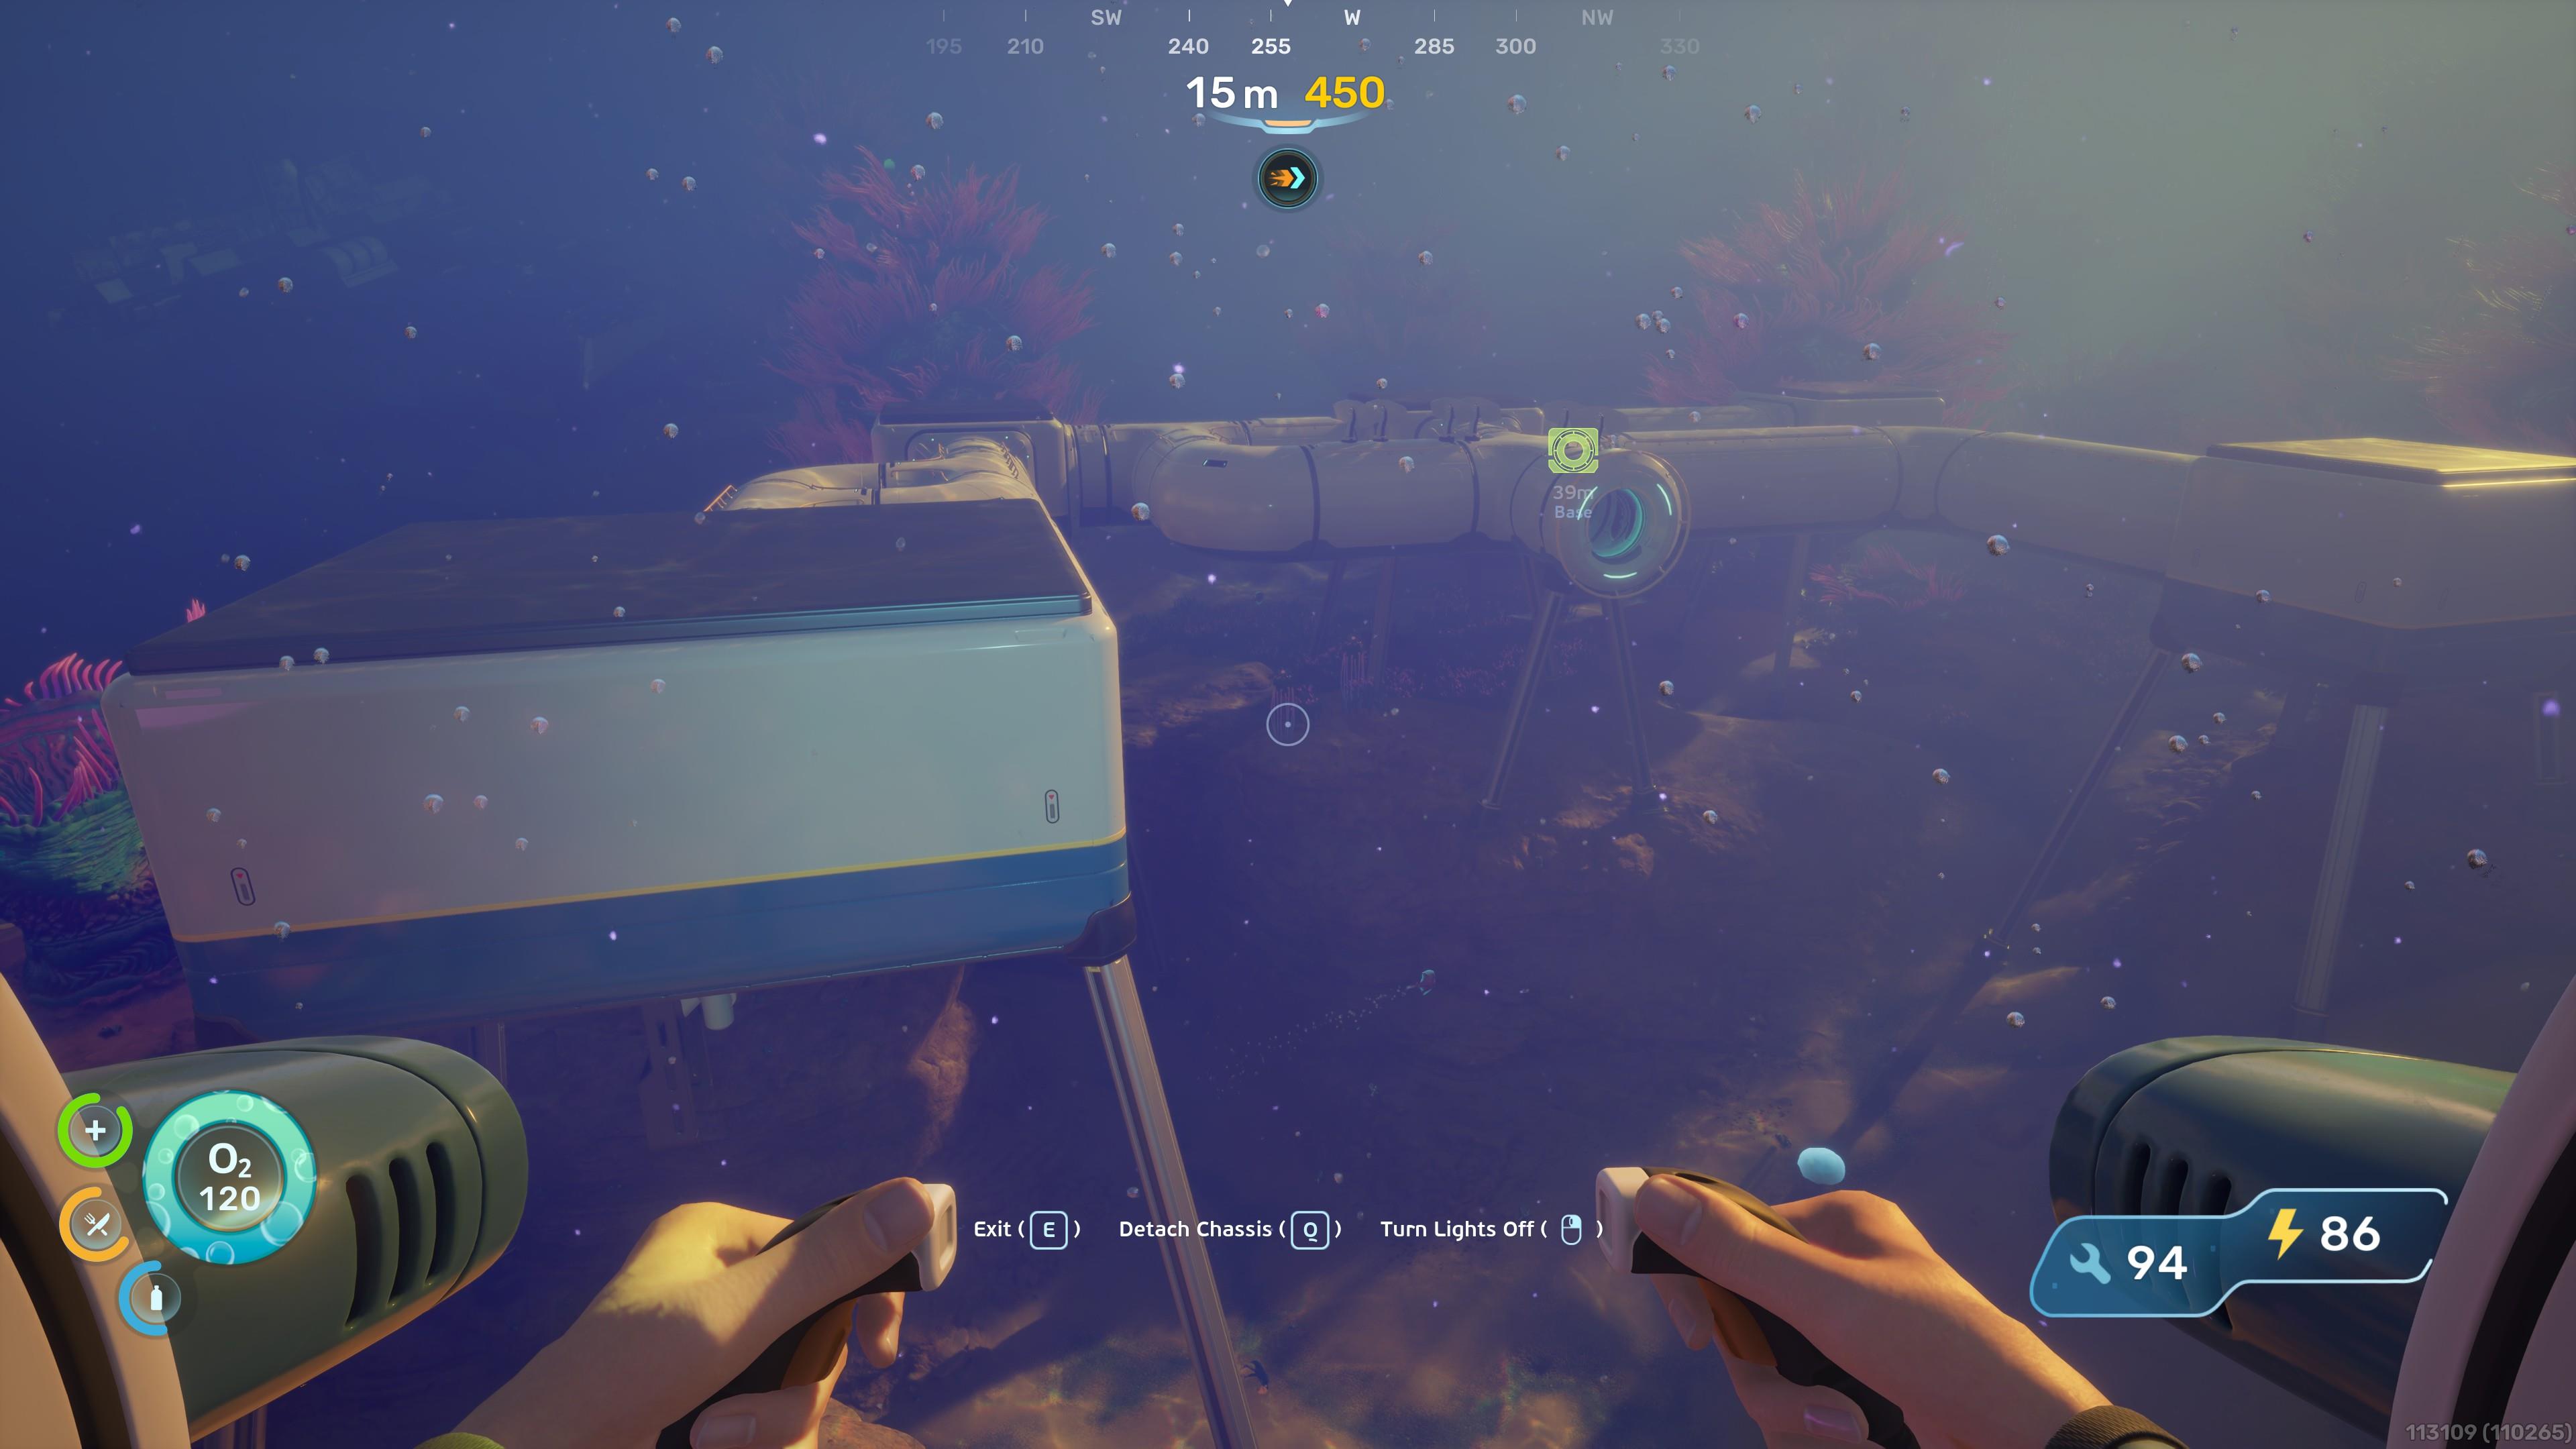
Build your own base
Once you obtain the Habitat Builder, it’s time to establish your own base. You do need a lot of Titanium and some Copper and Quartz for starters. Construct your hab in a viable location, adding more corridors, rooms, machinery, and furniture. We’ve got more tips for you in our Subnautica 2 base building guide.
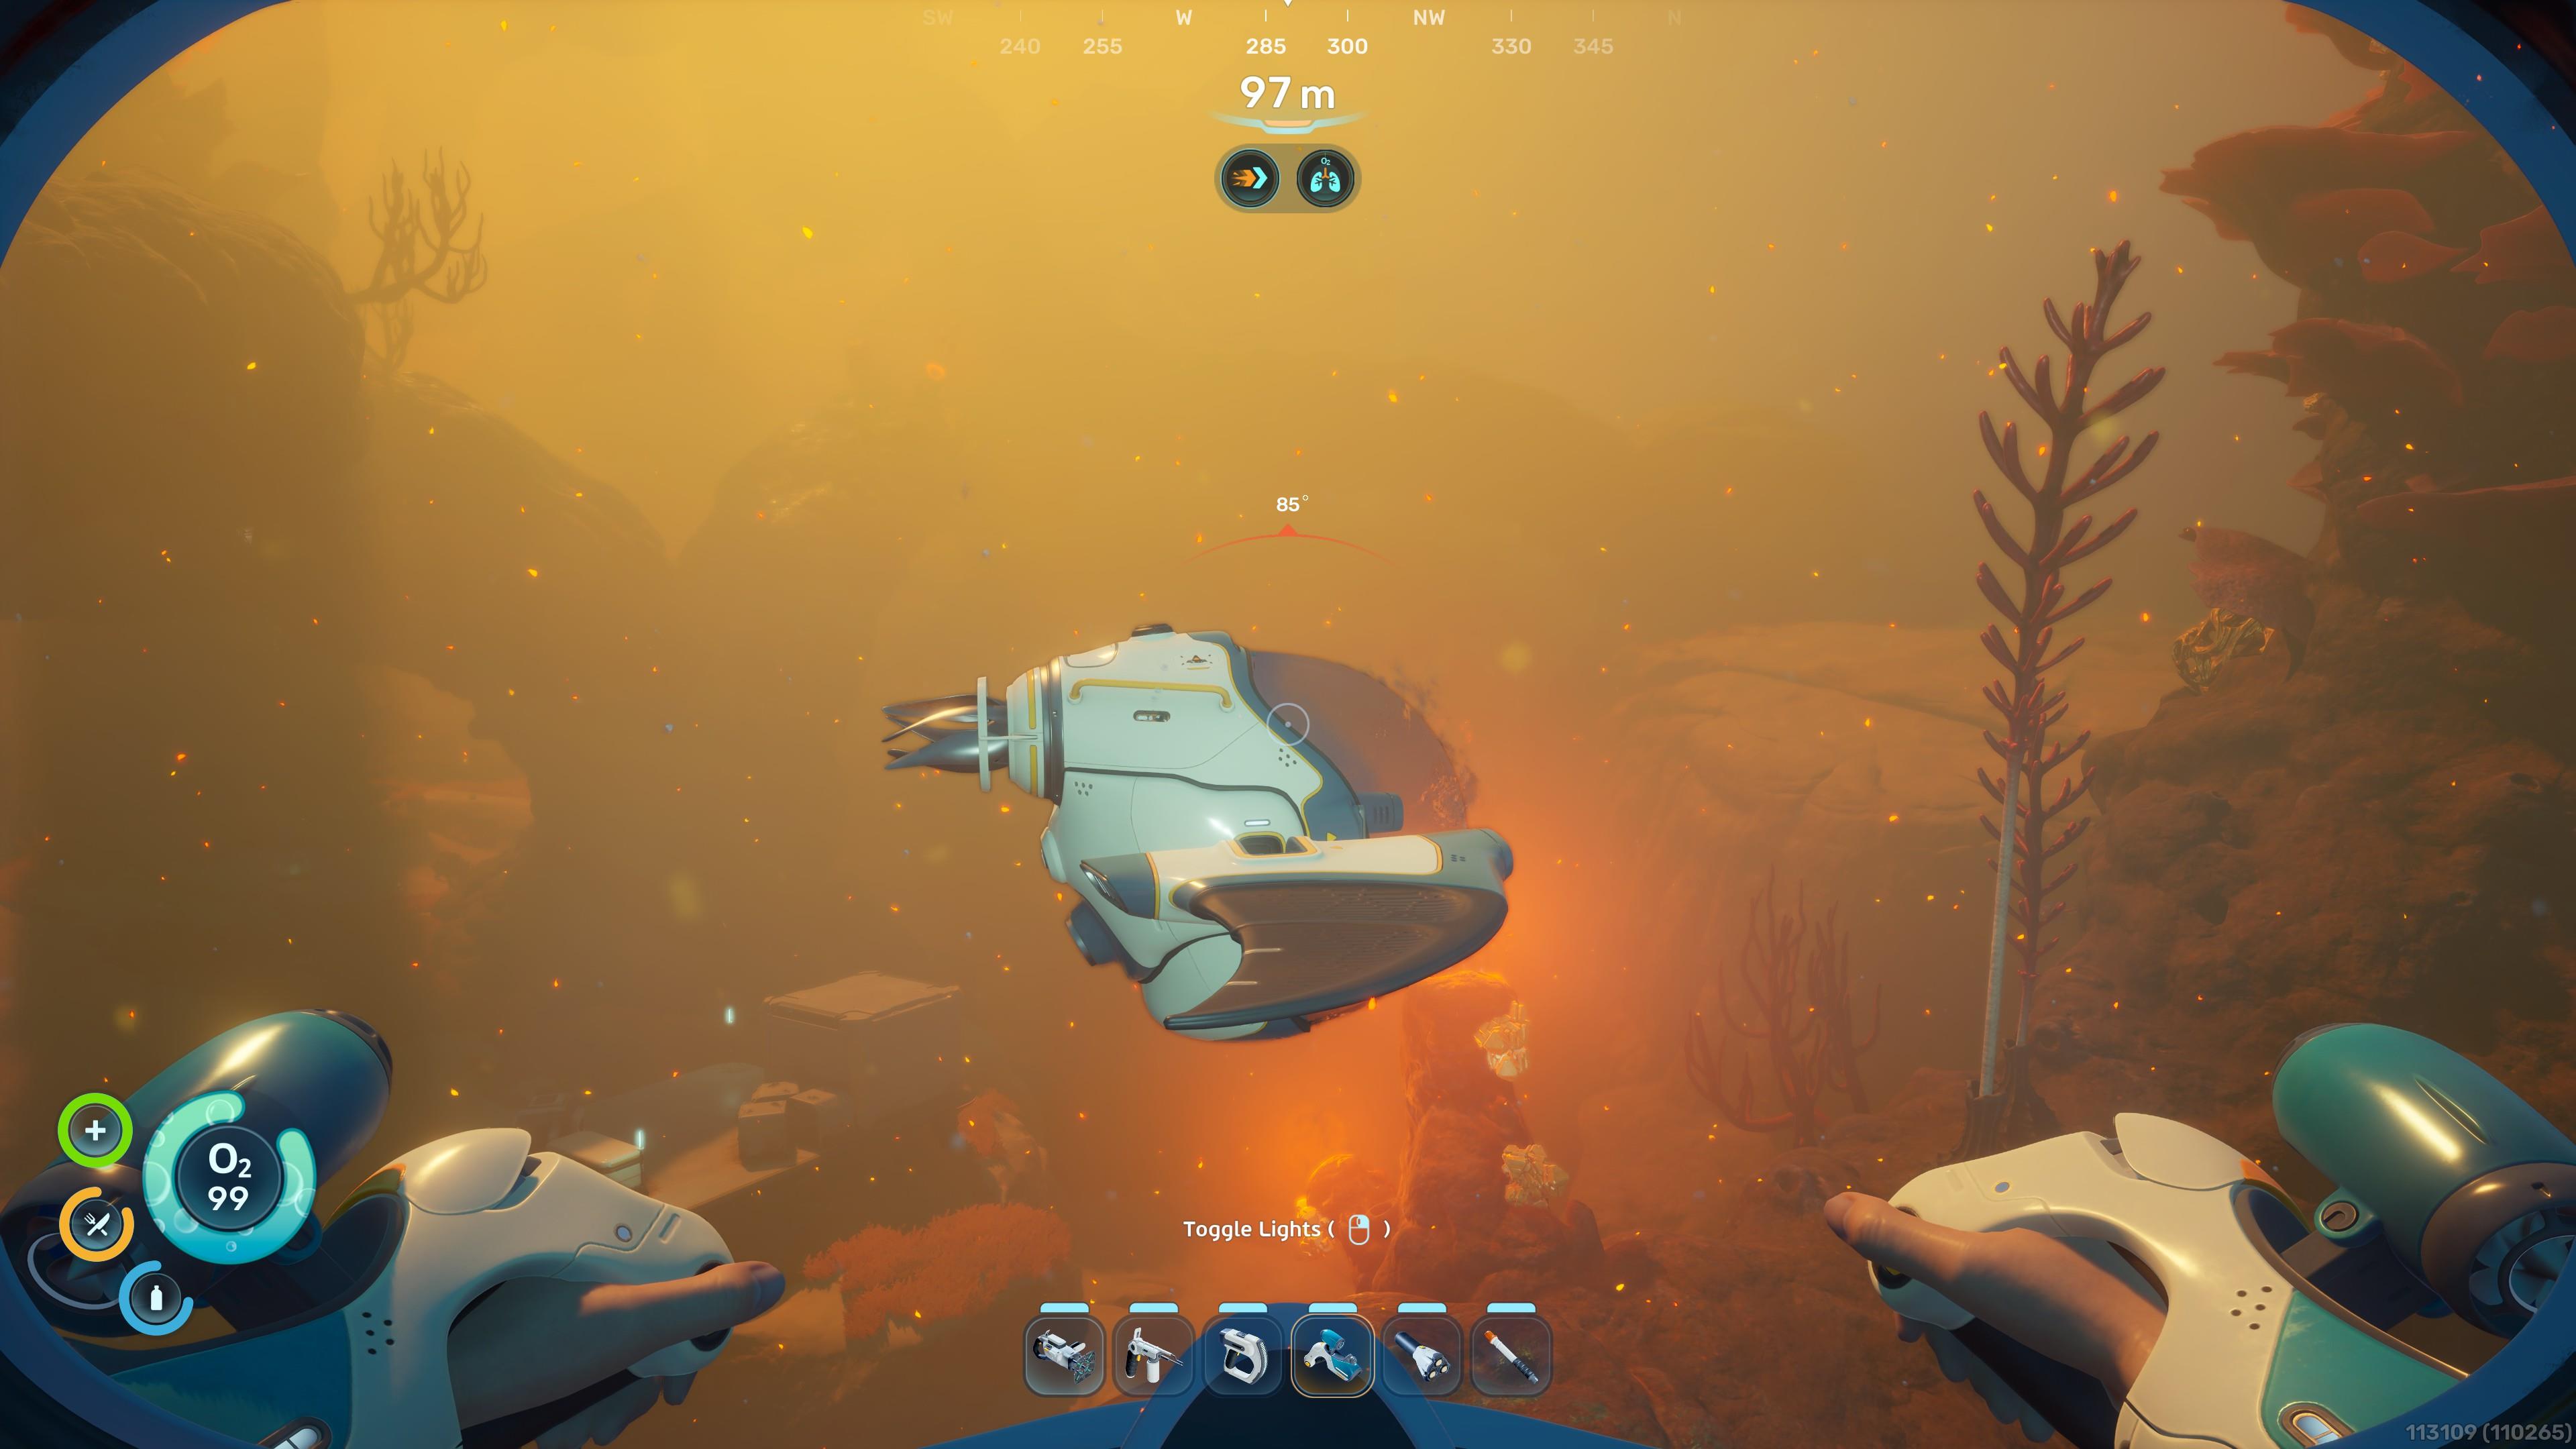
Unlock the Tadpole vehicle
Your base of operations is also where you’ll be able to craft the Tadpole, a personal submersible vehicle that aids in exploration. Initially, you must scan three Tadpole Fragments to unlock the blueprint. Then, you need to construct the following:
- Moonpool: Costs 5x Titanium.
- Tadpole Dock: Costs 2x Titanium Ingot, 1x Silver Ingot, and 2x Copper Wire.
- Vehicle Fabricator: Costs 2x Titanium Ingot, 1x Copper Ingot, and 2x Glass.
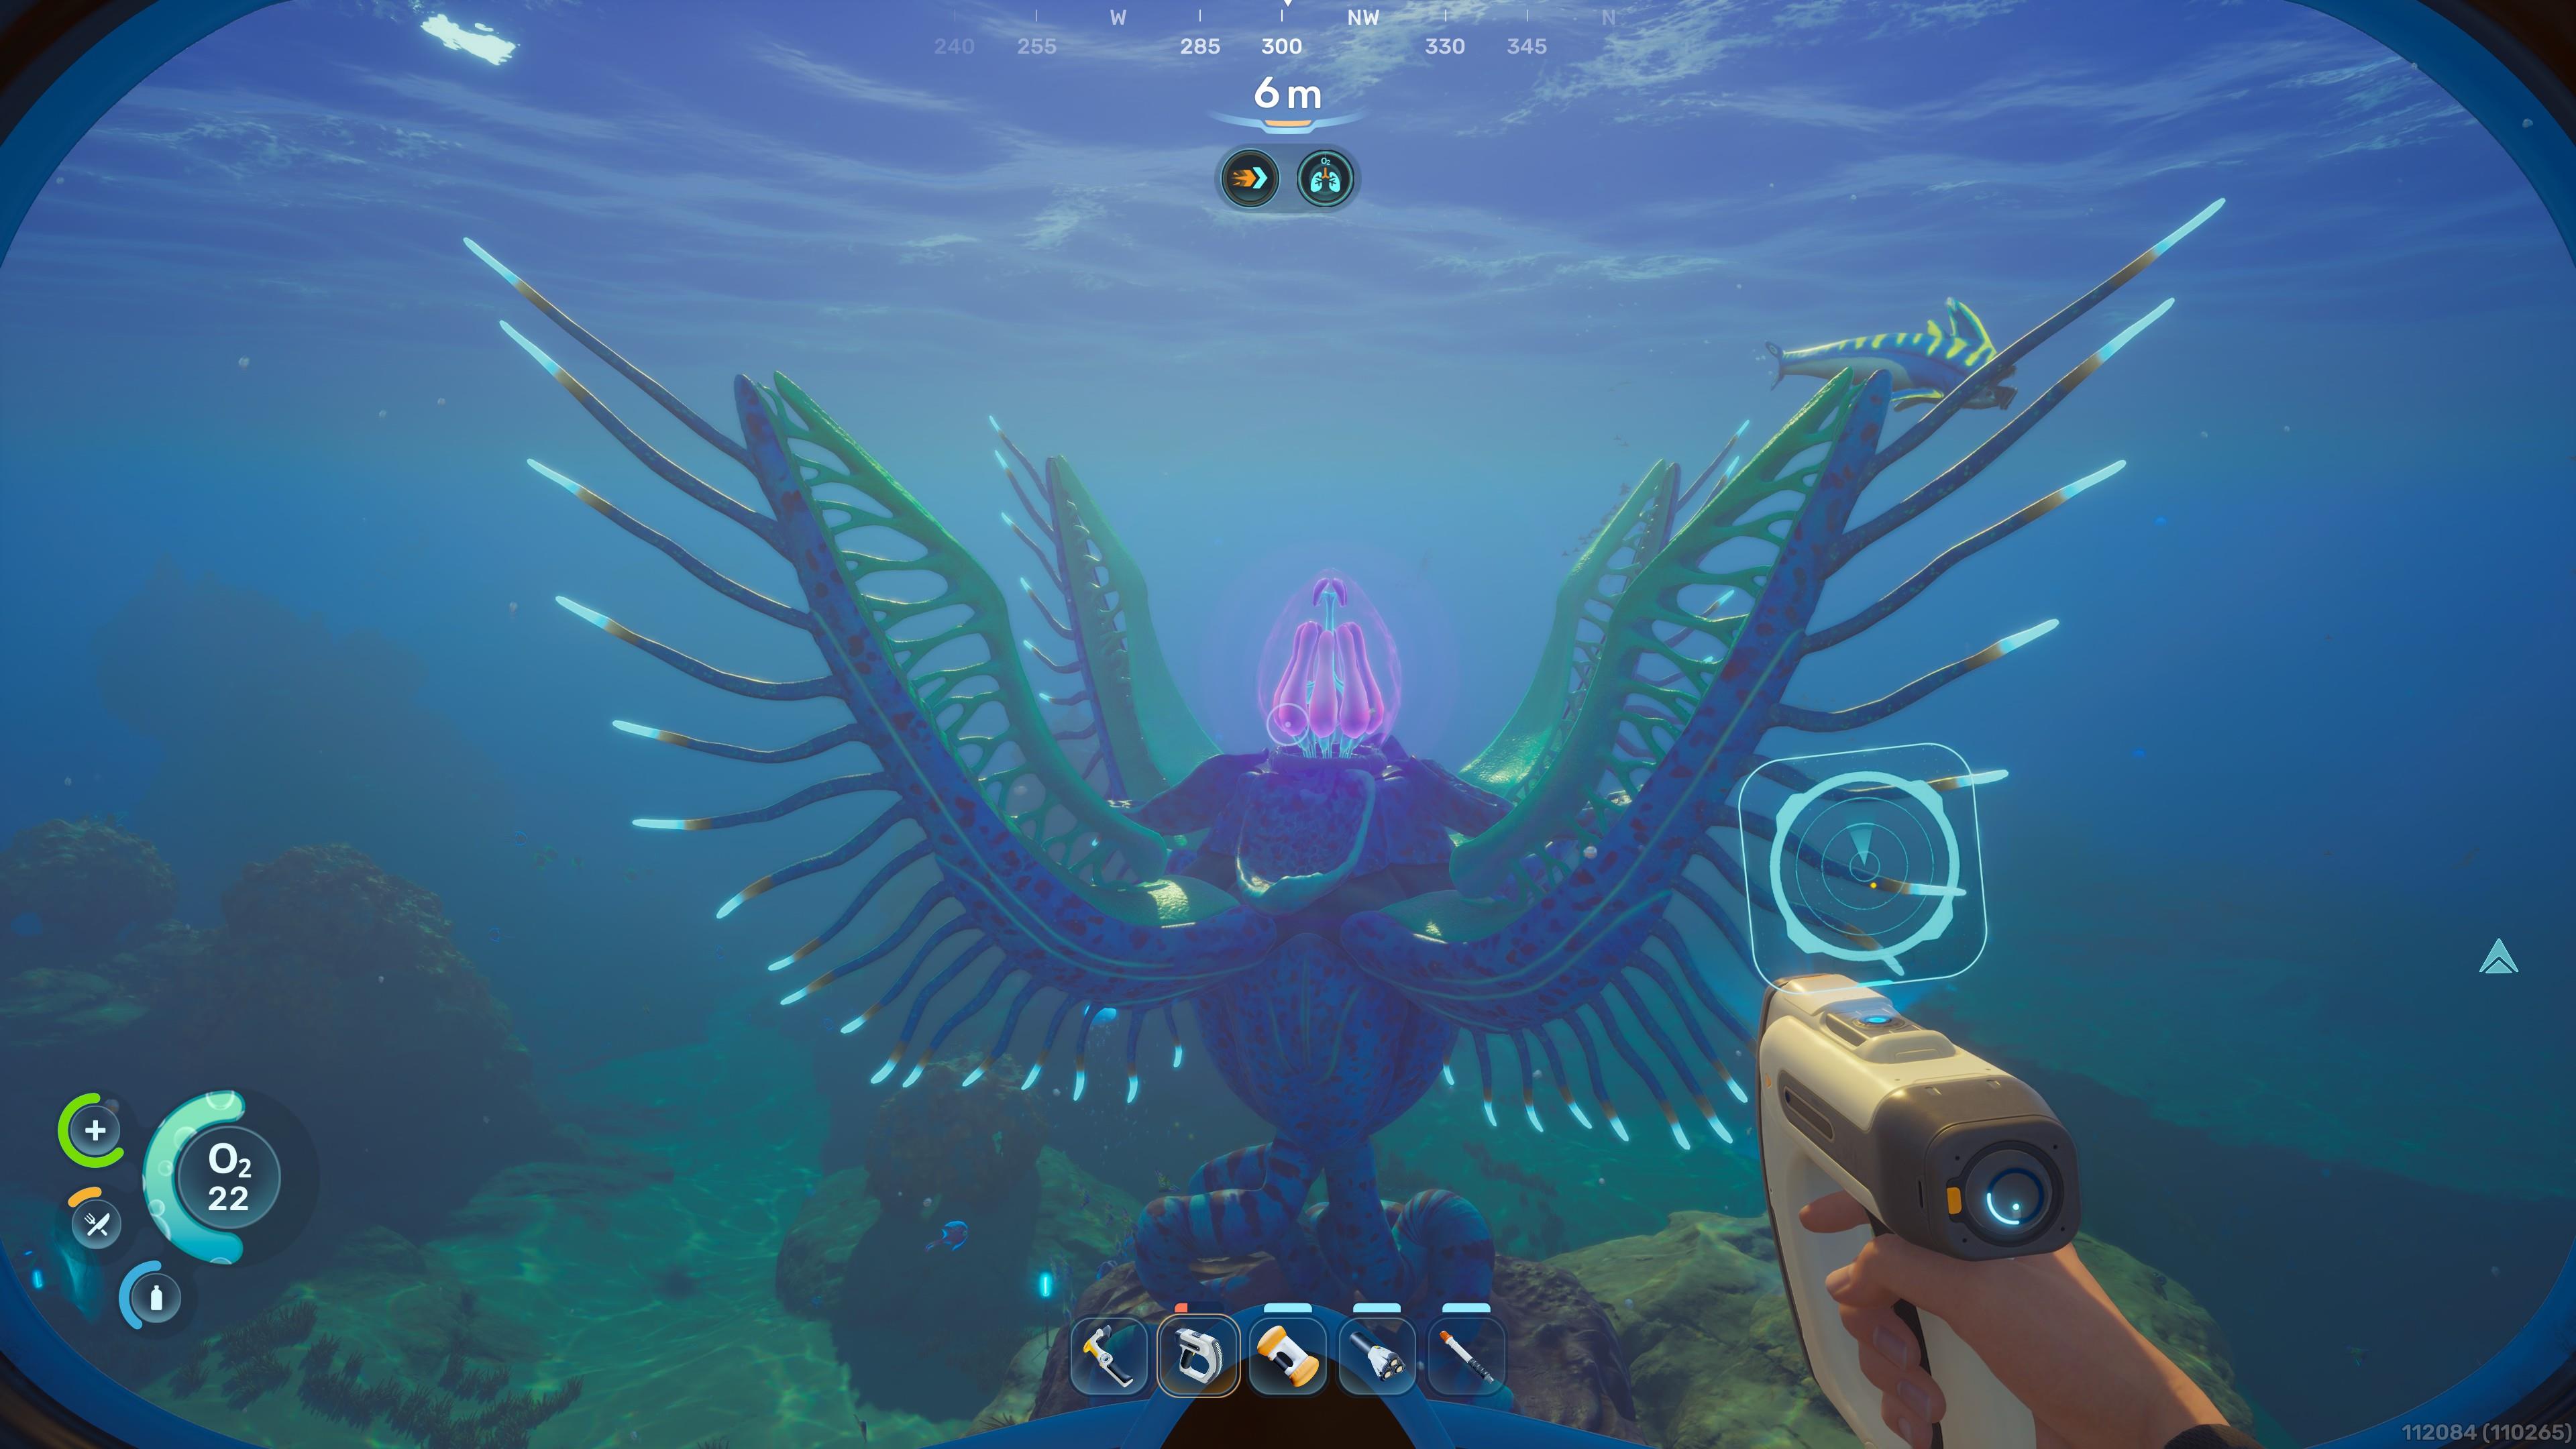
Boost your capabilities via Adaptations and Bio Lab upgrades
Adaptations are related to overall progression in Subnautica 2. Usually found on large pink bulbs known as Angel Combs, these modify your character’s DNA, granting new capabilities. Examples include being able to digest alien food and increased heat resistance.
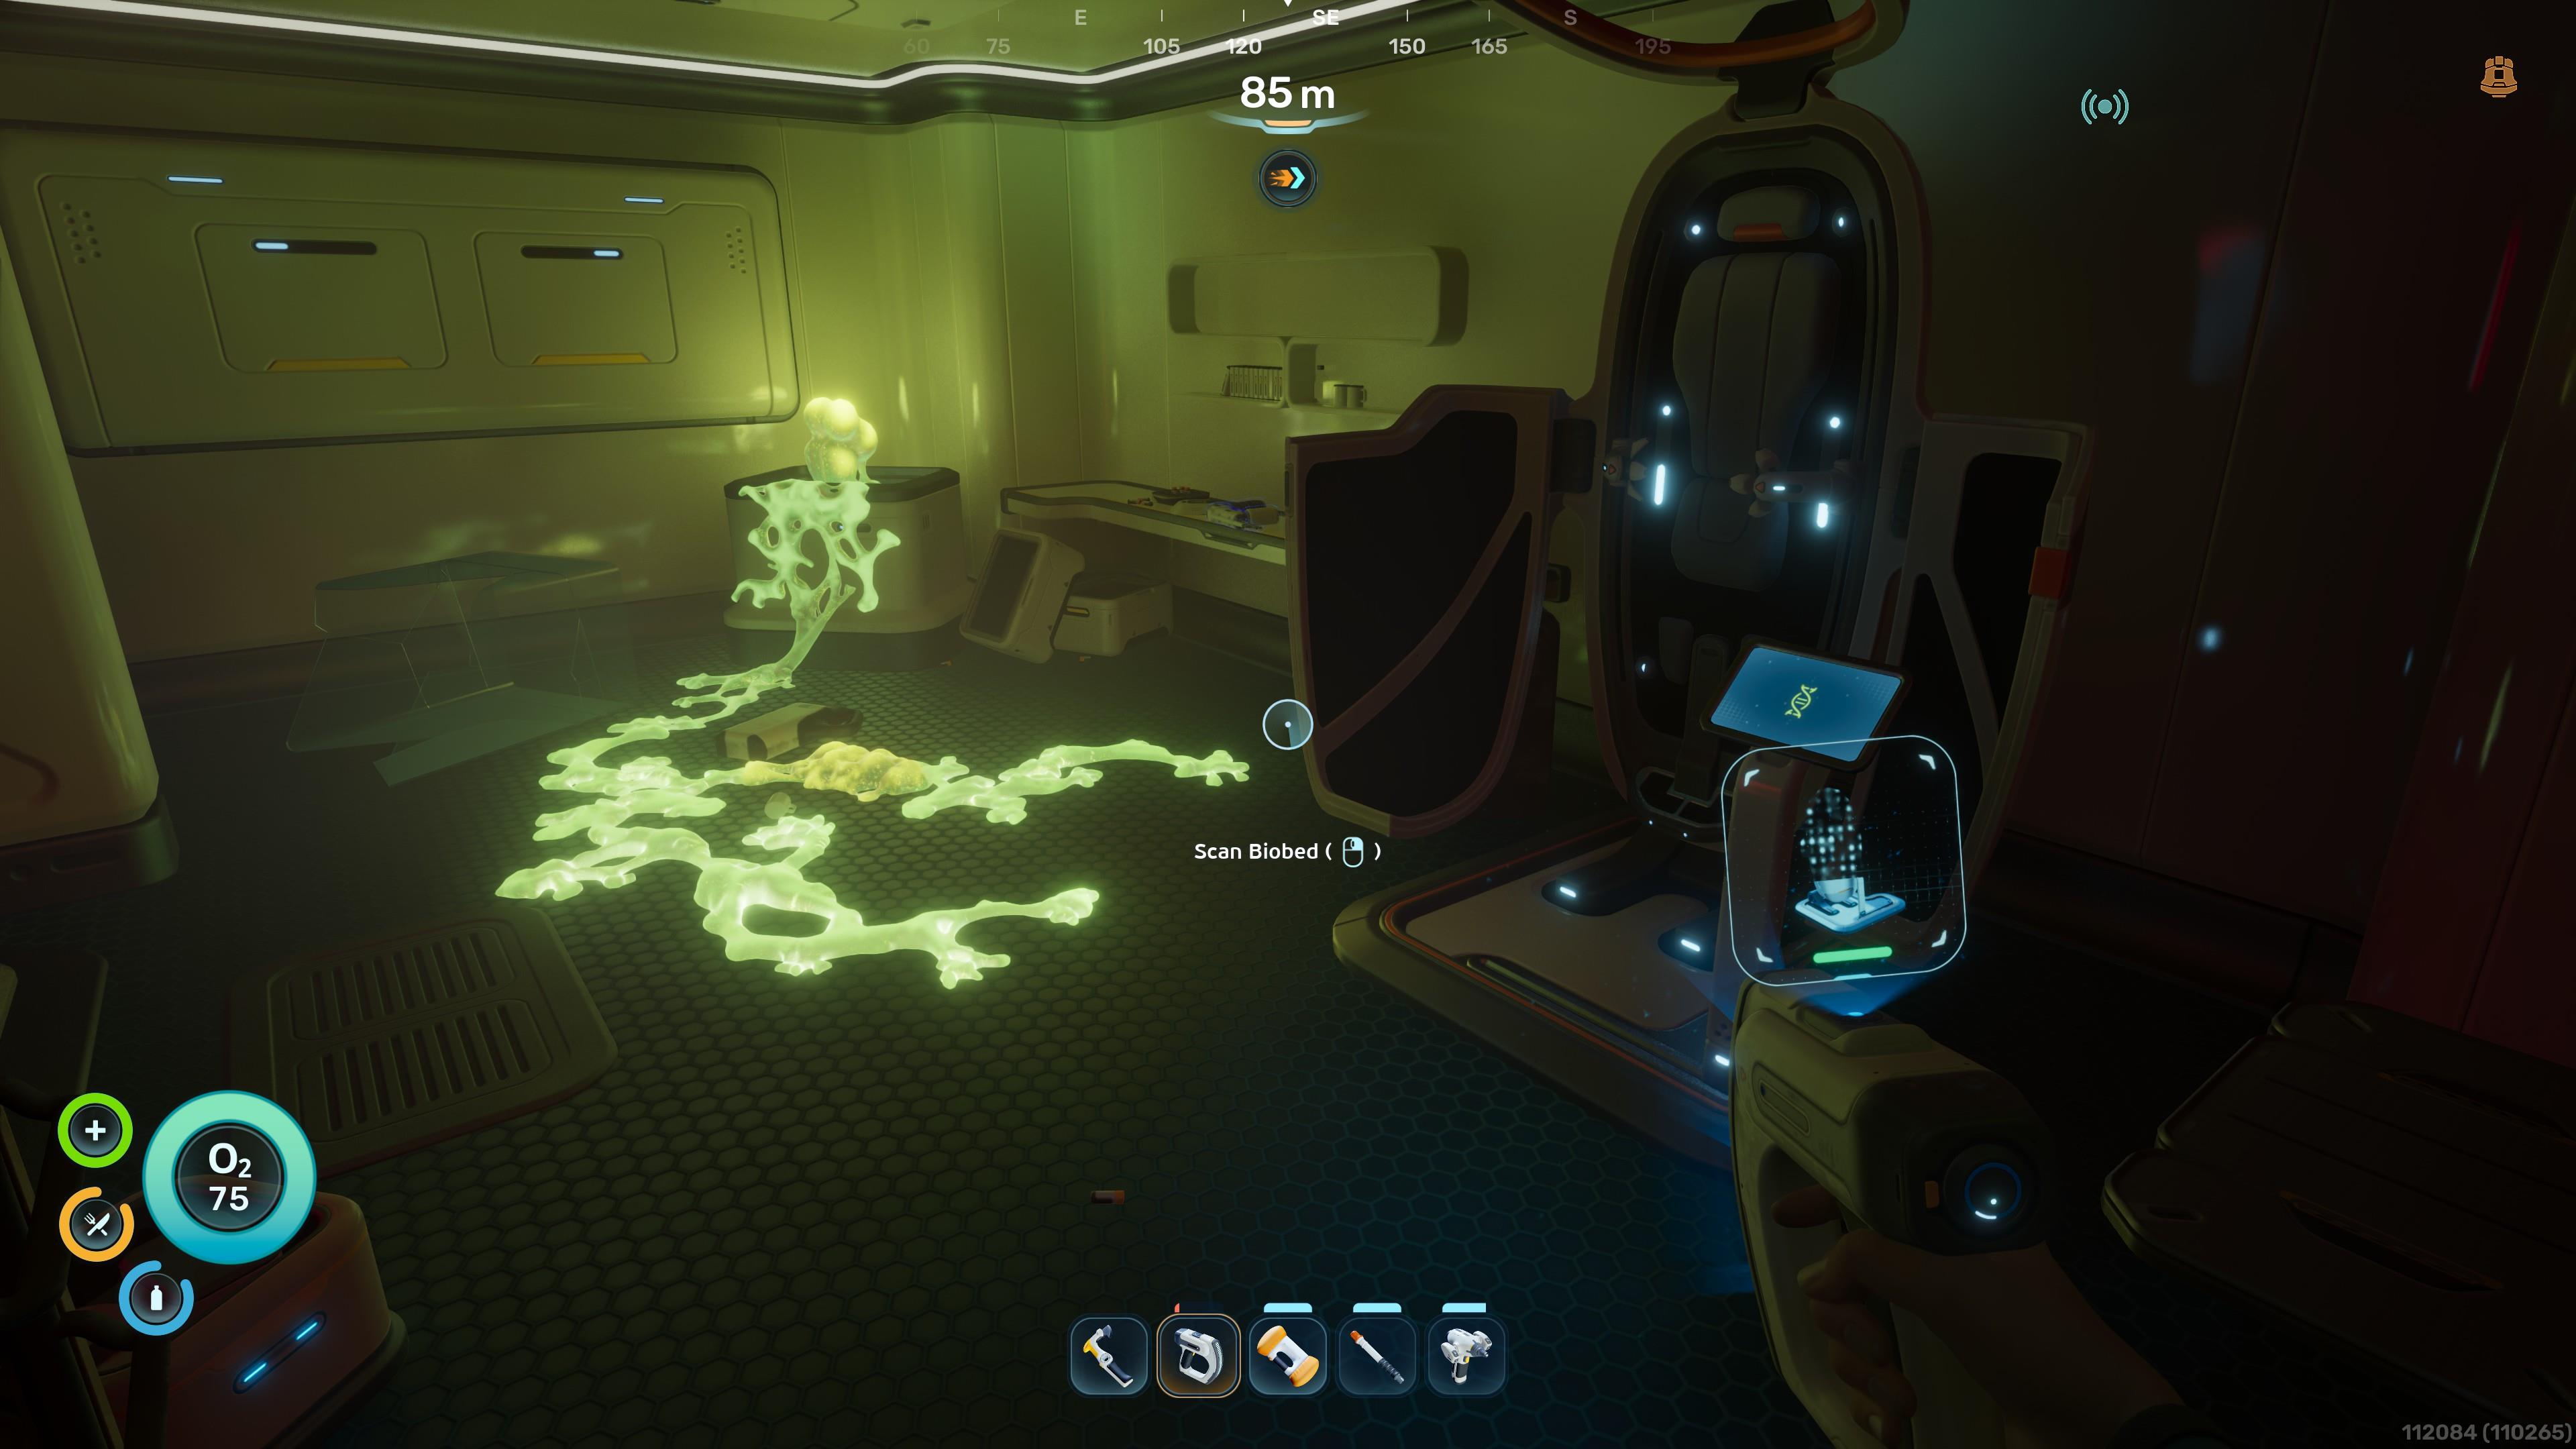
Be on the lookout for Biomod and Biobed upgrades
One more Subnautica 2 tip to consider is that various upgrades can be unlocked as you explore:
- The Bio Lab in the Welcome Center has Biomods, which act as active and passive skills, including a means of dashing while underwater.
- Colonist bunkers and abandoned habs tend to be well-hidden, but they also contain a working Biobed. These grant permanent upgrades, such as additional tool slots and inventory space.
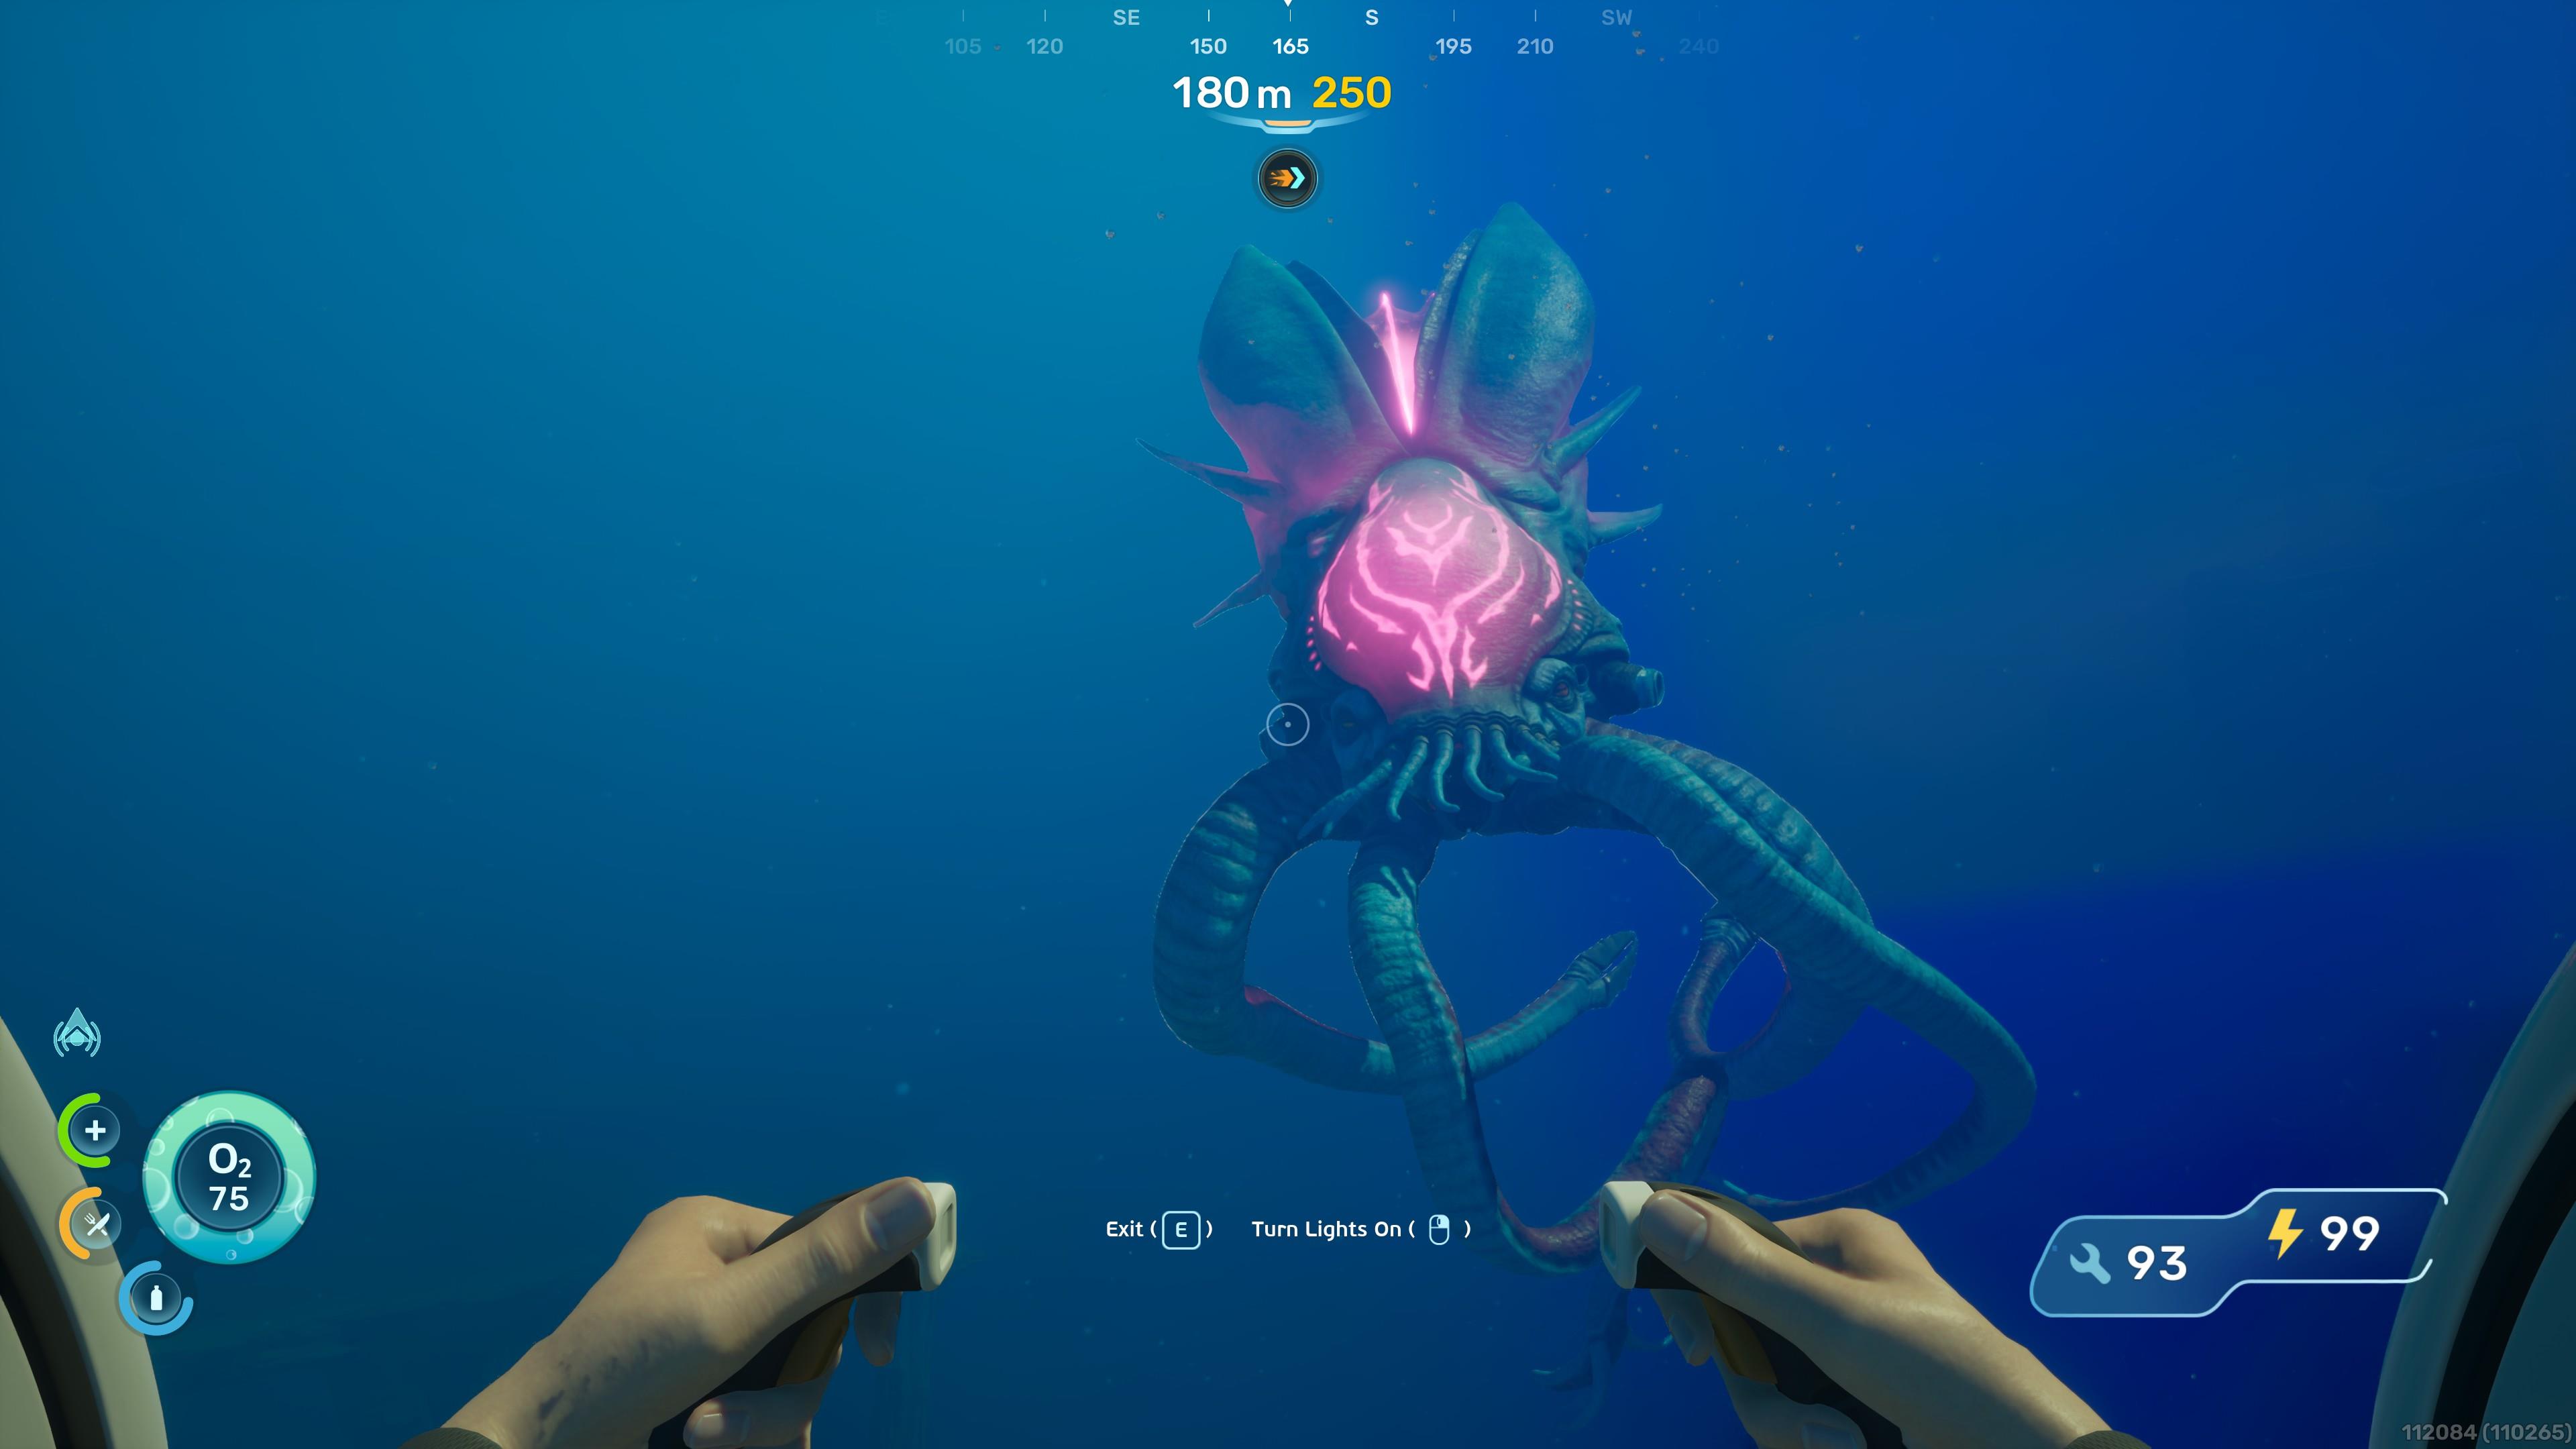
Beware of Leviathans
Most creatures can be scared off using a flare. However, there are a few gargantuan beasts that you should avoid at all costs. These Leviathans roam the depths and, if they manage to catch you while you’re swimming, you’ll likely get gobbled up. It’s easier to avoid them while maneuvering the Tadpole, since the vehicle takes damage instead of your character.
Keep exploring the unknown
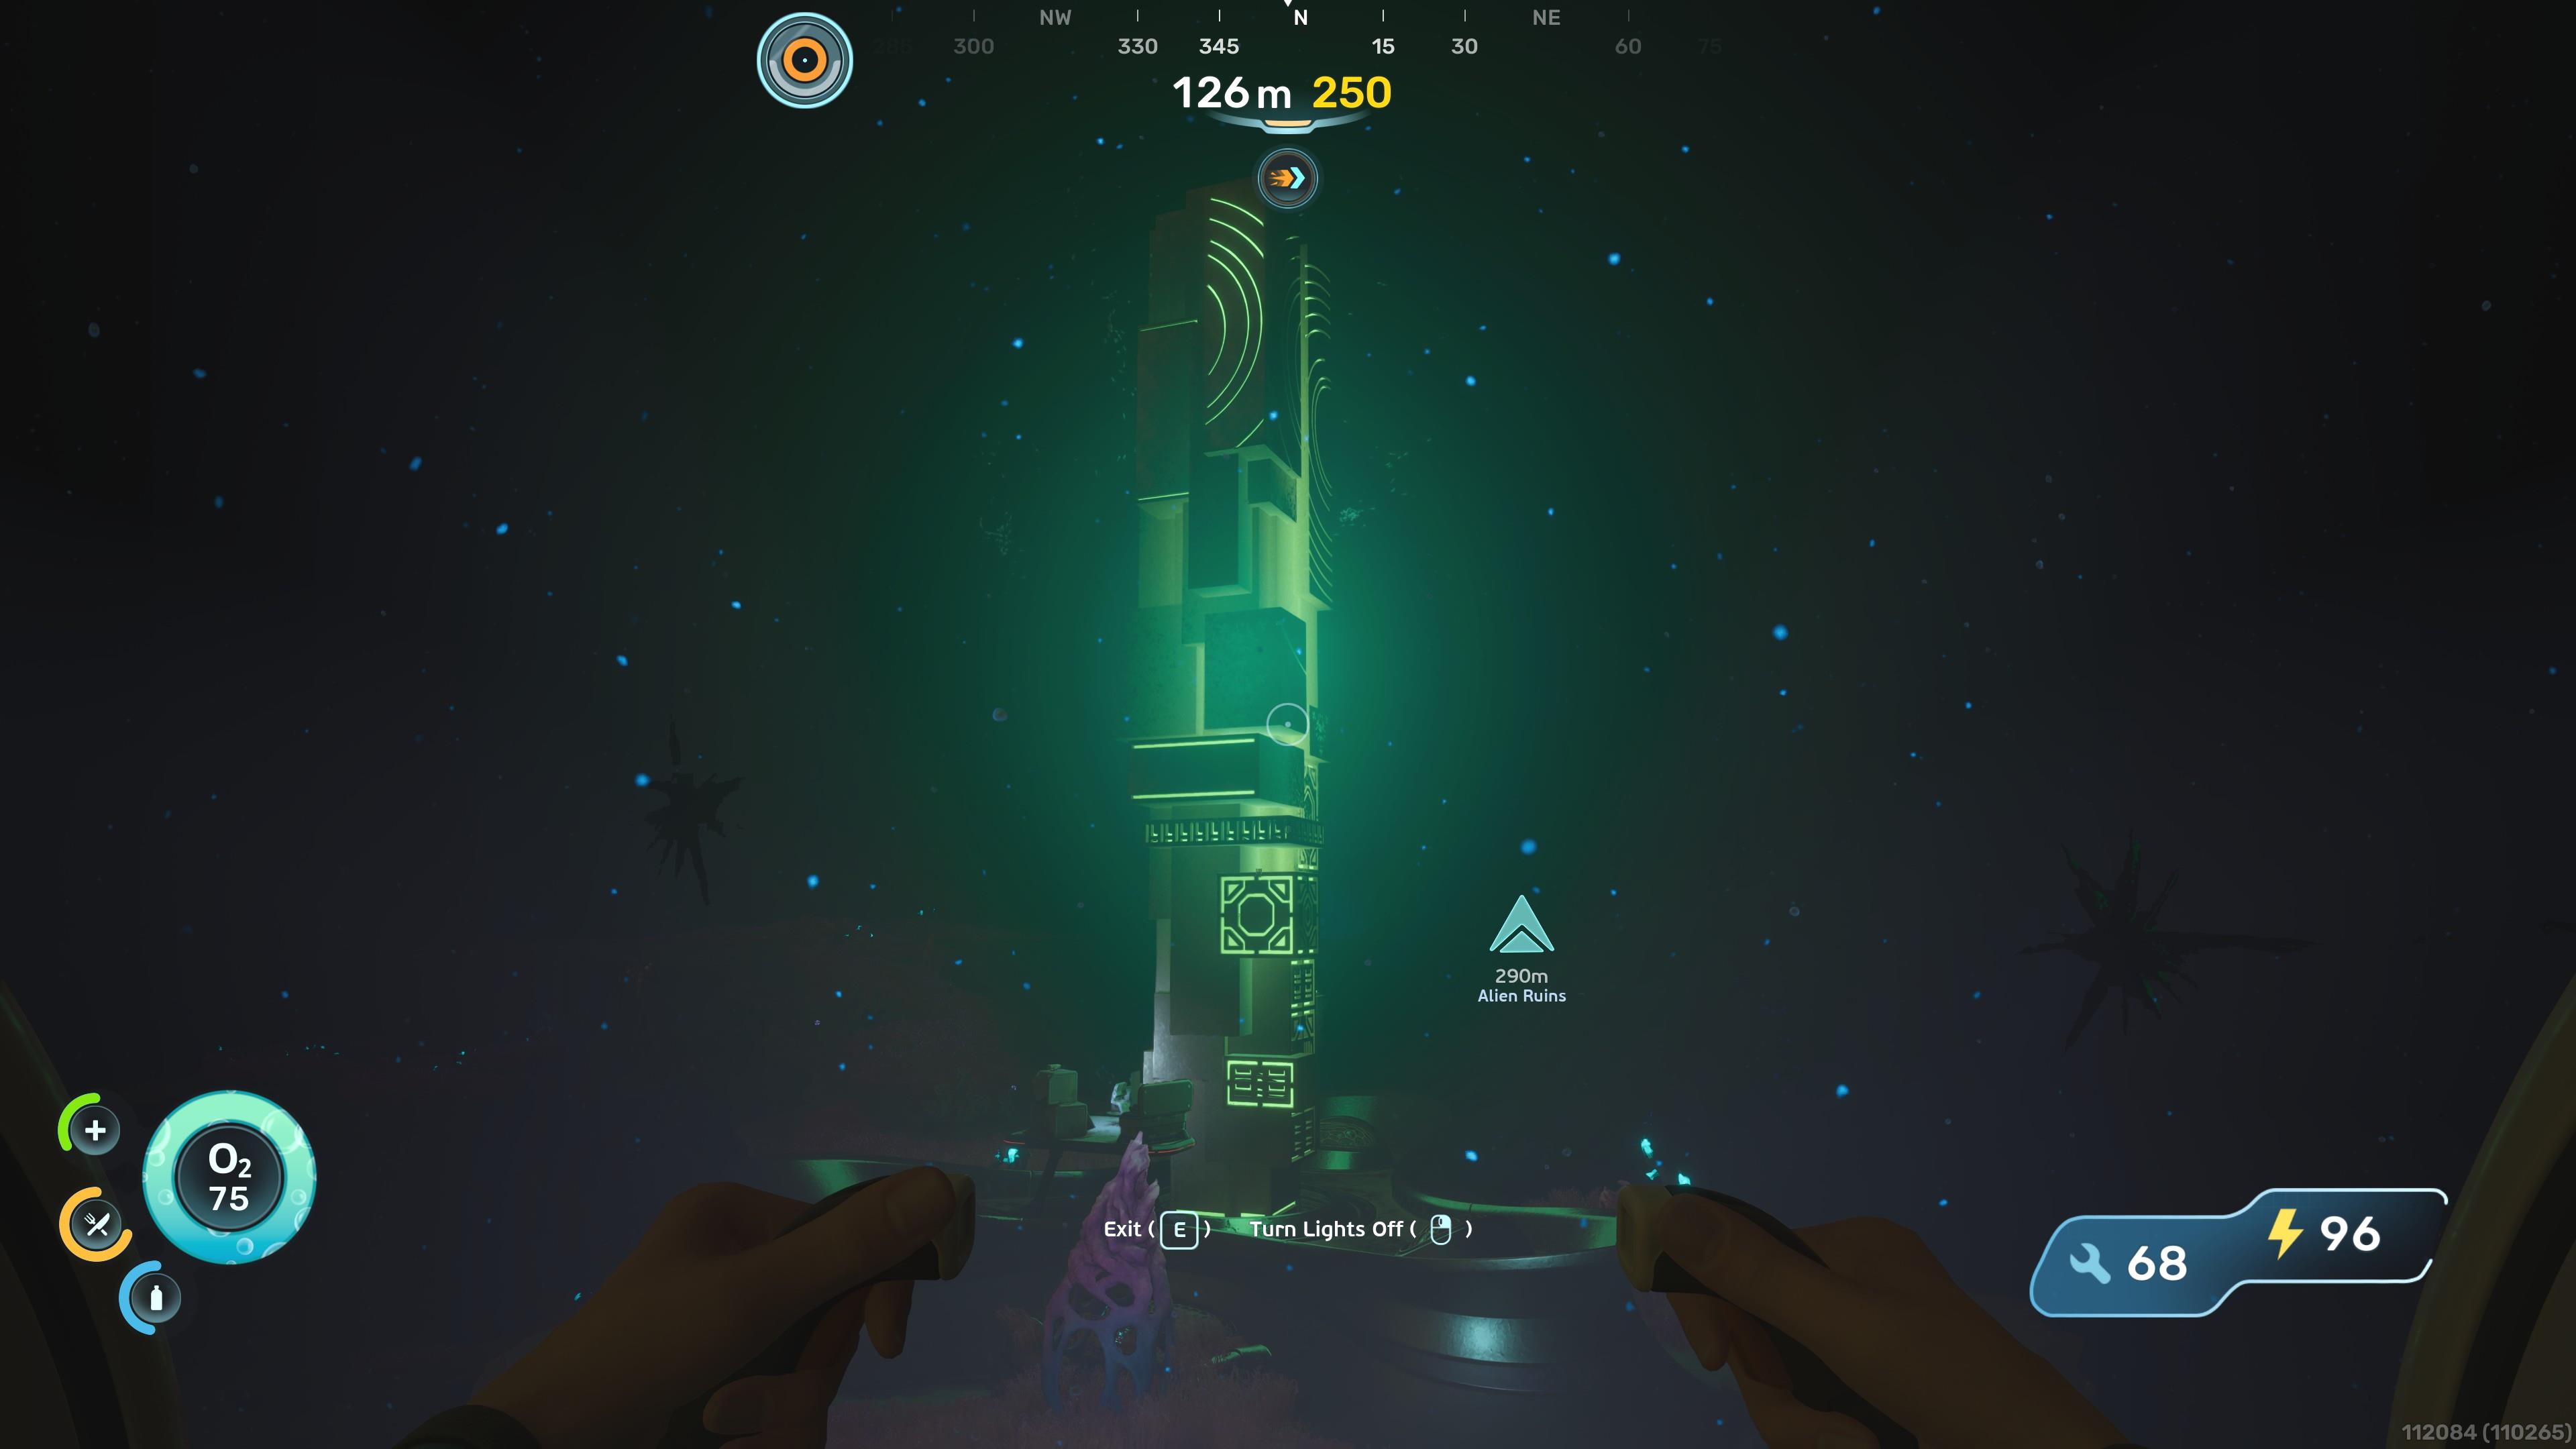
Subnautica 2, similar to its predecessors, gives you free rein to discover more mysteries. From biomes filled with luminescent corals to ancient alien glyphs, we encourage you to seek the surreal and the strange in the scenic seas.
That does it for our Subnautica 2 guide. We hope these tips aid you as you find more secrets about the world of Proteus.
Subnautica 2 is available now as an Early Access title on the Epic Games Store.